
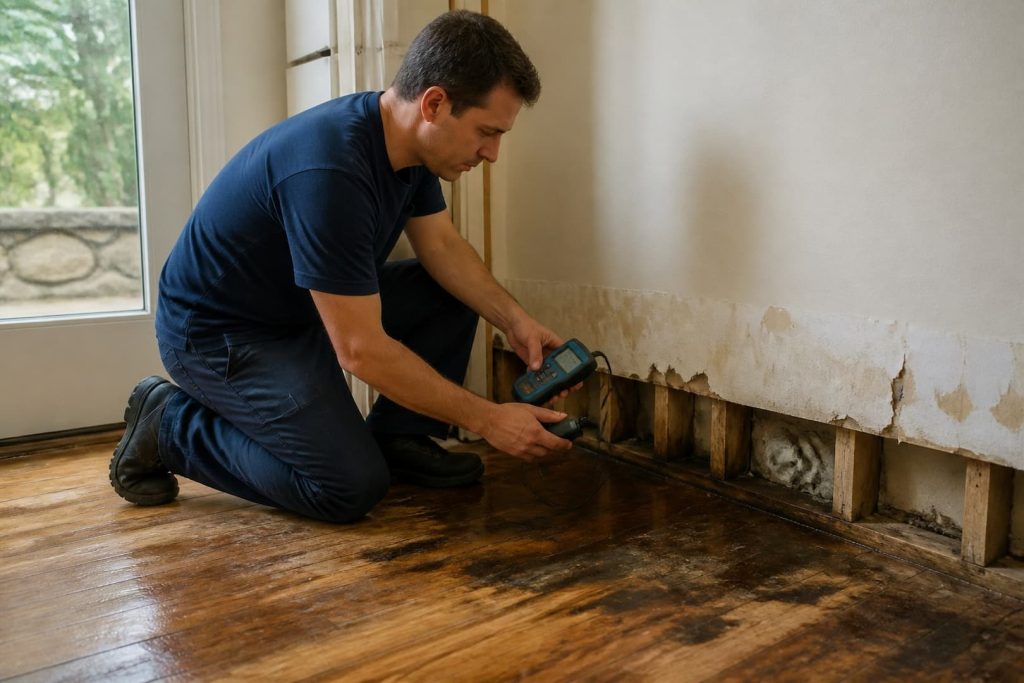
Water-damaged hardwood is not automatically lost. Solid boards after a recent clean-water leak may recover through controlled drying, while engineered flooring with delaminated layers or wood exposed to sewage may require replacement. The decision depends on the source, duration, board construction, installation, finish, subfloor and whether water is trapped below.
Do not sand a cupped floor while the underside remains wetter than the face. Sanding it flat too early can create crowning after the boards equalize. Stop the source, extract free water and document moisture conditions before cosmetic repair.
What board movement means
| Condition | What it looks like | What it may indicate |
|---|---|---|
| Cupping | Board edges higher than center | Underside wetter than face; water below or high humidity |
| Crowning | Center higher than edges | Top-side moisture or premature sanding of a cupped floor |
| Buckling | Boards lift or detach from subfloor | Severe expansion, attachment failure or limited expansion space |
| Gapping | Spaces open between boards | Drying shrinkage or seasonal movement after wetting |
| Checking/splitting | Cracks along grain or finish | Stress from rapid or uneven moisture change |
| Delamination | Engineered layers separate | Adhesive or veneer failure; often a replacement concern |
Shape does not reveal contamination. A flat floor exposed to sewage may be a poor salvage candidate, while a visibly cupped floor from a brief supply-line leak may be dryable. Source and material come before appearance.
First steps after a hardwood loss
- Stop and classify the source. Supply water, appliance discharge, rain and sewage create different decisions.
- Address electricity and ceilings below. Do not walk through water to reach outlets or stand beneath a sag.
- Extract the surface immediately. Use methods appropriate to the contamination; do not leave towels saturated on boards.
- Remove wet rugs and non-breathable coverings. Photograph them first and protect finishes while moving.
- Inspect the perimeter and level below. Water may run under cabinets and walls.
- Measure the flooring system. Compare affected boards, dry reference boards and accessible subfloor.
- Begin controlled drying. Avoid unmonitored heat that can split boards or dry only the face.
Solid, engineered and laminate are different
Solid hardwood is one piece of wood and may tolerate a wider range of drying and later refinishing. Engineered wood has a real-wood wear layer over a layered core; its stability can help, but adhesive or ply delamination may be irreversible. Laminate uses a composite core and printed wear surface; swollen edges often do not recover.
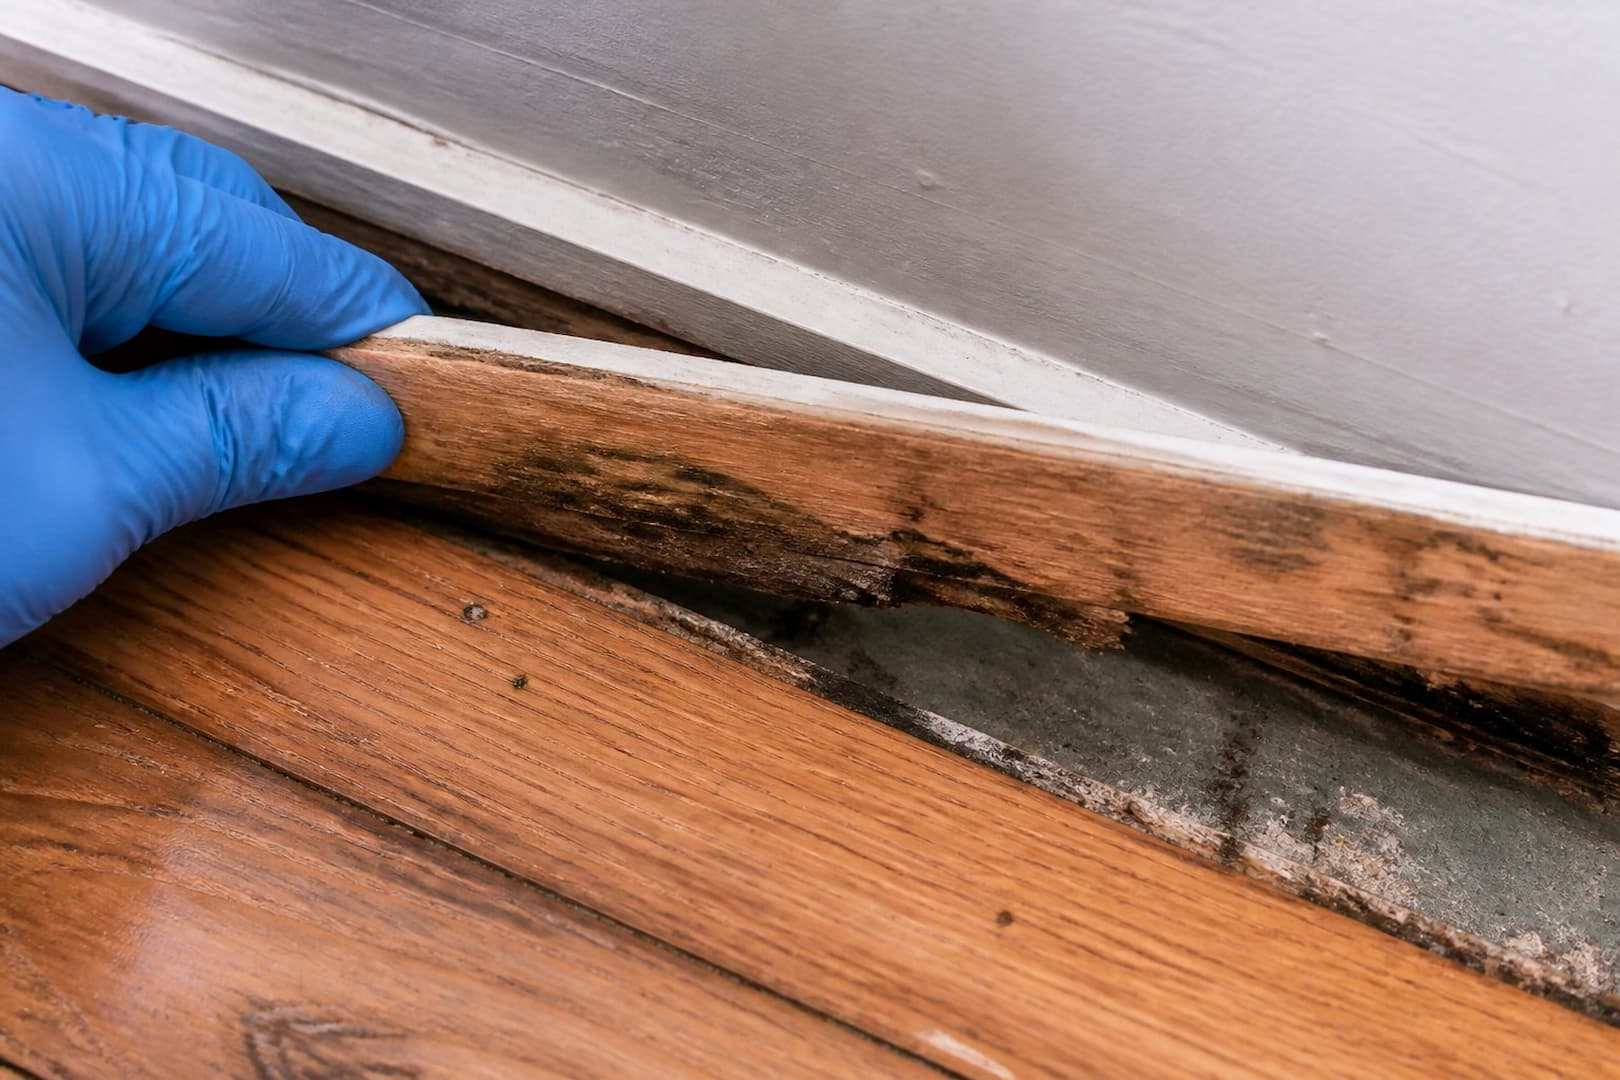
Finish matters too. Site-applied polyurethane, factory coatings, wax and penetrating oils change evaporation. Boards installed over plywood, oriented strand board, concrete or sleepers have different reservoirs beneath them. A flooring name alone cannot predict the endpoint.
Finding water beneath the boards
Moisture mapping should extend beyond visible cupping because water travels along underlayment and the subfloor. Meter settings and species correction matter. Surface scans can outline a pattern, while pin readings or access from below may help evaluate depth. Concrete requires its own moisture methods rather than a wood-meter number.
Cabinets, islands and partition walls can trap the perimeter. If the floor runs underneath, drying access may be limited. Removing shoe molding or selected boards can reveal the edge, but destructive work should be tied to evidence.
How hardwood is dried
After extraction, a drying plan balances dehumidification, room airflow and targeted movement through or beneath the floor. Some systems use panels or mats to draw air at seams; others work from the level below. The method must suit finish, installation and contamination and should be monitored so the surface is not forced dry while the subfloor remains wet.
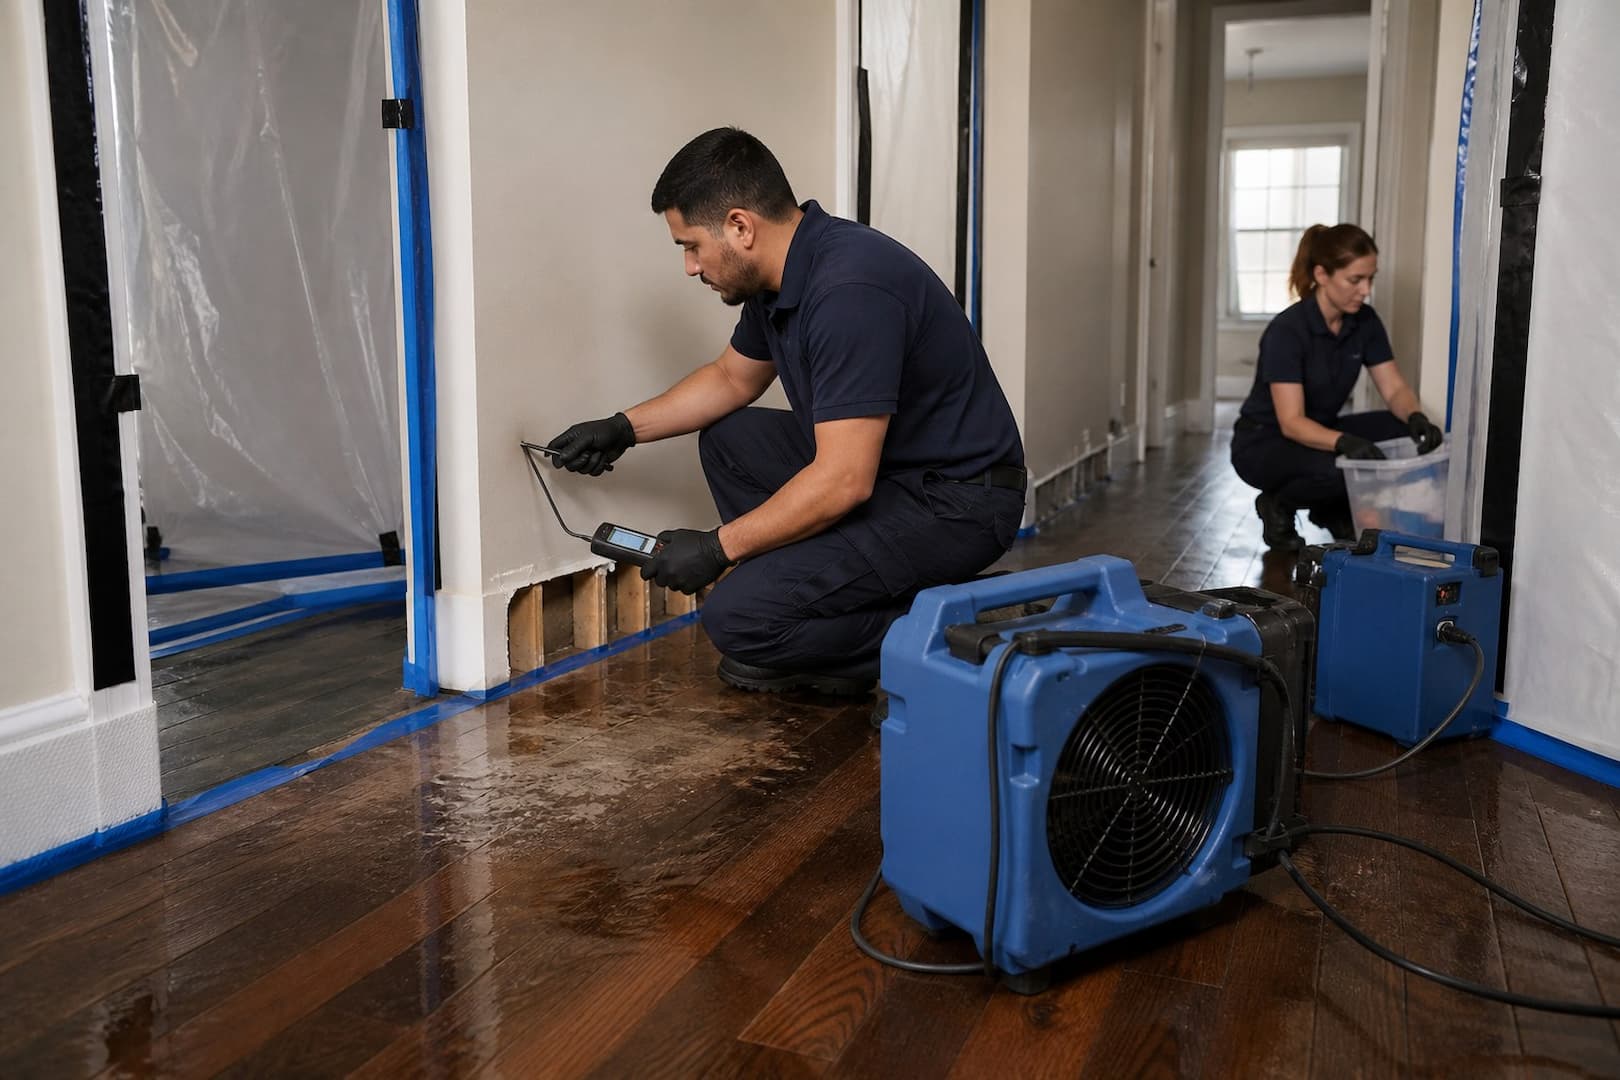
Professional water-damage restoration records board and subfloor progress against unaffected references. Equipment may run for days or longer, but time is not the completion criterion. Trend, distribution and stabilization matter.
When replacement is more likely
- Sewage, outdoor floodwater or another contaminant entered inaccessible flooring layers.
- Engineered plies or wear layer are delaminating.
- Boards are split, buckled or detached beyond reasonable repair.
- Mold growth cannot be accessed and cleaned without removal.
- Adhesive or underlayment has failed.
- The subfloor is damaged or must be replaced.
- Drying has plateaued because the assembly remains closed.
- Historic or specialty flooring requires a conservator’s different plan.
When can refinishing begin?
Wait until the floor and subfloor have reached a stable moisture condition appropriate to the building and species, and board movement has had time to resolve. The flooring contractor should review drying records, flatness and attachment. Refinishing hides stains and wear; it does not remove trapped moisture or contamination.
Insurance documentation
Photograph water height, board pattern and affected transitions before extraction. Keep readings by date and location, source-repair records, flooring specifications and samples of damaged material when practical. Ask whether matching, continuous flooring, sanding, detached structures and code issues are treated under the policy.
Hardwood questions
How long should I wait before deciding?
Make urgent contamination and structural decisions immediately, but allow a dryable clean-water floor to stabilize before judging final appearance. The right period follows readings and board response, not a fixed seven- or thirty-day rule.
Can fans make cupping worse?
Aggressive airflow or heat focused only on the face can increase the moisture gradient. A balanced, monitored system addresses the room and the reservoir below.
Will black staining disappear when the floor dries?
Not necessarily. Staining can come from extractives, fasteners, finish reaction, dirt or microbial growth. Diagnose it after drying; appearance and structural salvage are separate decisions.
Establish a dry reference before judging the wet floor
Wood moisture varies with species, season, HVAC, floor level, and room use. Measure unaffected boards of the same construction when possible, then compare the affected gradient across the room and into the subfloor. One reading at the darkest board cannot represent the assembly. Pinless scanning can map relative patterns; pin readings and access from below may help confirm depth. Meter settings and species corrections should be recorded.
| Evidence | What it helps decide | Common mistake |
|---|---|---|
| Affected-to-reference difference | Extent and drying progress | Using a universal percentage without context |
| Face versus subfloor readings | Direction of moisture gradient | Drying only the visible face |
| Board shape over time | Whether cupping is resolving or worsening | Sanding during active movement |
| Attachment and hollow areas | Buckling or adhesive failure | Assuming flat appearance means secure bonding |
| Water source/category | Salvage and cleaning limits | Judging by stain color alone |
Installation determines the drying route
Nail-down solid wood over plywood may allow drying from above, below, or through seams. Glue-down engineered flooring over concrete has adhesive and slab conditions to evaluate. Floating floors include underlayment and perimeter gaps that distribute water. Wood installed beneath cabinets or partitions can hold a connected reservoir. Identify the product and assembly before placing mats or drilling access holes.
Specialty floor-drying systems create pressure through panels, mats, or small openings. They need a sealed setup, appropriate airflow, and monitoring. Excessive heat or surface airflow can increase the face-to-back gradient and damage finish. Equipment is adjusted from readings, not left unchanged for a fixed package of days.
Cupping can improve after drying; delamination generally does not heal
Solid boards may flatten substantially as moisture equalizes, although staining, finish damage, gaps, or permanent deformation can remain. Engineered flooring with separated plies or lifted veneer has a material failure that drying cannot bond again. Laminate cores that swell at seams rarely return to original dimensions. Document these distinct conditions before a flooring contractor prices cosmetic work.
Wait for stabilization before sanding. A floor sanded flat while edges are high can crown later as the underside dries. The structural drying guide explains trend-based completion; wood movement may need additional time after moisture targets are met.
Staining and structural salvage are separate decisions
Black marks at fasteners may come from iron reactions; wood extractives can migrate; finish can turn cloudy; dirt can wick into seams. Some stains improve with later flooring treatment and some remain. Do not classify the floor as moldy or structurally lost from color alone. After the assembly dries and stabilizes, the flooring contractor can test cleaning, board replacement, sanding, and finish compatibility in a small area.
Historic floors deserve a preservation discussion before removal. Species, board dimensions, face-nailed patterns, inlays, and aged color may be difficult to match. Carefully lifting selected boards for access or drying can preserve more material than a fast full tear-out, provided contamination and structural condition allow it.
Contaminated water can make an otherwise sound floor a removal candidate
Seams, fastener holes, adhesive beds, and underlayment are difficult to clean after sewage or overland flood exposure. The surface may be sealed, but the assembly is not. Category, elapsed time, access, and public-health guidance belong in the salvage decision. Water category must be established from source and contact, not the board’s color.
Coordinate the restorer and flooring contractor
- Agree on board construction and installation before drying starts
- Share the moisture map and daily trend
- Identify sacrificial access or sample boards
- Set stabilization and flatness review points
- Separate drying completion from finish acceptance
- Preserve spare boards, product labels, and lot information
- Document why replacement, weaving, or full refinishing is proposed
Water-damage restoration should deliver the flooring contractor evidence, not a promise that every stain will disappear. The flooring contractor decides repair aesthetics and installation; the restorer documents the water and drying condition.
Identify the floor before predicting recovery
“Hardwood” may mean solid strip flooring, engineered plank, parquet, prefinished boards, site-finished boards, or a wood-look product that is actually laminate or composite. Species, cut, thickness, finish, plank width, installation, adhesive, underlayment, radiant heat, and subfloor all change how water enters and how the floor can dry. Find cartons, invoices, spare boards, stamps, or product data when possible.
| Floor system | Water behavior | Key recovery question |
|---|---|---|
| Solid nail-down hardwood | Swells across grain; moisture can reach subfloor at seams | Can boards and subfloor dry without checking, buckling, or contamination? |
| Engineered wood | Veneer and core layers respond differently | Have plies or finish delaminated? |
| Parquet | Many joints and adhesive interface | Is adhesive stable and can the substrate dry? |
| Floating wood/laminate | Underlayment spreads water; joints may swell | Can product be lifted/reinstalled, or are locking edges damaged? |
| Wood over concrete | Slab and vapor system influence underside | Is moisture from the loss, slab, or both? |
| Radiant-heated floor | Heat system changes moisture and drying risk | Can system and floor manufacturer guide controlled operation? |
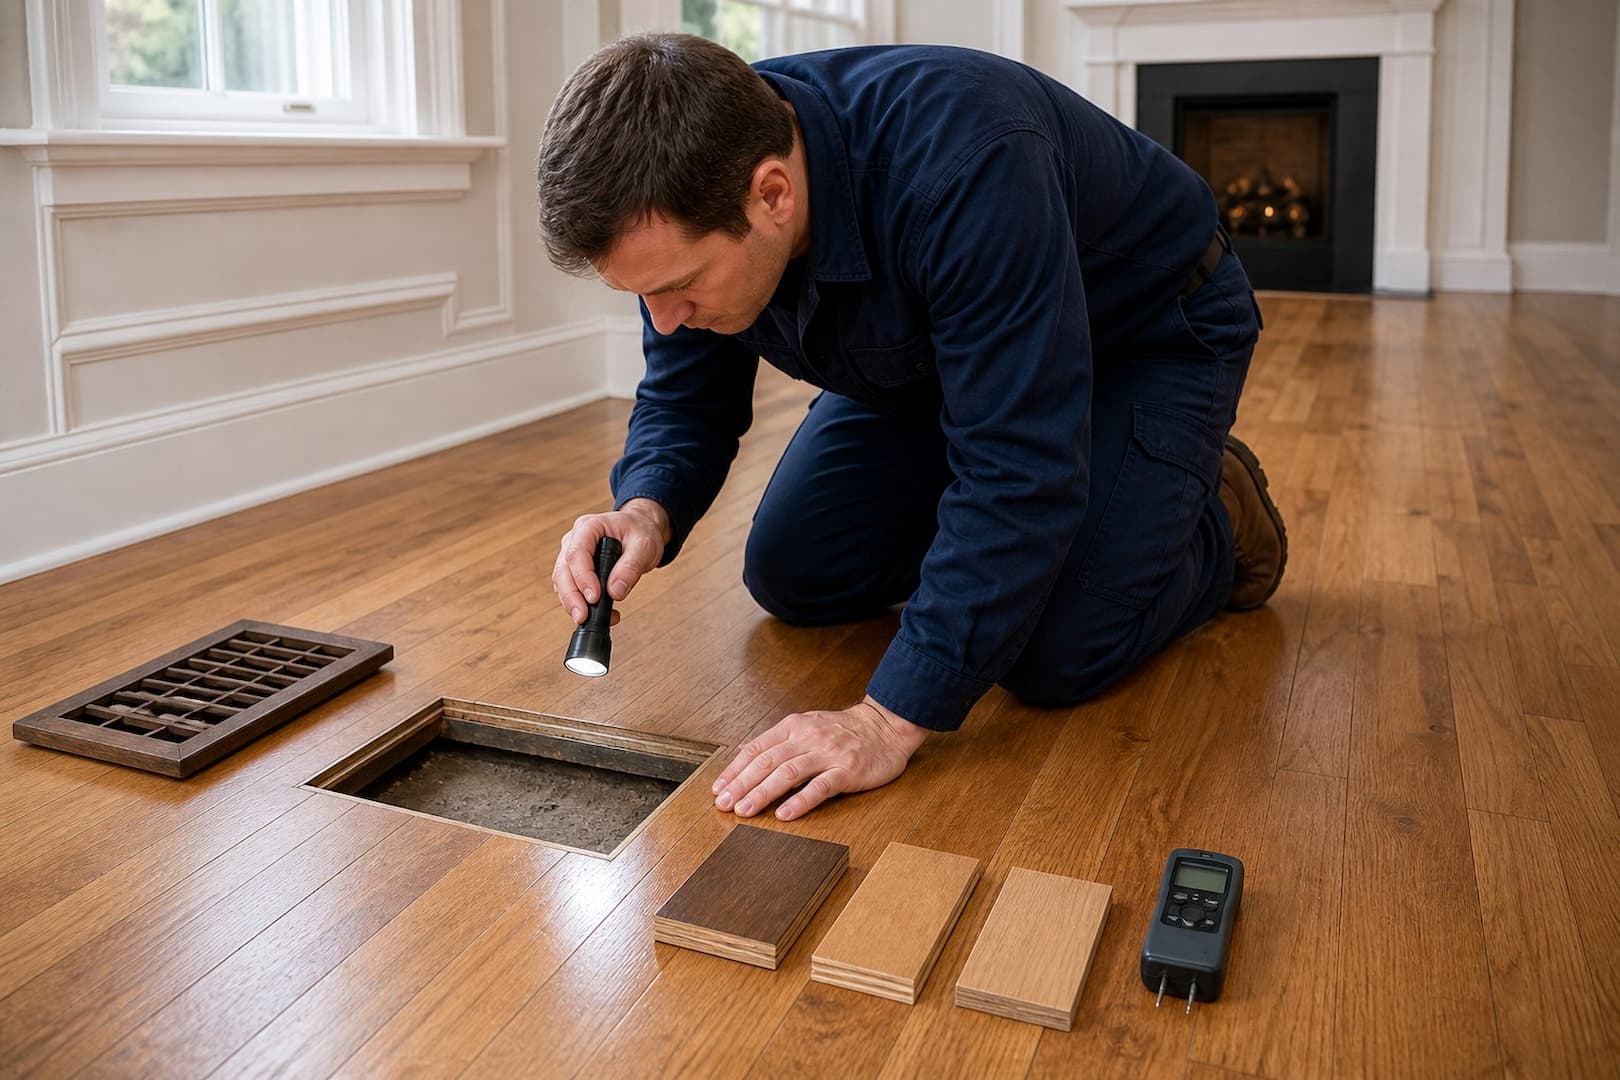
Understand cupping, crowning, buckling, checking, and delamination
Cupping means board edges sit higher than centers, often because the underside is wetter than the face. Crowning is the reverse profile and can appear when the face is wetter or when a cupped floor is sanded flat before equalization and later changes shape. Buckling means boards release from the substrate. Checking describes splits, while engineered flooring may delaminate between layers.
These shapes are clues, not automatic replacement rules. Measure the moisture gradient and document the trend. A floor can improve substantially during slow controlled drying. It can also look flatter while the subfloor remains wet. Cosmetic judgment should wait until moisture stabilizes near unaffected reference areas and the flooring specialist can evaluate permanent damage.
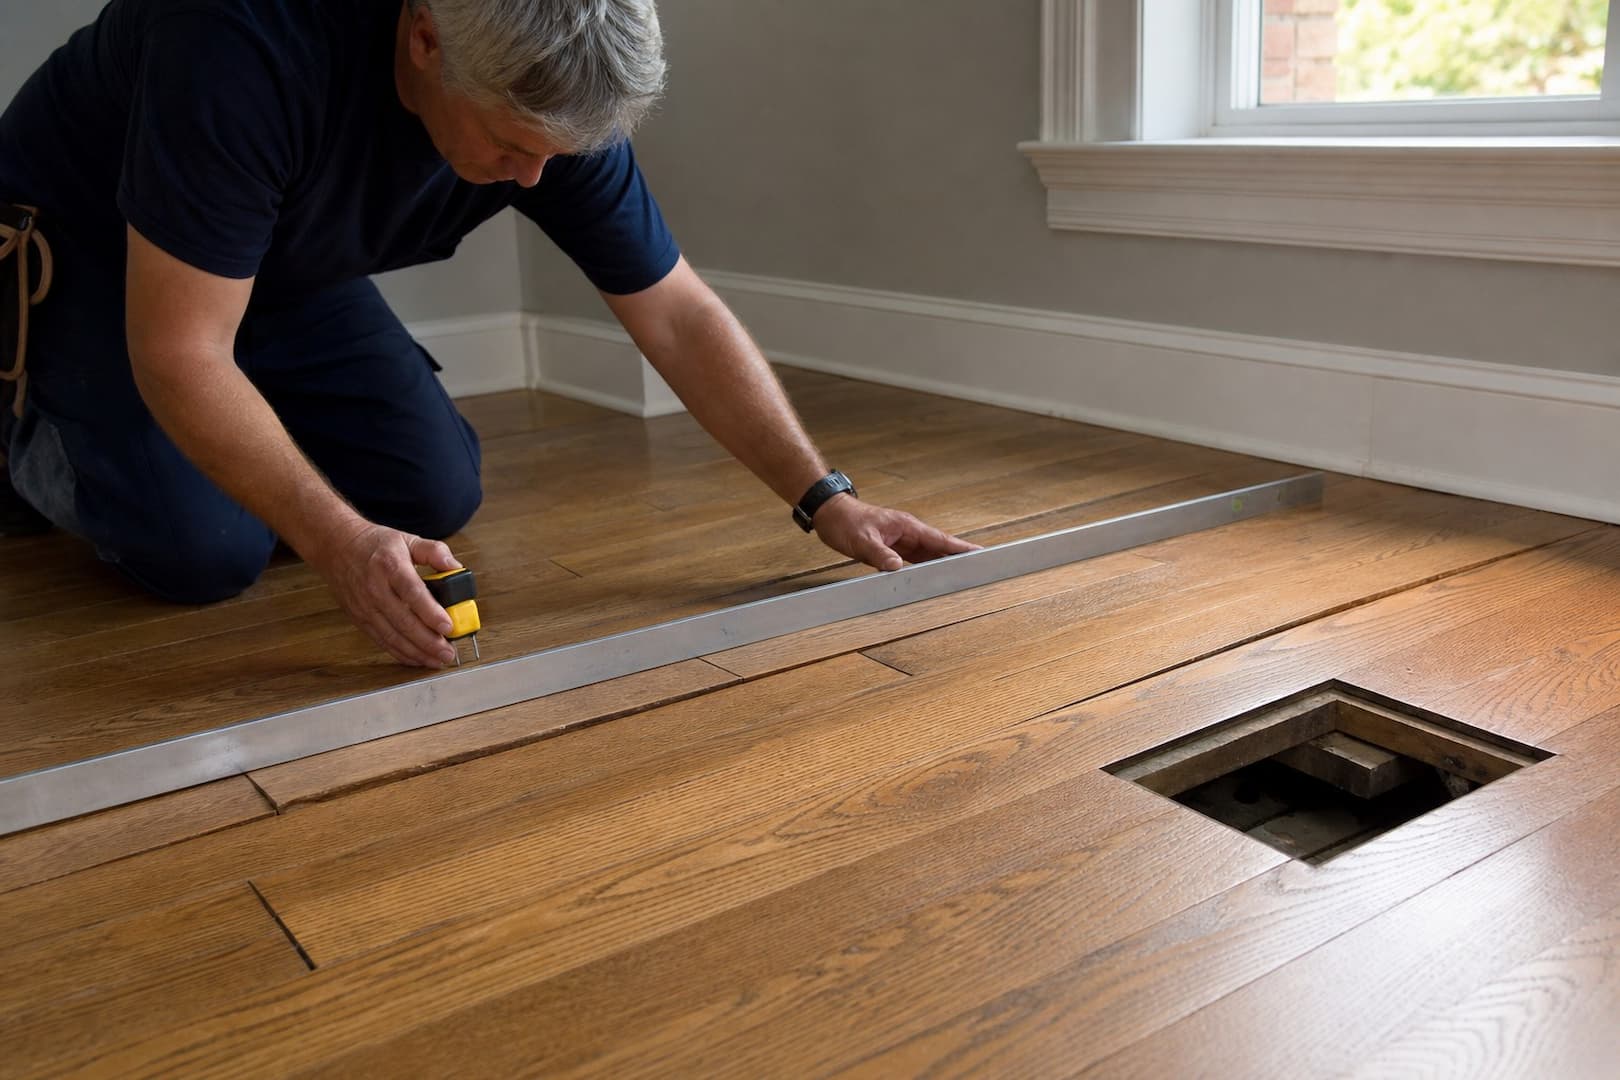
Map boards and subfloor as different materials
- Mark the visible boundary. Include transitions, cabinets, islands, walls, and the level below.
- Choose dry references. Compare the same species, finish, meter mode, and construction.
- Measure a repeatable grid. Record board orientation, location, and time.
- Evaluate the subfloor. Use safe access from below, openings, or appropriate probes.
- Track environmental conditions. Temperature, relative humidity, and vapor pressure affect the gradient.
- Recheck deformation. Photograph the same low-angle views as readings change.
Pinless meters may be influenced by density, depth, metal, and layered construction. Pin readings leave small holes and require species or material awareness. Use instruments comparatively and consistently; one number without product, location, depth, and reference does not establish completion.
Choose a drying strategy that avoids new damage
Extraction comes first. Dehumidification reduces the room vapor load. Air movement supports evaporation but should not be so aggressive that it creates severe surface-to-core gradients. Specialty floor mat or negative-pressure systems may draw air through board joints and the subfloor when the assembly and contamination allow it. Access from a basement or ceiling below may be more useful than excessive heat on the face.
Do not cover a wet floor with plastic, rugs, cardboard, or replacement cabinets. Do not force a radiant system or portable heater beyond manufacturer and professional guidance. Rapid uneven heating can open joints, split finishes, curl veneers, or drive moisture into another layer.
Use a salvage decision matrix
| Evidence | Supports continued drying/evaluation | Supports removal/replacement |
|---|---|---|
| Water source | Recent sanitary release | Sewage, floodwater, chemicals, or inaccessible contamination |
| Construction | Solid or stable engineered product | Swollen composite core, broken locks, failed adhesive |
| Shape | Cupping without release or splits | Buckling, severe checking, permanent delamination |
| Moisture trend | Consistent improvement in floor and subfloor | Plateau or rebound showing trapped reservoir |
| Access | Both layers measurable and dryable | Wet layer cannot be reached or verified |
| Economics/matching | Drying preserves continuous historic floor | Specialty drying exceeds rational repair with low success |
Delay sanding and finish decisions
Sanding removes wood at its current shape. If a cupped floor is sanded too soon, the later moisture equalization can produce crowning. Wait until the floor and subfloor reach the documented target, readings stabilize, and the flooring professional accepts the material for acclimation or repair. The needed period is driven by readings and construction, not a universal number of days.
After stabilization, choices include no cosmetic work, screen and recoat, localized board replacement, room refinishing, or work across connected areas for color and sheen consistency. Matching is an appearance and policy question separate from whether boards can be structurally dried.
Inspect what the floor conceals
Water can remain below an island, cabinet, baseboard, sill plate, partition, underlayment, vapor retarder, or sound-control mat. Adhesive can emulsify, fasteners can corrode, and the subfloor can swell or delaminate. In multi-story losses, the ceiling below may provide both evidence and a drying route.
Before reconstruction, photograph layers, readings, equipment, access, removed boards, product labels, and final conditions. Keep spare boards and a representative sample when matching or a claim requires it. The best outcome is not simply a flat-looking floor; it is a dry, stable assembly with a repair plan made after the wood has had time to tell the truth.
Protect the floor while decisions are pending
Limit foot traffic, rolling loads, tape, plastic coverings, and furniture contact on distorted boards. Use breathable protection selected for the finish, and photograph existing scratches, gaps, stains, and color variation. Do not force a swollen door, reinstall rugs, or place heavy cabinets over a drying field. A floor can be structurally recoverable yet acquire permanent finish damage during the waiting period if protection traps moisture or concentrates loads.
Sources and further reading
- CDC: Guidelines for Cleaning Safely After a Disaster
- Boston.gov: Recovering from a Flood
- Massachusetts DPH and MassDEP: Flooding and Sewage Back-ups Home Care Guide
- Massachusetts DPH: Quick Reference — Water Damage Response in Buildings
Before the floor is sanded or replaced
Boston Restoration Group can extract water, map the wet flooring and subfloor, set targeted drying and document stabilization so the flooring contractor receives better evidence.