
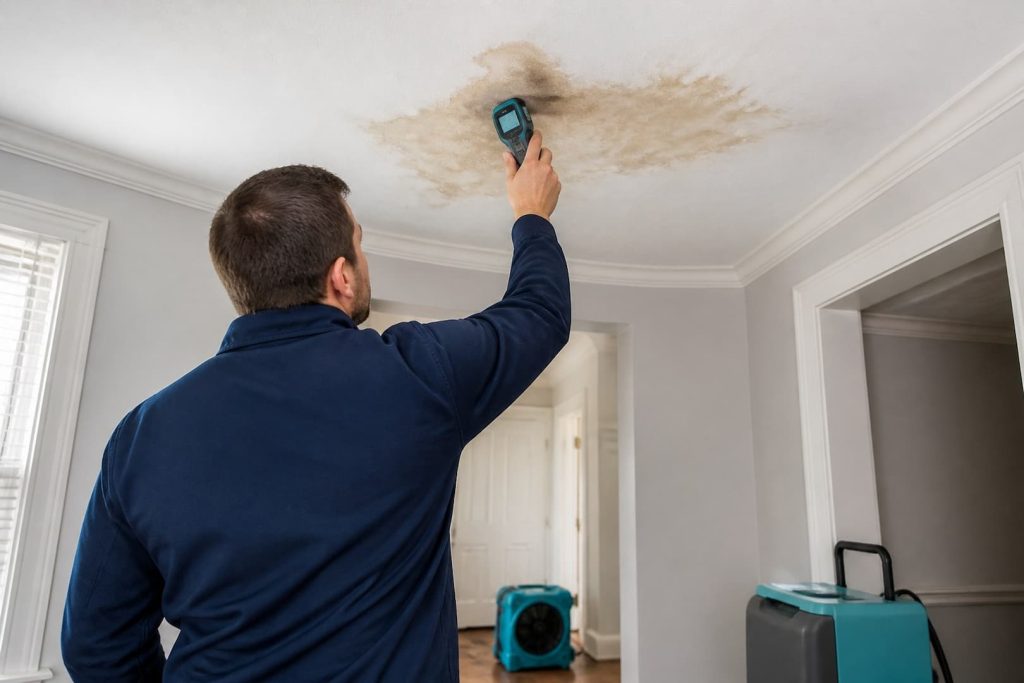
Call emergency services or the utility first if a ceiling is collapsing, water is contacting electrical equipment, you smell gas, or the leak is associated with fire or a major structural event. Otherwise, the first source-control call depends on when the water appears: a plumber for supply, drain or fixture leaks; a roofer for rain or snow entry; an HVAC contractor for condensate; and a restoration company for extraction, material decisions and drying.
A stain directly below a bathroom does not prove a pipe failed. Shower enclosure leaks, toilet seals, overflow, appliance lines and drain connections can travel along framing. Roof water can appear several feet from the opening. Diagnose with timing and path evidence before cutting or replacing finishes.
Who to call by leak pattern
| Pattern | Likely first source trade | Restoration role |
|---|---|---|
| Active leak when a fixture runs | Plumber; appliance technician if internal to appliance | Protect finishes, extract and dry connected layers |
| Leak during rain or snowmelt | Roofer or building-envelope specialist | Stabilize interior, map and dry roof/ceiling path |
| Drip near air handler or only during cooling | HVAC technician | Dry condensate-affected ceiling, insulation and walls |
| Wet light, fan, detector or wiring | Electrician or utility before contact | Work after electrical clearance |
| Bulging or falling ceiling | Emergency/fire service if immediate danger; source trade | Contain area and remove unstable wet material under controls |
| Source already fixed but odor/stain grows | Restoration or building investigator | Find residual moisture, damage or mold |
Make the room safe
- Keep people out from under a sag, crack or bulge. Wet drywall and plaster can fail without warning.
- Do not touch wet fixtures or switches. An electrician should handle water near wiring; do not reach the panel through water.
- Move contents from the perimeter. Do this only without standing beneath unstable material.
- Photograph the stain and source clues. Record timing, weather and fixture use.
- Control the source from a safe location. Use a known water shutoff, stop fixture use or arrange emergency roof protection.
- Catch drips only when the ceiling is stable. Use a container without climbing near electricity.
- Arrange moisture assessment. The visible ring is not a drying boundary.
Generic advice to puncture a bulging ceiling can be dangerous. The cavity may contain wiring, heavy plaster, contaminated water or a large reservoir, and a small hole can trigger uncontrolled collapse. Clear the area and use a qualified professional who can isolate utilities and manage release.
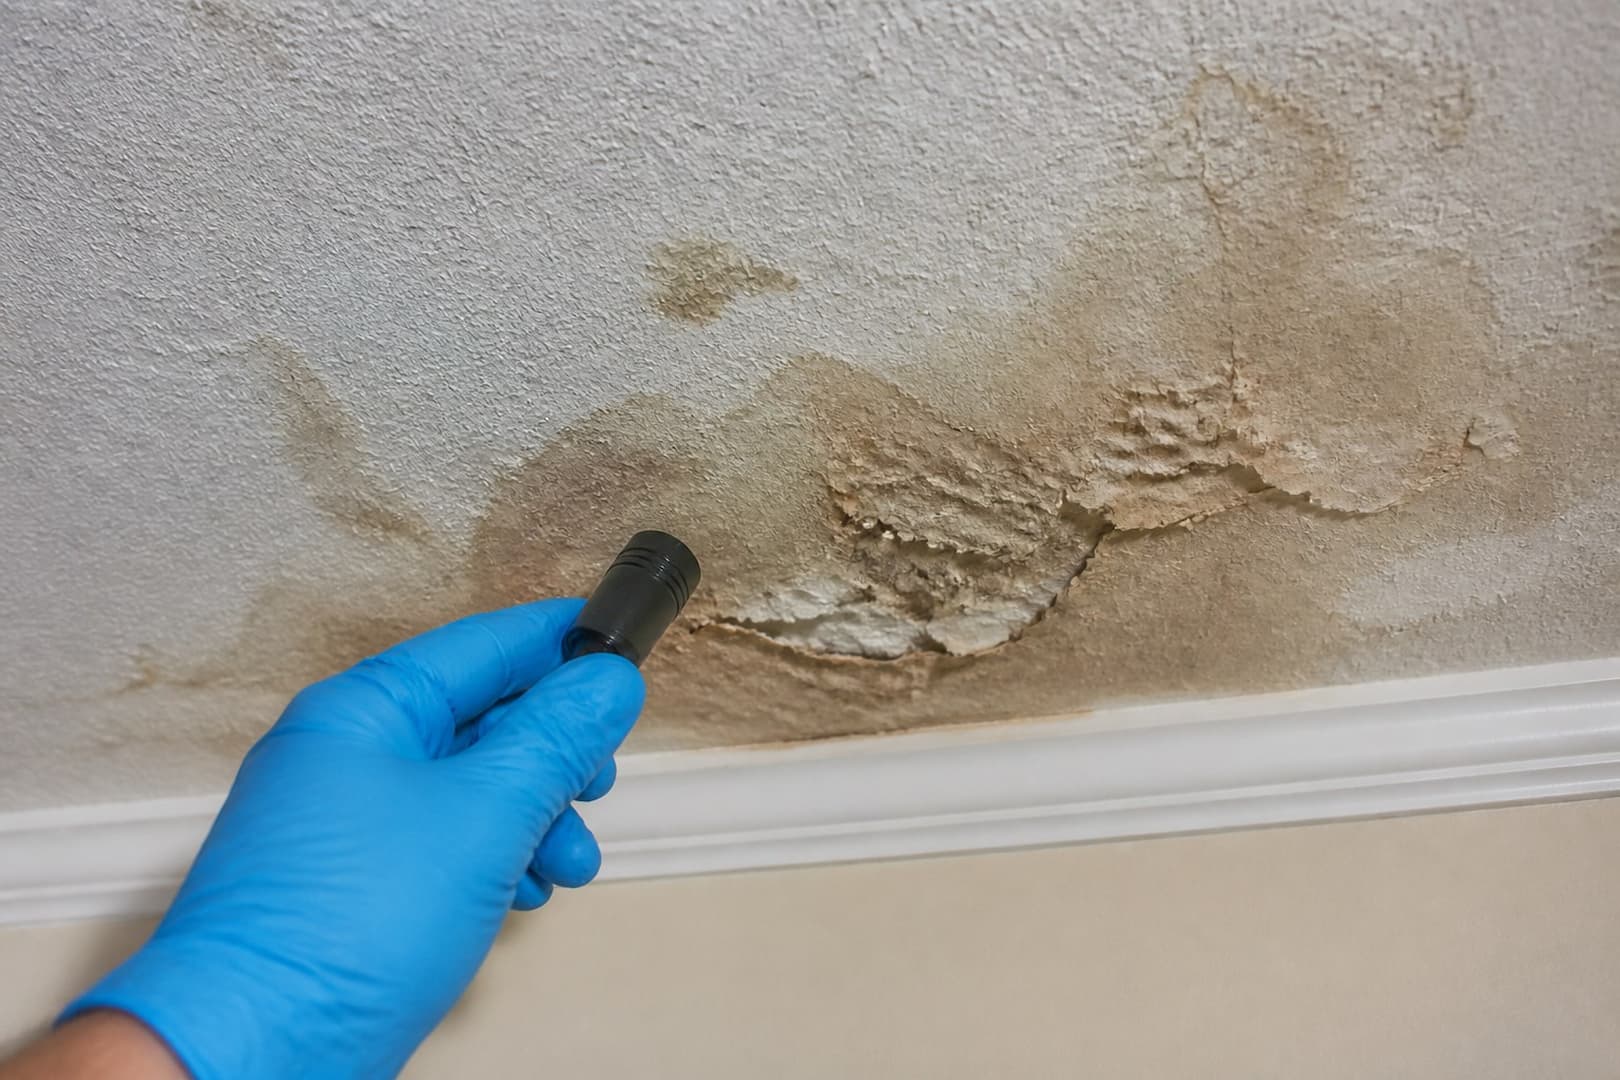
Clues that narrow the source
Note whether the stain changes after rain, snowmelt, showering, toilet flushing, dishwasher or washer use, heating, or air-conditioning. From a safe location, check the room above for supply valves, drains, tub edges, radiators and appliance lines. In an attic, inspect only from safe decking; never step between joists or disturb suspect insulation.
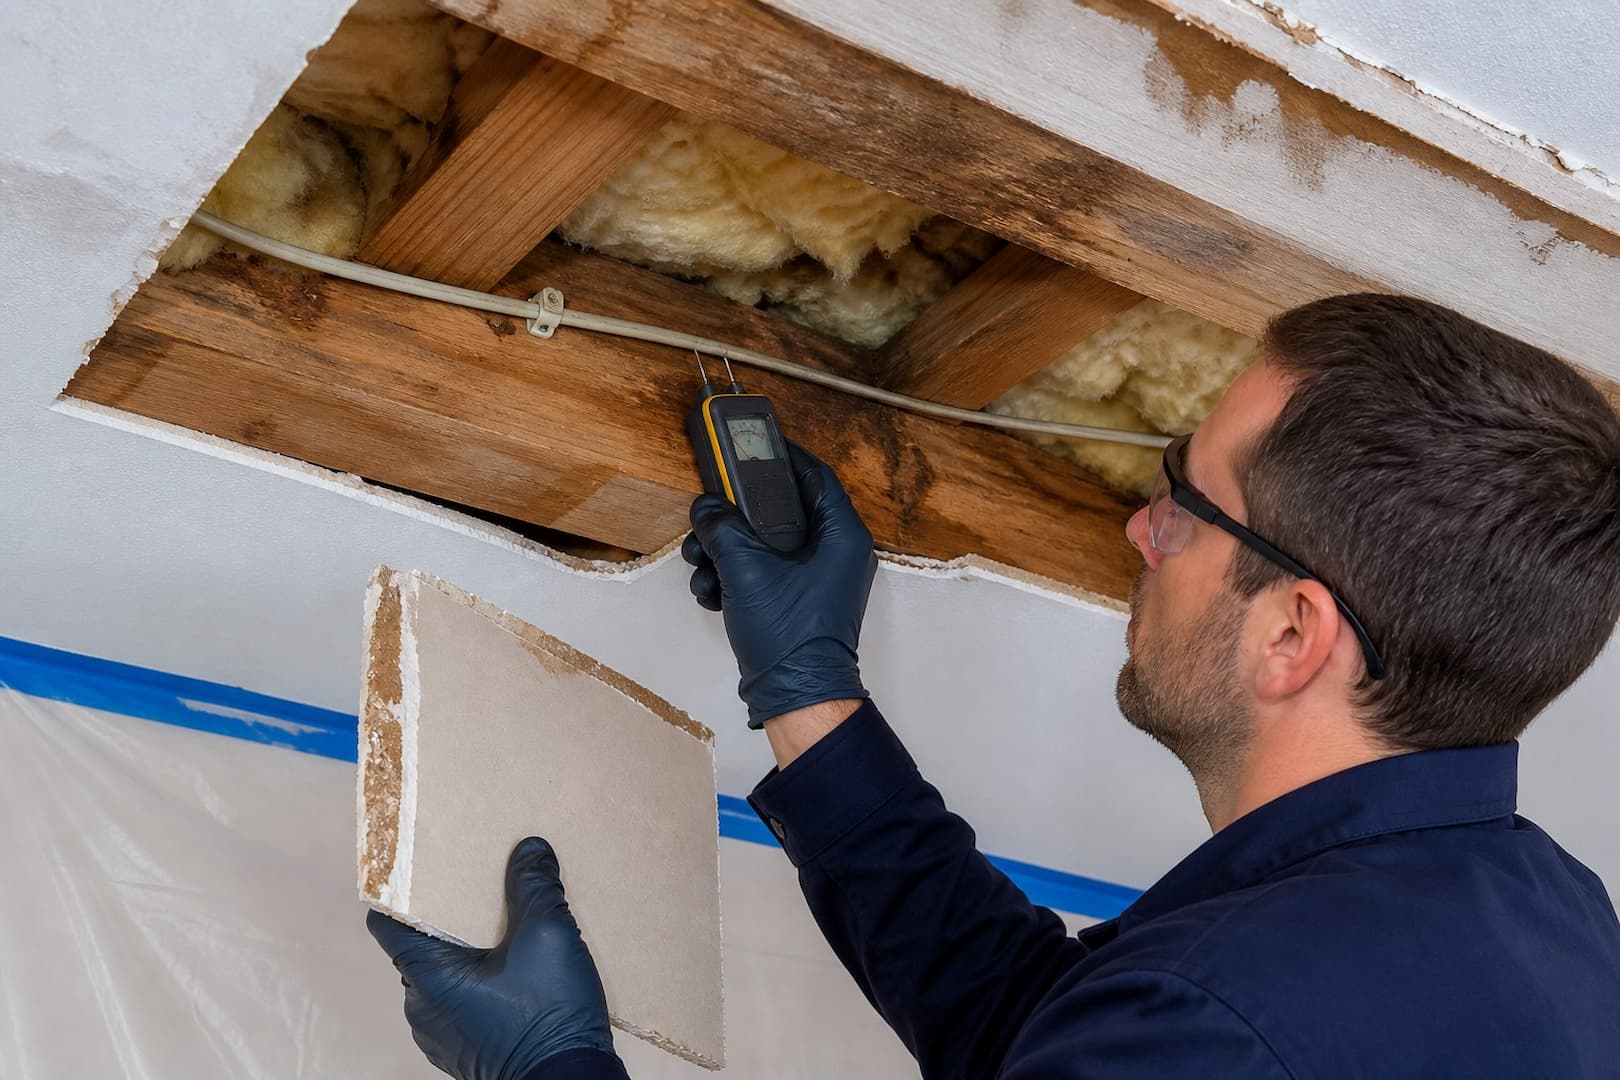
Color does not date a stain reliably. A brown ring may be old residue re-wetted by a new event. A moisture meter compares current material conditions, while repeated photographs show active spread. Thermal imaging can identify temperature anomalies but needs confirmation.
What the ceiling assembly may contain
| Layer | Possible water effect | Decision point |
|---|---|---|
| Painted drywall | Wicking, soft core, sagging, paper delamination | Soundness, contamination and cavity access |
| Plaster and lath | Heavy retained water, damaged keys, wet wood | Stability and depth of wetting |
| Insulation | Held moisture against paper or framing | Type, saturation, contamination and drying access |
| Framing | Water travel along joists and plates | Cleanliness, structural condition and moisture |
| Fixture box and wiring | Electrical shock, corrosion or hidden damage | Electrician clearance |
| Flooring above | Water trapped under tile, vinyl or wood | Source repair and layer-specific drying |
Repair does not equal drying
A plumber can replace a pipe while the ceiling, insulation and wall remain wet. A roofer can seal flashing while water remains in an attic floor. Water-damage restoration extracts reservoirs, removes material that cannot remain, controls indoor humidity and airflow, and monitors affected layers to an agreed endpoint.
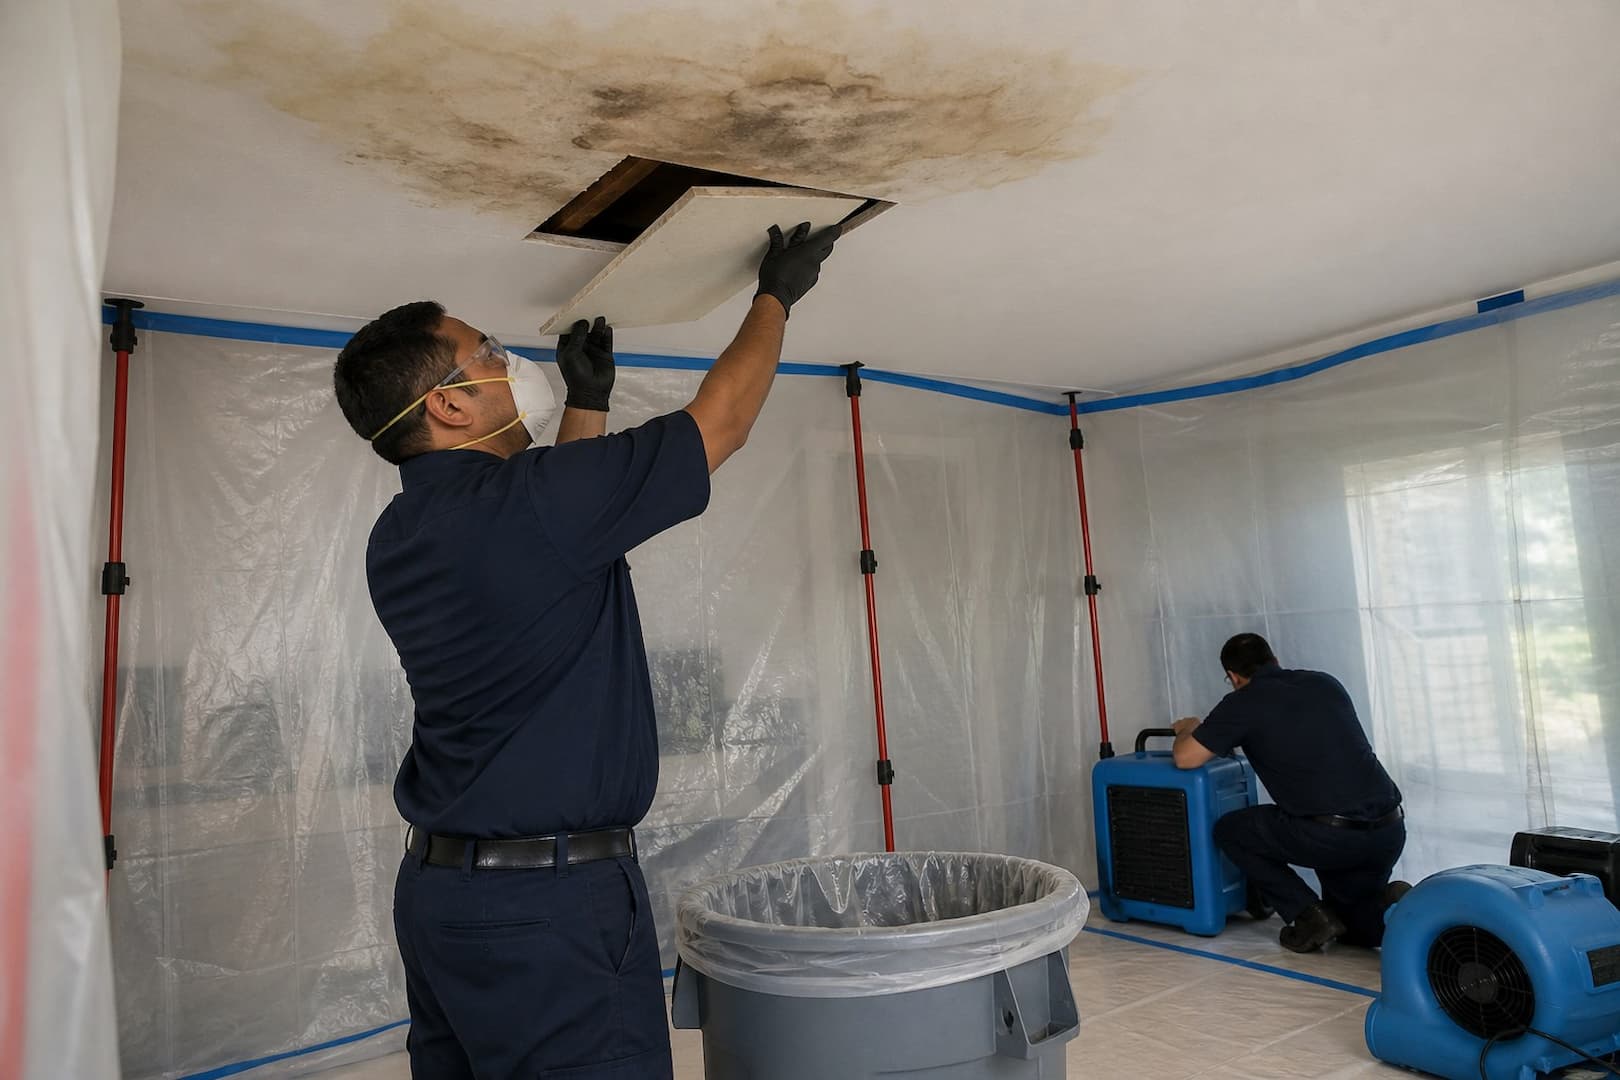
Fans are not an automatic first step. Do not energize them around electrical risk, sewage, deteriorated moldy material or unstable ceilings. Drying equipment must move moisture out of the building, not merely around the room.
When material removal is likely
Removal becomes more likely when drywall sags, crumbles or delaminates; insulation is saturated or contaminated; sewage or outdoor floodwater entered; a cavity cannot be cleaned; mold is visible; or the assembly cannot dry in place. A preset cut height is not a substitute for field boundaries.
Staining alone does not always require replacement if the material is clean, sound and dry. A stain-blocking coating comes after—not instead of—source correction, evaluation and drying.
Documenting an insurance claim
Keep time-stamped photographs, weather records, plumber or roofer findings, the failed part when practical, emergency invoices and a room-by-room inventory. Ask whether access, tear-out, resulting damage, source repair and mold are handled separately. The contractor documents conditions; the insurer applies the policy.
Ceiling leak questions
Should I call a plumber or roofer first?
Call the trade matched to timing. Leaks linked to fixture or appliance use point to plumbing; leaks linked to precipitation point to roofing or envelope. If the source is unclear and damage is active, restoration can protect the interior while source specialists investigate.
Can the ceiling dry without opening it?
Sometimes, after a small clean-water event with no wet insulation and good vapor access. Closed layers, vinyl coatings, dense plaster or wet insulation may require selective access. Measure rather than assume.
Is the room safe when dripping stops?
Not necessarily. The ceiling may remain weak, electrical components may be wet and concealed layers may hold moisture. Stop use until those conditions are cleared.
A ceiling leak can require several trades in sequence
The first caller depends on active hazards and the likely source. The fire department or emergency services may be appropriate for imminent collapse, sparking, or a dangerous electrical condition. A plumber handles a supply, drain, tub, or appliance line. A roofer addresses exterior entry. An HVAC contractor evaluates condensate or mechanical piping. The restoration team protects the interior, maps water, extracts, dries, and removes damaged material. A general contractor repairs finishes after the source and moisture are controlled.
| Evidence | First specialist likely needed | Restoration question |
|---|---|---|
| Water below bathroom during use | Plumber | How far did water move through ceiling/walls/floor? |
| Leak during rain or thaw | Roofer/ice-dam specialist | Is insulation and framing wet? |
| Drip near air handler in cooling season | HVAC contractor | Did condensate affect ceiling and adjacent cavity? |
| Bulge, cracking, falling material | Emergency/structural safety evaluation | What area must be isolated and removed? |
| No active leak, old stain reappears | Inspector/restorer then source trade | Is the stain wet now or only cosmetic? |
Do not puncture a bulge from below
A ceiling bubble can hold water and weakened material. Standing beneath it with a screwdriver places the person in the fall and water path, possibly near wiring. Isolate the room and have qualified responders establish electrical and structural safety. They may drain or remove material in a controlled way with protection and containment, but that is different from a homeowner puncturing an unknown assembly.
Plaster ceilings can be heavy and may detach beyond the wet spot. Acoustic texture or older materials may require lead or asbestos evaluation before disturbance. Photograph the condition from a safe distance and do not scrape a sample casually. The building’s age and renovation history help determine the testing plan.
The source opening and the drying opening may not be the same
A plumber may open the ceiling below a pipe to make a repair. Water may have traveled farther along joists or across insulation. Conversely, a stain far from the source may not require broad removal if mapping shows the surrounding assembly is dry and sound. Restoration access should follow the wet boundary and material condition, not simply enlarge the plumber’s hole to a standard rectangle.
Insulation changes the plan. Wet fiberglass can hold water against gypsum and framing; dense-pack cellulose can settle and retain moisture; closed-cell foam may limit drying paths. Remove or access insulation when evidence shows it is wet, contaminated, or blocking verification. The article on material drying times explains why room humidity alone cannot clear the ceiling.
Stains should be repaired only after the assembly is ready
- Confirm the source repair under the conditions that caused the leak.
- Map and dry or remove affected ceiling materials and insulation.
- Review fasteners, framing, electrical components, and adjacent finishes.
- Document acceptable moisture conditions.
- Patch with compatible material and restore texture.
- Use stain-blocking primer when appropriate, then finish paint.
Painting first erases a useful monitor. If the source recurs, the new coating can delay visible evidence or blister. Preserve a reference photo and mark the original stain boundary discreetly until drying is complete. For winter stains, see ice dam versus roof leak before assuming the pipe is responsible.
Give each contractor the same evidence
Send the plumber, roofer, restorer, insurer, and repair contractor the same timeline and photos. Ask each to state what was observed rather than paraphrasing another trade’s conclusion. This creates a chain from source to resulting damage. Water-damage restoration can bridge those scopes, but each specialist remains responsible for their discipline.
Use timing to separate six common ceiling-water sources
A ceiling stain is the end of a water path, not necessarily the beginning. Match its appearance to the event. Water during fixture use favors a drain, seal, shower, or appliance. A drip while every fixture is off may indicate a pressurized supply. Rain and wind suggest roof or wall entry. Thaw after snow points toward an ice dam. Cooling-season recurrence near an air handler or duct may be condensate. Winter spotting without precipitation can come from attic condensation.
| Timing or pattern | Source branch to investigate | Useful confirmation |
|---|---|---|
| Only while shower, tub, toilet, or sink is used | Drain, fixture seal, enclosure, overflow | Controlled fixture testing by the responsible trade |
| Continues with fixtures off | Pressurized supply or active mechanical line | Water-meter/shutoff observations and plumbing inspection |
| Rain with wind from one direction | Roof, flashing, siding, window, wall joint | Exterior and attic inspection under similar weather |
| Thaw after snow accumulation | Ice-dam backup or roof detail | Eave location, attic path, roof conditions |
| Cooling season near mechanical equipment | Condensate pan, drain, insulation, chilled line | HVAC operation and condensate testing |
| Cold dry weather, widespread attic signs | Indoor-air leakage and condensation | Frost, sheathing pattern, fan termination, humidity |
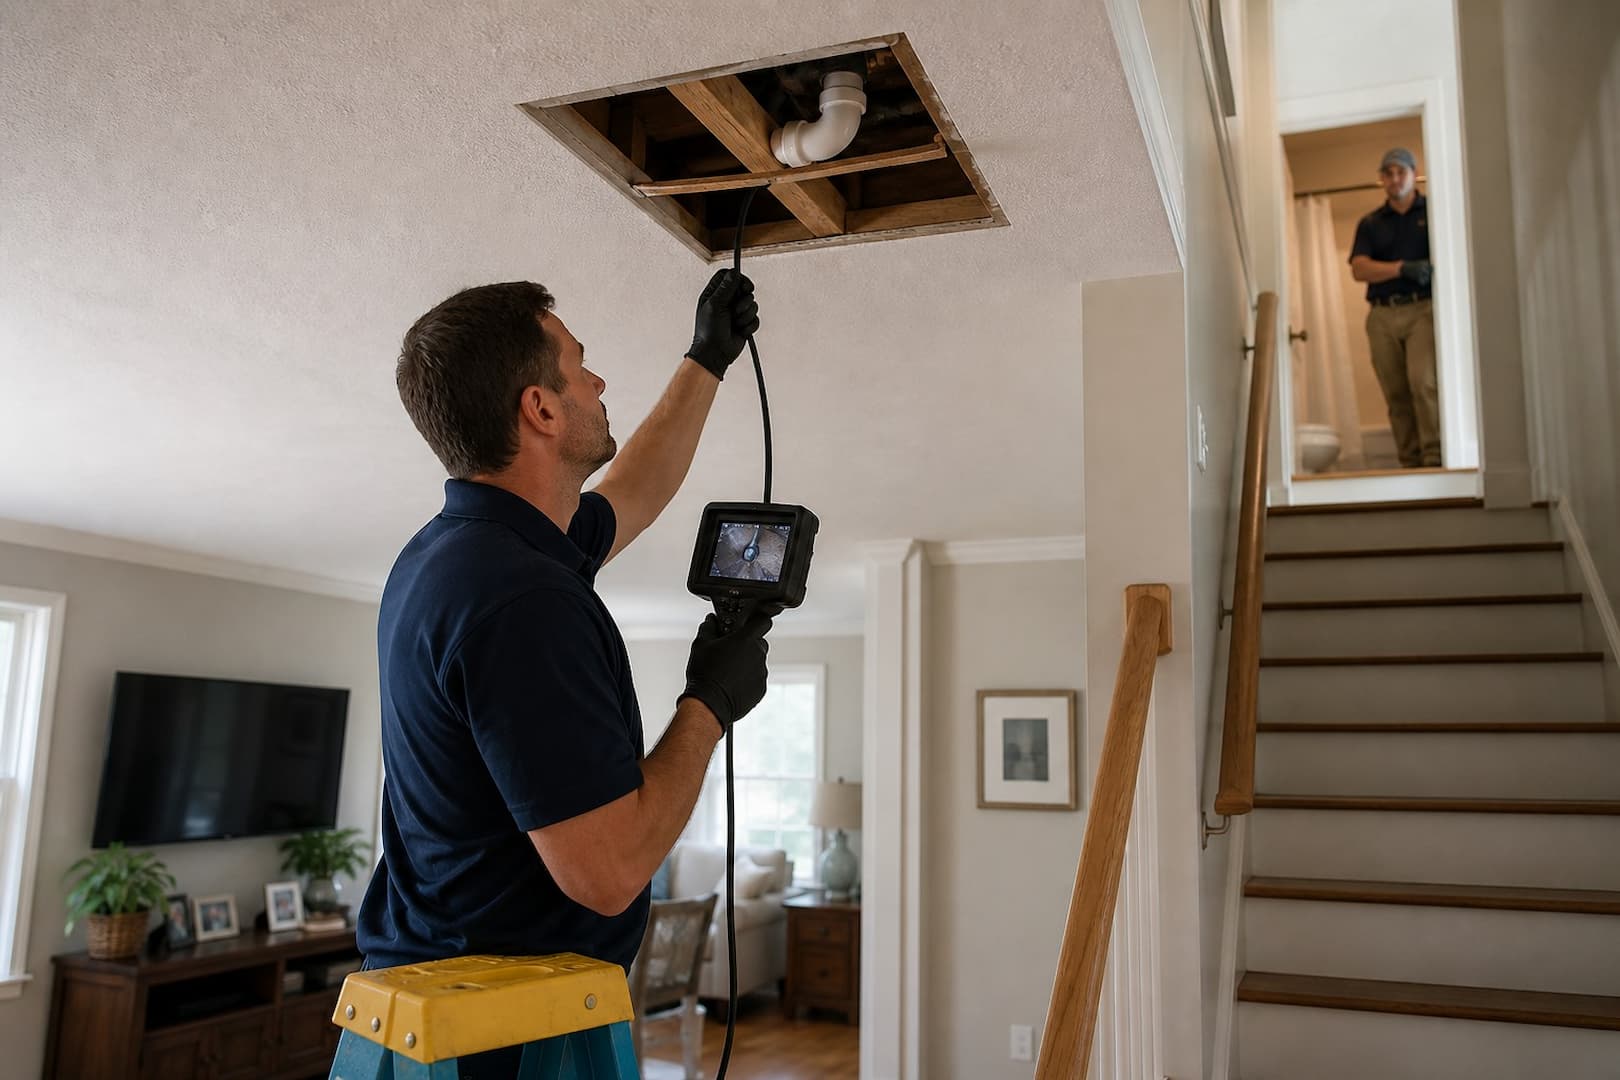
Read the ceiling assembly before deciding what to remove
Modern gypsum board, historic plaster on wood lath, plaster on metal lath, acoustic tile, suspended ceilings, insulation, resilient channels, and fire-rated assemblies behave differently. Gypsum paper can delaminate or support growth. Wet cellulose insulation can settle. Plaster may remain hard while heavy keys release from lath beyond the stain. A suspended tile may sag quickly but also reveal wet equipment or wiring above.
Boston-area homes may contain lead paint, asbestos-containing texture or joint materials, and older wiring. The need to manage a current leak does not authorize uncontrolled disturbance of suspect materials. Plan sampling or regulated work before cutting when the building age, finish, or renovation history creates a credible concern.
Electrical and structural clearance are separate decisions
A dry-looking light fixture is not an electrical clearance if water entered its box, cable path, fan, alarm, or recessed-light housing. An electrician determines the disposition of affected electrical components. Likewise, a restoration technician can document softness and water, but suspected framing failure or a broad plaster release may require a contractor, engineer, or building official.
Keep the room isolated when the ceiling bows, cracks rapidly, drops material, makes movement sounds, or releases water near electrical equipment. Do not move furniture beneath a sag to “save” it. Photograph from the doorway if that can be done safely and wait for qualified access.
Map the wet boundary in three dimensions
- Establish the event history. Record first discovery, weather, fixture use, alarms, shutoffs, and previous stains.
- Inspect above when safely accessible. Look for the source path, wet insulation, framing, mechanical equipment, and roof evidence.
- Compare the finish. Use appropriate moisture methods at the stain, beyond it, and at similar dry construction.
- Check adjacent assemblies. Water can reach the wall top, exterior wall, closet, cabinet, and room below.
- Create controlled access. Open where it answers the source, salvage, or drying question.
- Trend the reservoir. Recheck the same marked locations until the written endpoint is met.
Infrared imagery can prioritize locations when a useful temperature difference exists, but it does not see water. Confirm anomalies with material-specific readings or direct access. A clean rectangular thermal pattern may be framing or missing insulation; a cold amorphous area may be evaporation, plumbing temperature, or air leakage.
Decide among dry in place, selective removal, and full replacement
| Condition | Likely path | Why |
|---|---|---|
| Sound gypsum, recent sanitary water, accessible drying, improving readings | Dry in place may be considered | Material condition and reservoir can be verified |
| Localized soft or delaminated area | Selective controlled removal | Removes failed material and creates drying access |
| Wet insulation blocks access | Remove affected insulation/finish as needed | Surface air cannot dry a hidden reservoir reliably |
| Sewage or gross contamination | More conservative removal and cleaning | Porous ceiling layers are difficult to decontaminate |
| Historic plaster remains bonded | Specialty drying or limited access may preserve it | Removal can create disproportionate damage |
| Broad detachment or structural concern | Isolate and obtain qualified evaluation | Fall load extends beyond the visible stain |
Build an evidence package before cosmetic repair
Keep overview and close photographs, the original stain boundary, readings with locations, source-trade findings, the failed part when appropriate, drying records, removal photographs, and final acceptance. If an insurer is involved, distinguish emergency mitigation, source repair, regulated-material work, drying, and finish reconstruction. Those scopes may be handled by different parties.
Do not prime until the assembly is released for repair. Stain-blocking primer may be useful after drying and source correction, but it is not evidence that insulation, wood, wiring, or the back of the ceiling is ready to close.
Check the room again after the source is used
Many ceiling losses appear resolved because the stain stops growing after a valve is closed or rain ends. Arrange a safe, controlled verification appropriate to the suspected source: run the fixture and drain, observe the appliance cycle, test the repaired supply, inspect during representative rain, or operate the HVAC condensate system. Recheck mapped ceiling and wall points afterward. A repair that has not been challenged under its normal condition is still a hypothesis, and repainting can hide the earliest warning of recurrence.
Sources and further reading
- CDC: Guidelines for Cleaning Safely After a Disaster
- Boston.gov: Recovering from a Flood
- Massachusetts DPH and MassDEP: Flooding and Sewage Back-ups Home Care Guide
- Massachusetts DPH: Quick Reference — Water Damage Response in Buildings
When the source is stopped but the ceiling is still wet
Boston Restoration Group can map the affected assembly, remove standing water, create safe drying access and document the loss while the appropriate source trade completes the repair.