
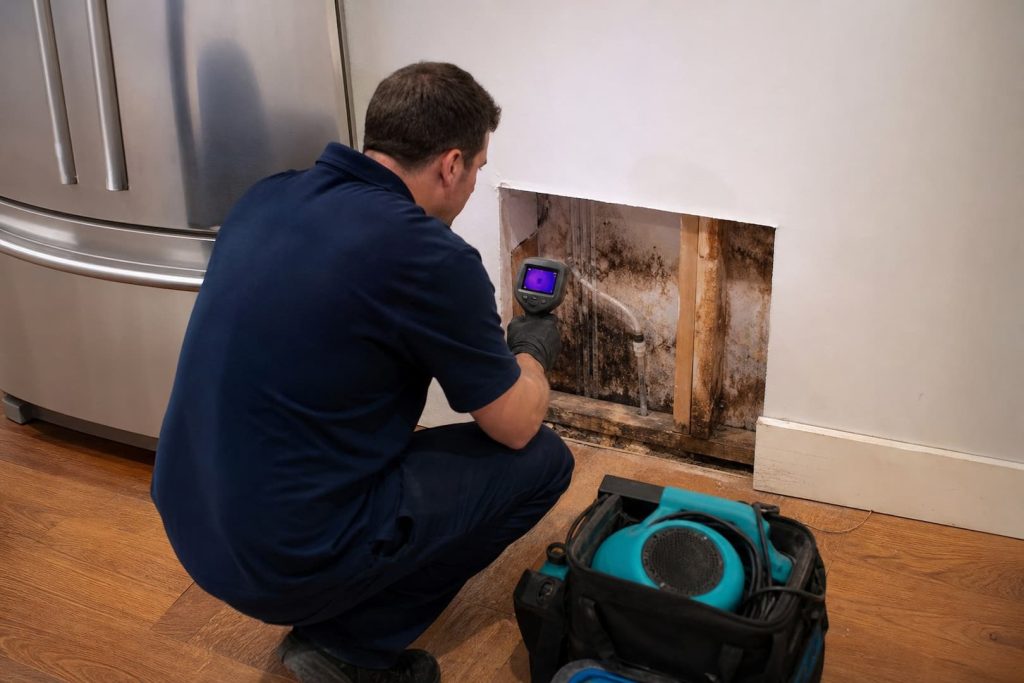
The tube feeding an ice maker or water dispenser is small, but it is connected to a pressurized plumbing system. A loose fitting can seep for weeks; a split line can run until someone closes the valve. Because the leak starts behind a heavy appliance, the first clue may be cupped flooring, a swollen cabinet end, a stain in the room below, or an unexplained water bill.
Do not roll the refrigerator through standing water or reach behind it if the outlet, cord or compressor area may be wet. Close the dedicated supply valve from a dry, accessible position. If the valve is concealed, stuck, or leaking, use the known building main or call a plumber rather than forcing it.
Clues that separate common sources
| Clue | Possible source | Where to inspect |
|---|---|---|
| Water only when dispenser is used | Internal dispenser tube or fitting | Door, hinge route, connection and front drip tray |
| Intermittent water near ice cycles | Ice-maker valve, fill tube or connection | Rear connection, freezer fill area and floor |
| Continuous seep behind unit | Supply tube, compression fitting or shutoff | Wall valve, full line route and subfloor |
| Water inside fresh-food compartment | Defrost drain, condensate path or container | Appliance technician; not necessarily plumbing supply |
| Moisture beside cabinet after sink use | Sink, dishwasher or countertop seam | Cabinet void may route unrelated water |
| Stain below with no visible kitchen puddle | Water traveled through penetration or floor system | Joist bay, ceiling cavity and appliance wall |
What to do first
- Stop dispenser and ice-maker use. Do not run another test while the source is unknown.
- Isolate water safely. Close the dedicated valve or building main without entering a wet electrical area.
- Protect the room below. Keep away from sagging drywall and wet fixtures.
- Document the appliance in place. Photograph floor changes, cabinet edges, valve and lower-level staining.
- Coordinate movement. A technician or insured mover may be needed to protect the floor and line.
- Repair the source. A plumber handles the building valve and supply; an appliance technician handles internal parts.
- Inspect and dry the building. Follow water beyond the rear footprint.
Why the damage can be larger than the puddle
Water follows the floor slope, pipe opening and seams between materials. It can run under floating flooring, spread through foam underlayment, soak hardwood from below, or wick into drywall behind the refrigerator. Cabinet bases create low, inaccessible pockets. On an upper level, water may travel along a joist before staining the ceiling.
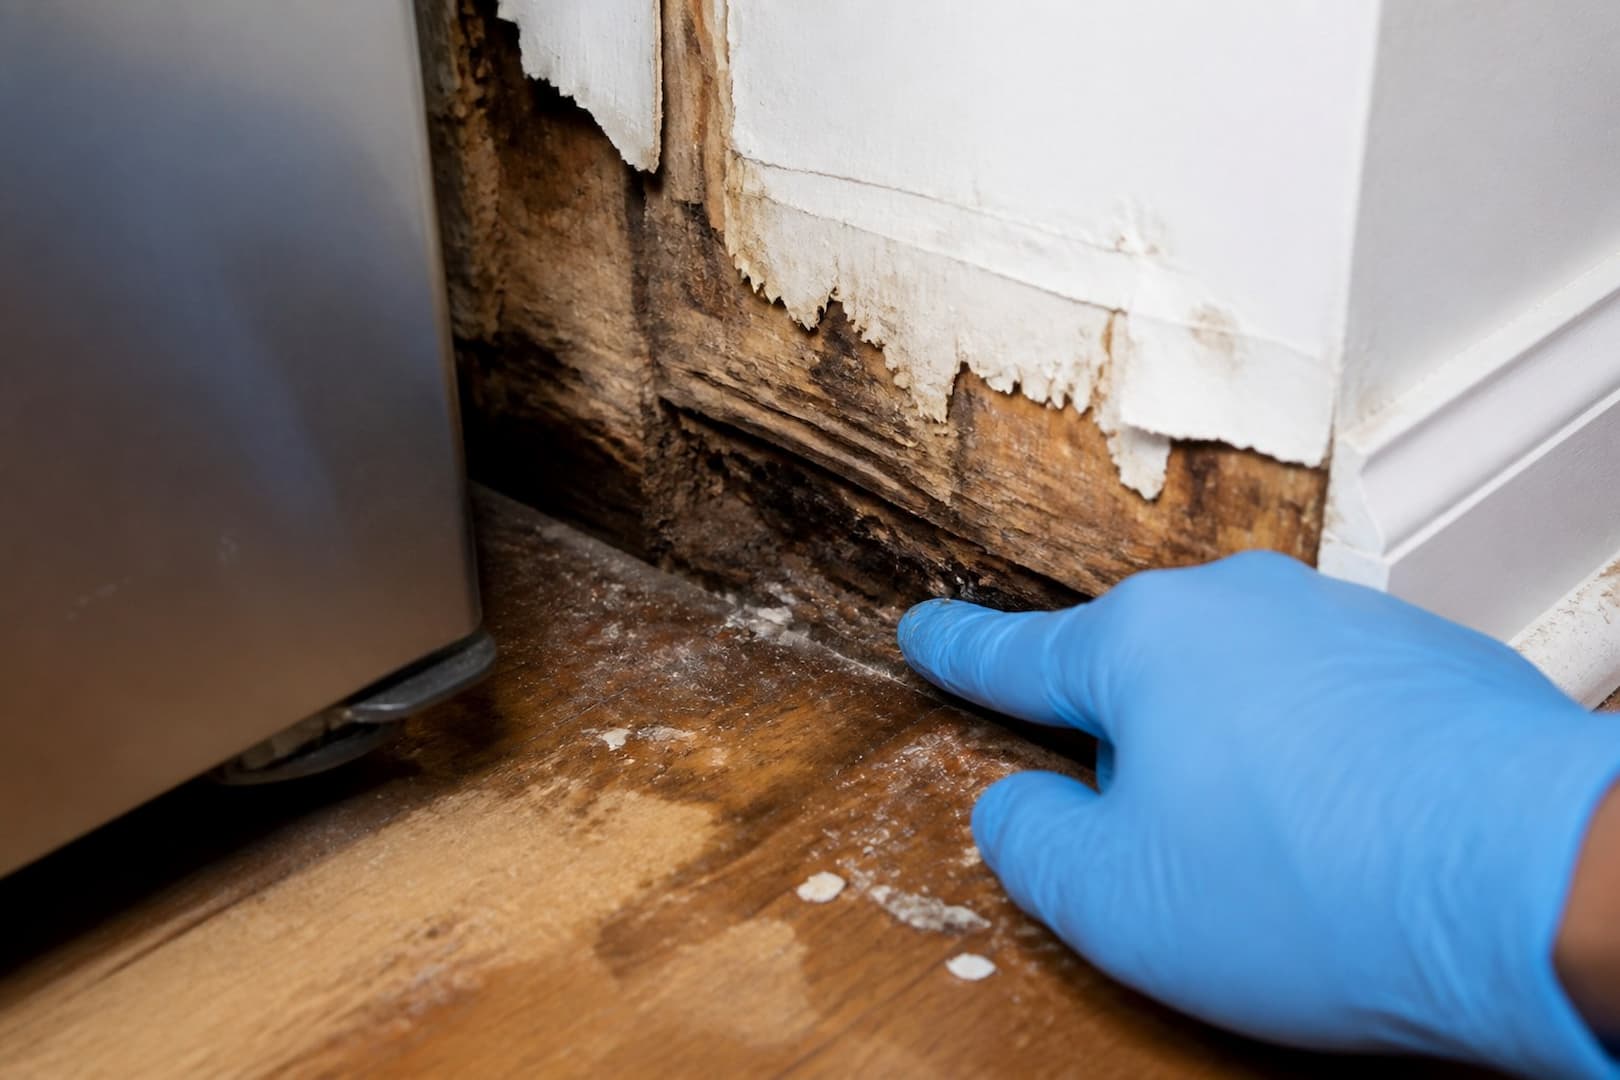
A slow leak adds another problem: the face may repeatedly dry while the underside stays damp. That pattern can support mold on drywall paper, cabinet backing or subfloor without producing standing water. Musty odor or visible growth means the scope must address contamination as well as moisture.
Flooring decisions
| Floor system | What to check | Common concern |
|---|---|---|
| Hardwood | Moisture gradient, board movement, subfloor | Cupping and delayed finish damage |
| Laminate | Seam swelling, core condition, trapped underlayment | Composite core often does not recover |
| Luxury vinyl plank | Water beneath locking joints and underlayment | Surface looks intact while subfloor stays wet |
| Sheet vinyl | Perimeter and seam entry, underlayment condition | Low-permeance sheet traps moisture |
| Tile | Grout, transitions, backer and subfloor | Tile survives while layers below remain wet |
Do not sand cupped wood while it is still drying; a floor flattened too early may crown later. Do not reinstall a refrigerator over a wet floor just because the line is repaired. The unit reduces airflow and can conceal renewed seepage.
Drying the concealed layers
Professional extraction and drying may involve edge access, targeted floor systems, dehumidification, cabinet toe-kick openings and moisture monitoring. The exact method depends on flooring, contamination, adhesive, subfloor and how long the leak ran.

If mold growth is present, air movement must not spread debris into clean rooms. Containment and selective removal may precede drying. Reconstruction waits until the source is corrected and remaining materials meet the agreed moisture and cleanliness criteria.
Insurance evidence for a slow or sudden leak
Record the discovery date, last known dry condition, water-meter changes, appliance behavior, valve and line condition, and all affected rooms. Preserve the failed connector when possible and obtain a written repair diagnosis. Policies may distinguish sudden discharge from repeated seepage or wear; provide facts without guessing how long the leak existed.
Preventing refrigerator-line losses
- Use a connector and fittings approved for the appliance and installation.
- Keep the shutoff accessible and label it; replace a corroded or inoperable valve through a plumber.
- Leave enough line for service movement without kinking or abrasion.
- Inspect behind and beneath the refrigerator periodically using a safe method.
- Use a leak pan or low-profile sensor where it will detect water early.
- Consider an automatic shutoff in an upper-floor or high-value kitchen.
- After moving the appliance, watch several fill and dispenser cycles from a dry, safe position.
Refrigerator-leak questions
Can I pull the refrigerator out myself?
Only if electricity and water are safe, the line has enough slack, the appliance is stable, and the floor is protected. Pulling can tear the line, tip the unit or damage wet flooring.
Is a tiny pinhole leak an insurance claim?
Claim viability depends on resulting damage, deductible, policy language and whether the event is sudden or repeated. Document first, mitigate promptly and ask the insurer.
Why is there mold when I never saw a puddle?
A slow seep can keep concealed paper, wood dust or cabinet backing damp while the exposed surface evaporates. Hidden growth follows moisture history, not visible water depth.
Identify which refrigerator system leaked
The small pressurized supply line is only one possibility. The shutoff, compression or push fitting, filter housing, internal reservoir, ice maker, defrost drain, condensate pan, and door dispenser can each produce a different pattern. A supply leak may continue with the appliance off. A defrost-drain problem is intermittent and may create ice inside the cabinet. Condensation can mimic a leak when doors do not seal.
| Pattern | Likely branch | Next diagnostic owner |
|---|---|---|
| Water continues after refrigerator is unplugged | Supply valve/line/fitting | Plumber |
| Water after ice-maker cycle | Ice maker or internal fill | Appliance technician |
| Water inside freezer or under drawers | Defrost drain/ice buildup | Appliance technician |
| Puddle at front with warm/muggy room | Door seal or condensation | Appliance/HVAC assessment |
| Wall stain behind valve box | Valve or concealed supply | Plumber plus restoration mapping |
The appliance footprint conceals the earliest damage
Water often sits below the refrigerator where air movement is limited. Rollers and leveling feet press into softened flooring. The line may spray the wall while the puddle exits at the front days later. Photograph the position, disconnect safely, and protect the floor during movement. Built-in refrigerators require trained handling because cabinets, anti-tip devices, electrical connections, and water fittings constrain removal.
Inspect the drywall or plaster behind the appliance, cabinet sides, floor seams, subfloor from below, and the room beneath. A thermal pattern can prioritize areas, but verify moisture. Old stains and cooling lines can mislead infrared interpretation.
Floor construction determines whether water can escape
Sheet vinyl and floating floors can trap water. Hardwood may wick along end grain and seams. Tile may allow water at the perimeter and penetrations. A concrete slab changes drying but does not protect cabinet bases or wallboard. Selective access at a transition, vent, basement ceiling, or toe-kick can reveal the layer without removing the whole floor first.
For board movement and subfloor decisions, use the hardwood water-damage guide. Water restoration should map beyond the visible puddle before flooring repair begins.
Document sudden versus repeated leakage without guessing
A brittle line, mineral trail, swollen cabinet edge, and layered flooring stain may suggest a history, but they do not establish an exact start date. Record what was first noticed, appliance alarms or service history, condition of the failed part, and moisture distribution. Retain the line or fitting when safe and relevant. Let the carrier evaluate coverage under the policy.
Prevent recurrence at the valve, line, and appliance
- Use the appliance manufacturer’s approved connection and installation method
- Keep the shutoff accessible and exercise it during routine service
- Avoid sharply bending or crushing the line when moving the refrigerator
- Inspect the line, fittings, filter, and valve after installation and periodically
- Replace filters and components on the specified schedule
- Use a correctly placed leak sensor or automatic shutoff where appropriate
- Recheck the connection after the refrigerator is moved for flooring or cleaning
A pan may reveal or contain a small leak, but it can also hide a slow loss under a built-in unit if no drain or sensor alerts anyone. Prevention works best when someone can inspect the connection and close the valve quickly.
After flooring work, reconnect and test deliberately
Refrigerators are often moved during floor replacement and then pushed back quickly. Have the water connection made by the appropriate professional, pressurize it while visible, run several dispenser and ice-maker cycles as applicable, and inspect again after the appliance reaches its final position. Confirm that the line has room for movement and is not pinched by the cabinet or wheel.
Return the leak sensor and automatic shutoff to service before the appliance hides them. Test the alert at the final location, label the shutoff, and give the owner a photograph showing how to reach it. Recheck the fitting the next day; a slow bead at a new connection may not appear during the first few minutes.
Keep food safety separate from the flooring claim
A refrigerator that lost power or sat disconnected during mitigation may need a food-disposal decision even when the appliance itself was not water damaged. Record temperatures and outage time when available, follow public-health guidance, and photograph discarded contents. Do not place questionable food back into a cleaned appliance while debating property coverage.
Confirm which refrigerator water system failed
A puddle behind a refrigerator may come from the pressurized supply tube, wall valve, connector, inlet valve, filter housing, internal dispenser tubing, ice maker, defrost drain, condensate pan, or a plumbing penetration nearby. Timing helps. A pressurized connection may leak while the appliance is idle. A defrost issue may cycle. A filter or dispenser leak may follow use or replacement. Record when water appears, whether the ice maker or dispenser was used, recent service, and any error or temperature change.
| Observation | Likely branch | Who should confirm |
|---|---|---|
| Water continues with appliance functions idle | Supply tube, valve, fitting, inlet valve | Plumber or appliance technician |
| Leak after dispensing/filter change | Filter housing, connection, internal tube | Appliance technician |
| Intermittent water unrelated to dispenser | Defrost drain or pan | Appliance technician |
| Wet wall penetration | Valve box, in-wall line, connection | Plumber |
| Floor damage but no current drip | Slow historical leak or water migrated away | Restorer plus source trade |
Move the refrigerator without worsening damage
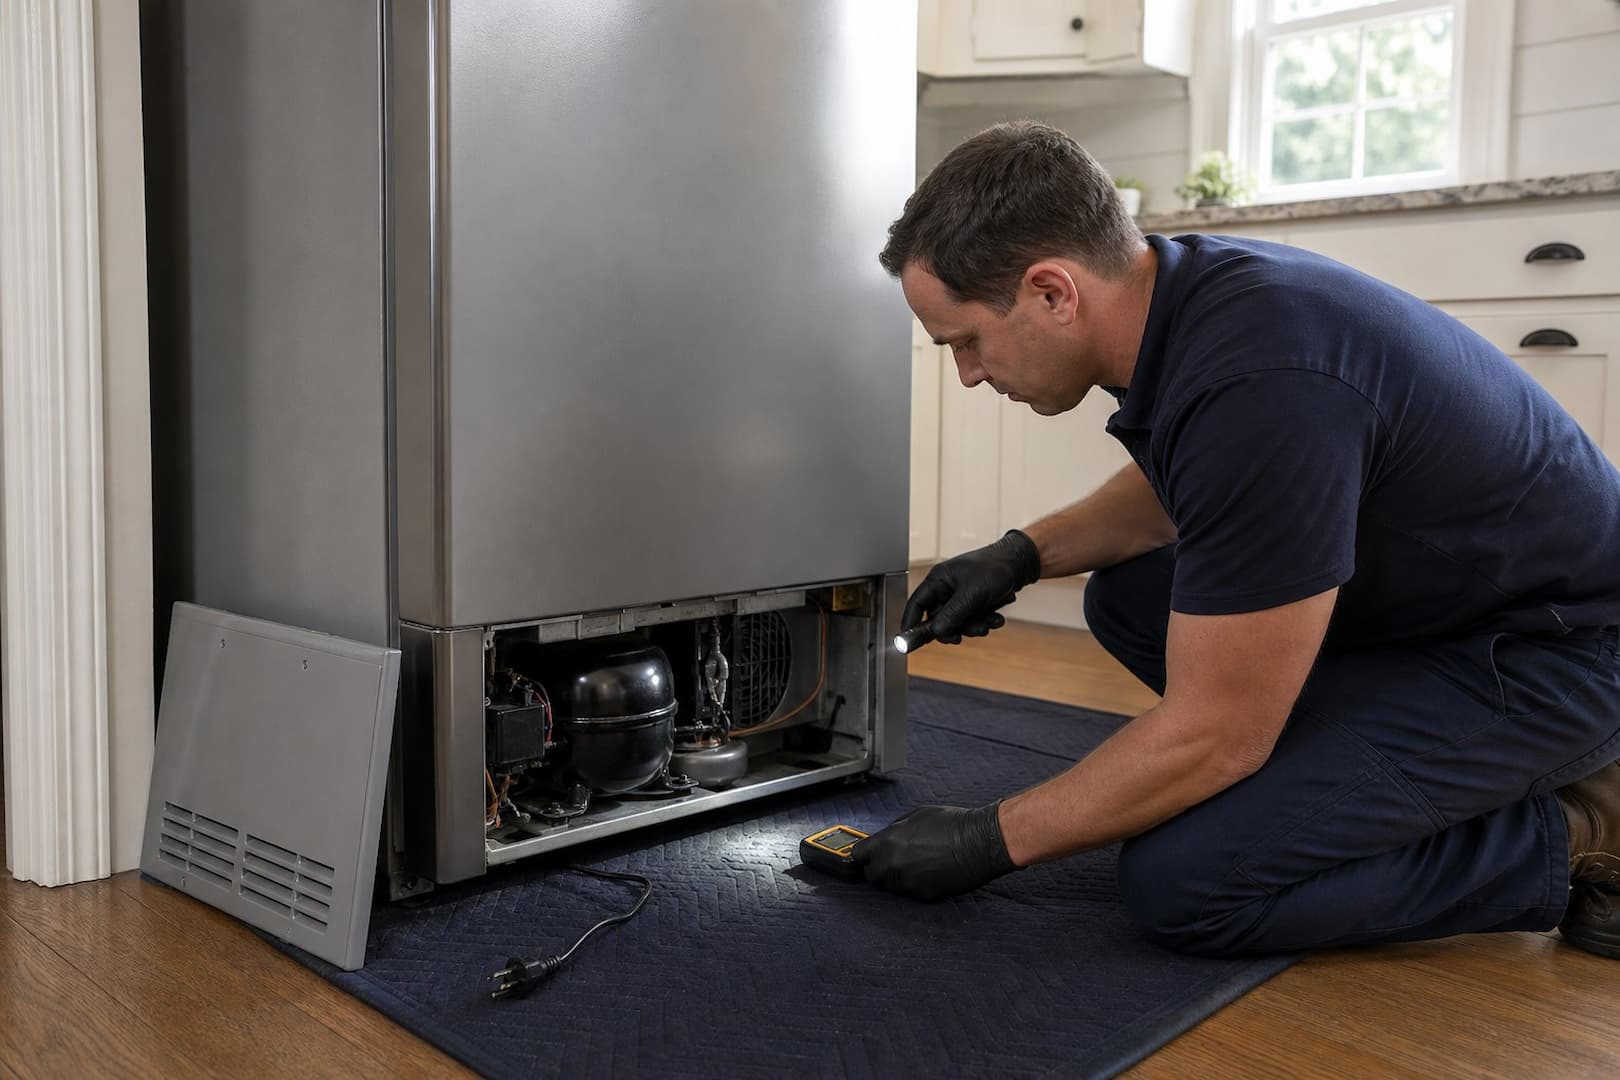
Do not pull or roll the unit through standing water when the receptacle, cord, compressor, or floor may be unsafe. After electrical and water control, use the manufacturer’s movement instructions and protect the flooring. Large built-in units may require an appliance crew and cabinet disassembly. A kinked line can break as the refrigerator moves, converting a slow leak into a larger release.
Photograph the final connection geometry before disconnection. Note whether the valve is accessible, the line is pinched, the refrigerator lacks clearance, or the appliance wheels sit in a depression. Preserve the failed connector or valve for evaluation when appropriate.
Follow the water beyond the appliance footprint
- Wall and valve box: drywall, baseboard, sill, insulation, and penetration.
- Floor finish: board seams, tile edges, sheet seams, and transitions.
- Underlayment/subfloor: water reservoir, swelling, adhesive, and fasteners.
- Cabinets: toe-kicks, end panels, raw edges, and island bases.
- Penetrations: pipe, duct, register, and floor gaps that move water downward.
- Lower level: ceiling, lights, walls, and contents beneath the kitchen.
Water often runs across the subfloor until it finds a joint or penetration, then appears far from the refrigerator. The visible plank pattern can also mislead when floating underlayment spreads moisture laterally. Create a material-specific map instead of limiting the scope to the first warped board.
Distinguish floor salvage from floor matching
A floor may be technically dryable but cosmetically difficult to repair because the product is discontinued or runs continuously through several rooms. Conversely, an insurer or contractor may discuss full replacement for matching while the immediate mitigation still needs only selective access. Keep the questions separate: what must be removed now to clean and dry, what is permanently damaged, and what final repair produces a reasonably consistent finish.
| Floor type | Hidden-water concern | Common permanent-damage sign |
|---|---|---|
| Solid hardwood | Subfloor wetter than face | Severe checking, buckling, unrecovered distortion |
| Engineered wood | Core and adhesive delamination | Layer separation, blistering, broken finish |
| Laminate | Absorbent core and locking edges | Swollen joints, crumbling or broken locks |
| Tile | Water through grout/edge to underlayment | Loose tile, damaged underlayment, persistent reservoir |
| Sheet vinyl | Low-permeance layer traps water | Adhesive failure, discoloration, inaccessible wet substrate |
Verify drying at the slowest location
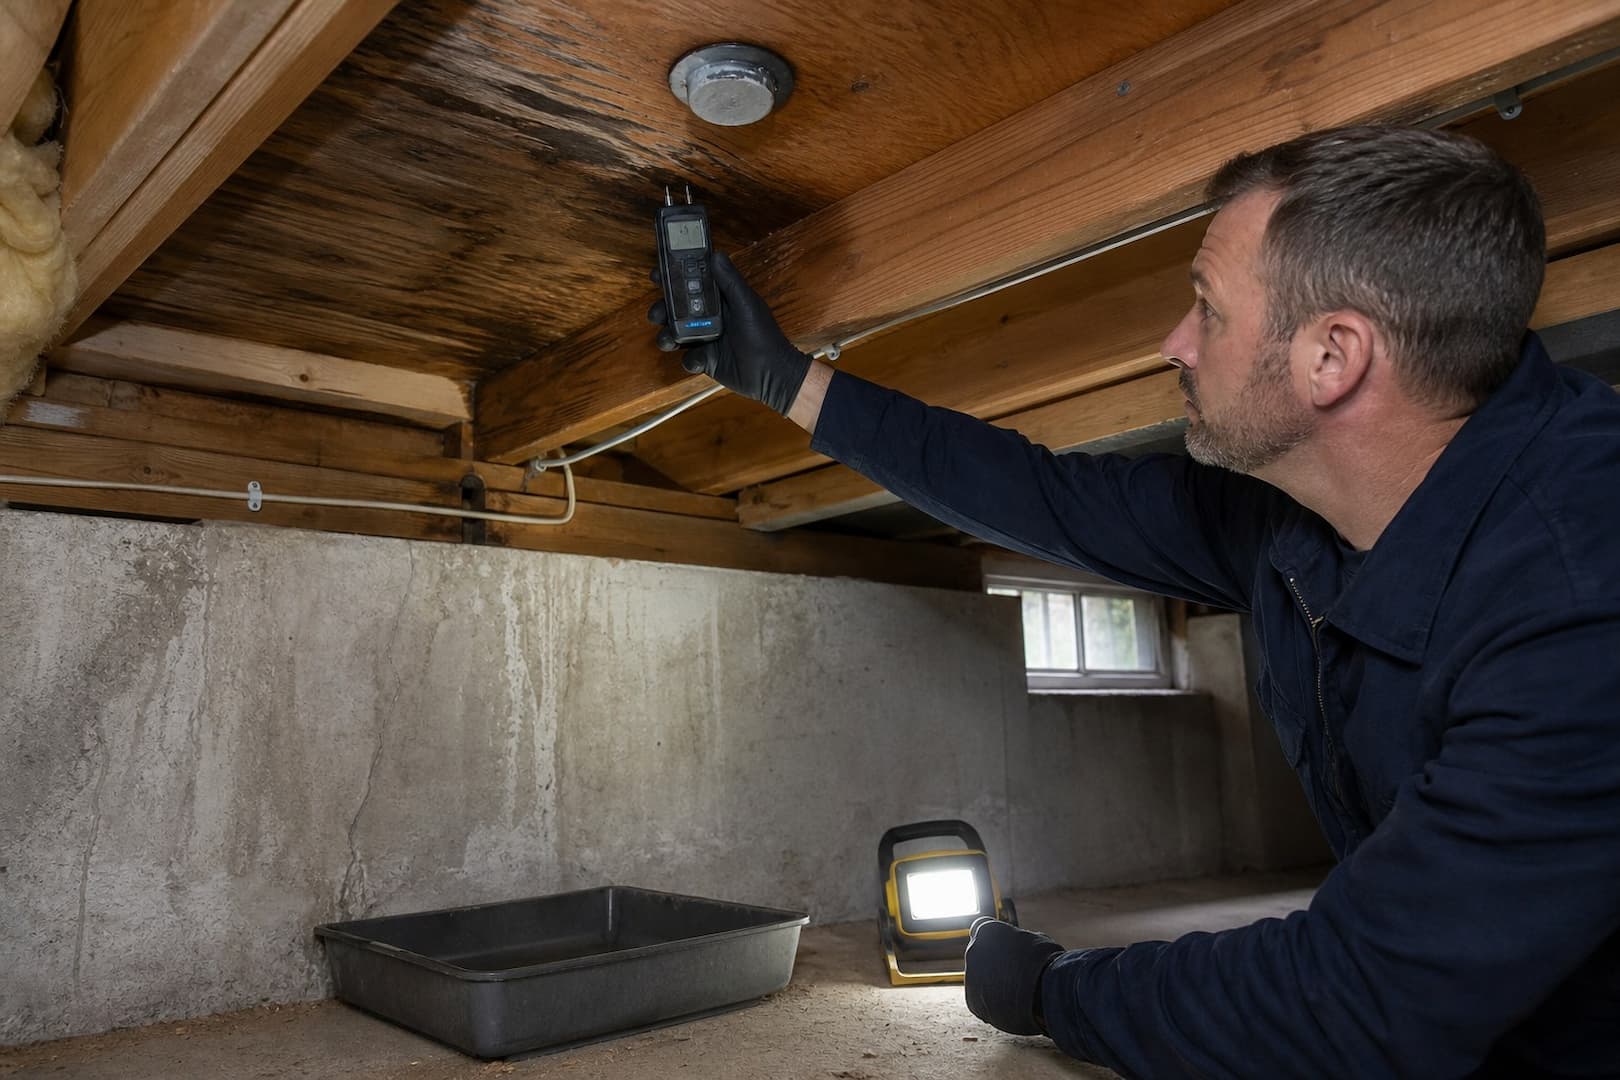
The exposed rectangle behind the refrigerator may dry before the covered zone under cabinets, flooring, or a partition. Select monitoring points from the migration pattern: origin, far edge, floor transition, cabinet void, subfloor access, and lower ceiling. Use comparable dry materials as references. Stop only when the reservoir and retained layers meet the written target and remain stable after equipment adjustment.
Do not reinstall a refrigerator or cabinet panel simply because the surface no longer feels wet. Appliance heat can change local readings; allow the restoration and appliance teams to coordinate the final test and connection.
Improve installation and discovery time
- Use listed tubing, fittings, valve box, and connection methods suited to the refrigerator and local requirements
- Keep the shutoff visible and reachable without pulling the unit
- Provide enough line length for service without sharp bends, abrasion, or crushing
- Inspect after installation, filter changes, moving, and normal ice/dispenser operation
- Place a monitored leak sensor where water will reach it early
- Consider flow monitoring or automatic shutoff appropriate to the home
- Know how alerts behave during power, Wi-Fi, battery, or travel conditions
A sensor under the front edge may never see water trapped in a recessed appliance bay until substantial damage occurs. Place devices from the likely path, test them with the owner, and include battery or communication checks in routine home maintenance.
Close the project with a witnessed function test
After the building is dry and the source has been repaired, the responsible appliance or plumbing professional should reconnect and test the supply, valve, filter, dispenser, ice maker, and defrost system as applicable. Observe the connections through a meaningful operating period, then recheck the original moisture locations. Store the repair invoice, failed-part documentation, final readings, and installation photographs together.
Sources and further reading
- CDC: Guidelines for Cleaning Safely After a Disaster
- Boston.gov: Recovering from a Flood
- Massachusetts DPH and MassDEP: Flooding and Sewage Back-ups Home Care Guide
- Massachusetts DPH: Quick Reference — Water Damage Response in Buildings
Find the edge of a hidden refrigerator leak
Boston Restoration Group can map the water path, extract trapped moisture, create selective access and monitor floor and wall drying after the supply line is isolated.