
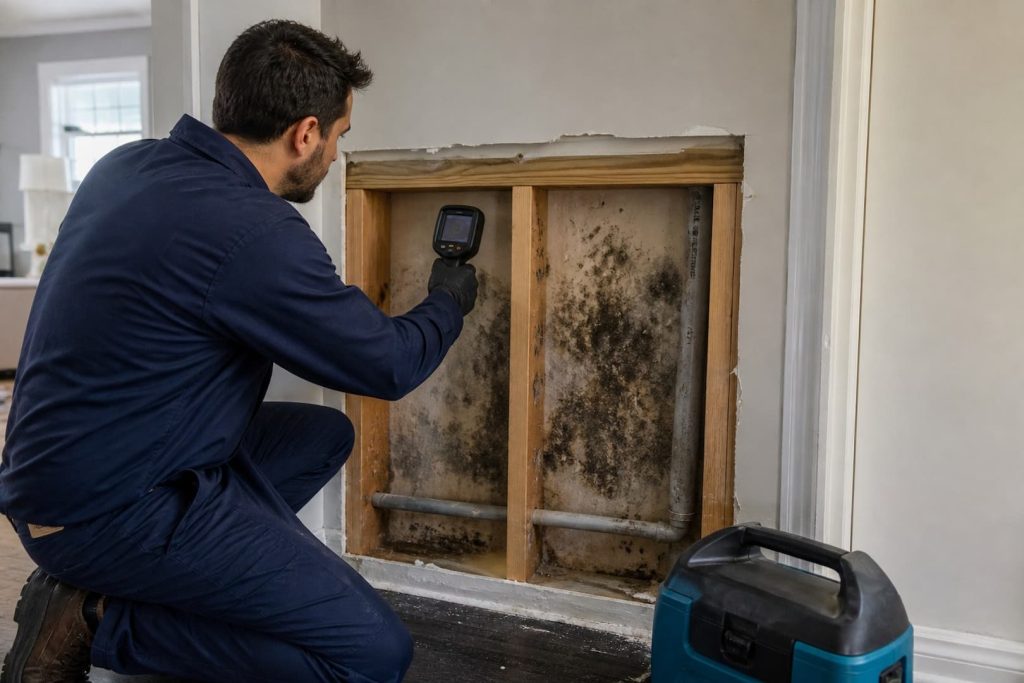
Drywall is not automatically disposable after every wetting, but it is not a surface that can always be “saved” by spraying it either. The paper facing supports fungal growth, the gypsum core can wick water, and paint may hide what happened on the cavity side. The right decision comes from the water source, exposure time, contamination, physical condition, and access for drying.
A small spot on sound painted drywall after brief bathroom condensation is one problem. Soft panels below a supply-line leak, sewage-contaminated wall bottoms, or a musty insulated cavity are different projects. Color does not identify the mold species or decide which category applies.
Signs the wall needs more than surface cleaning
- Paint is bubbling, peeling, or separating from the paper face.
- The panel feels soft, swollen, bowed, crumbly, or cool compared with a dry wall.
- Baseboards, seams, fasteners, or floor edges are stained or distorted.
- A musty odor is strongest at an outlet, wall base, cabinet, or penetration.
- The stain grows after rain or plumbing use.
- Insulation behind the wall is wet.
- Water came from sewage, floodwater, or another contaminated source.
- Growth returns quickly after the surface is cleaned.
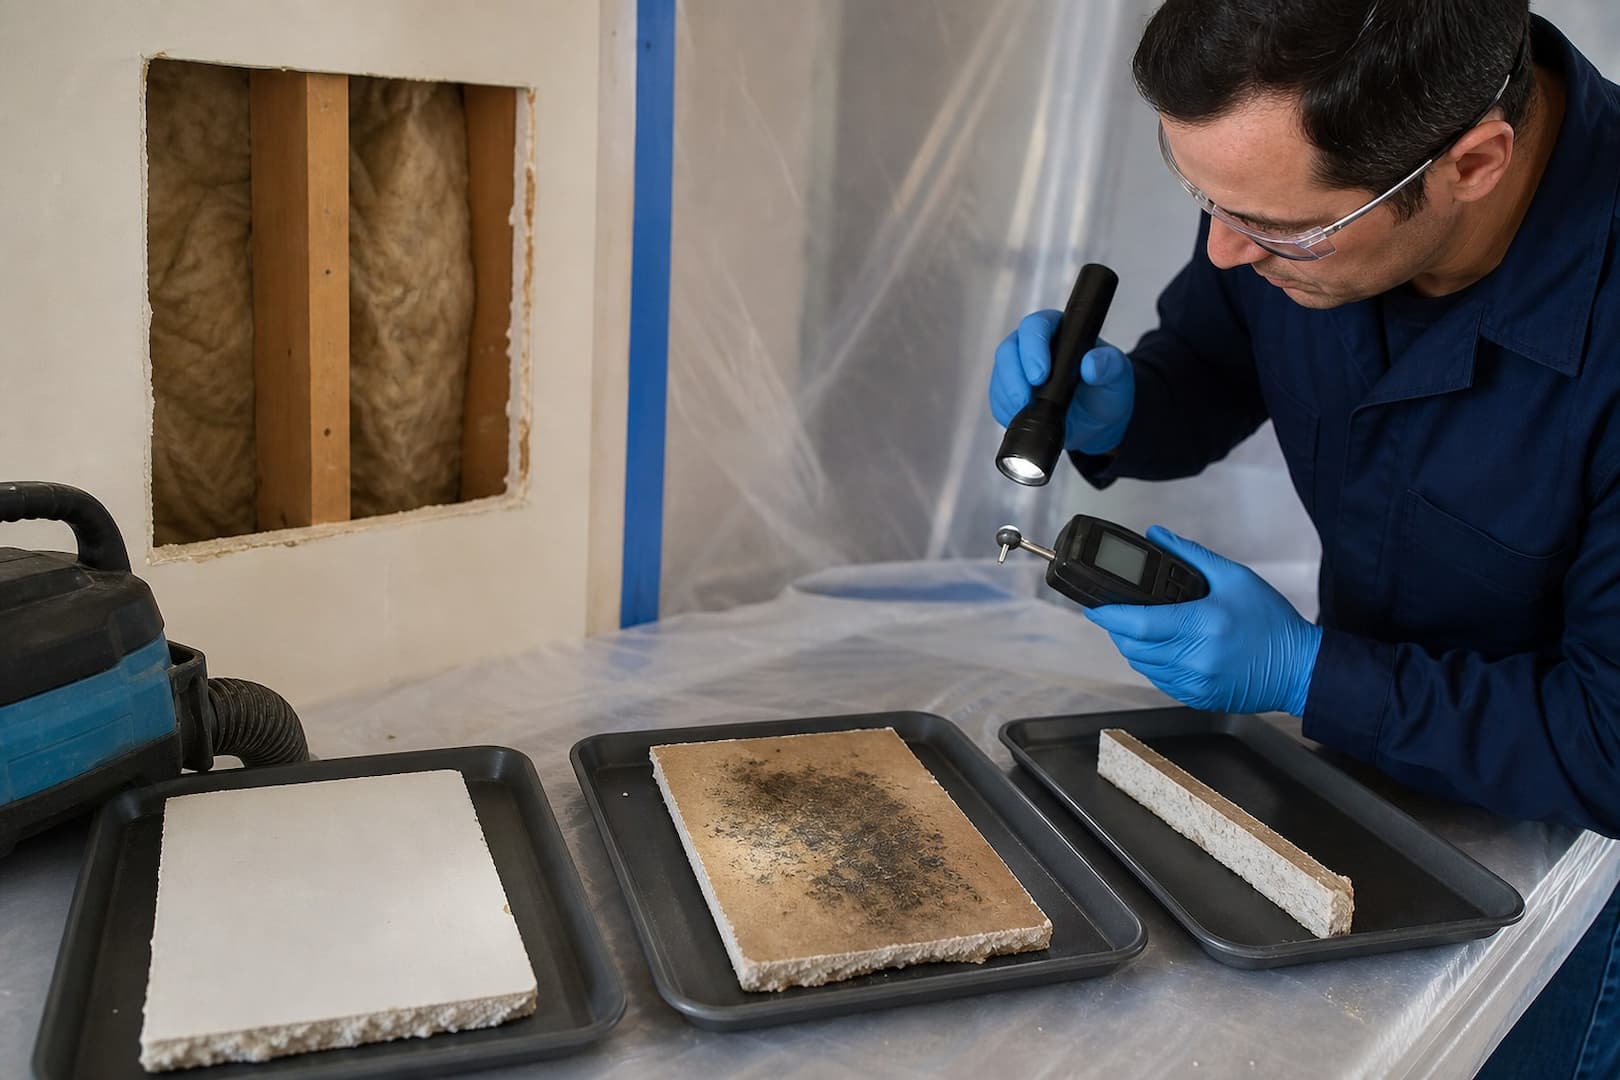
Moisture meters are comparison tools, not truth machines. Metal studs, foil, fasteners, salts, and material density can affect readings. Compare suspect drywall with known dry material and, when the project warrants it, confirm the cavity through a controlled access point.
Clean, dry in place, or remove?
| Condition | More defensible response | Why |
|---|---|---|
| Tiny surface growth on sound painted drywall; source fixed | Limited cleaning may be suitable | The finish is intact and the panel can dry |
| Clean-water wetting caught quickly; no swelling or wet insulation | Assess for drying in place | Removal may be avoidable if the entire assembly returns to dry reference conditions |
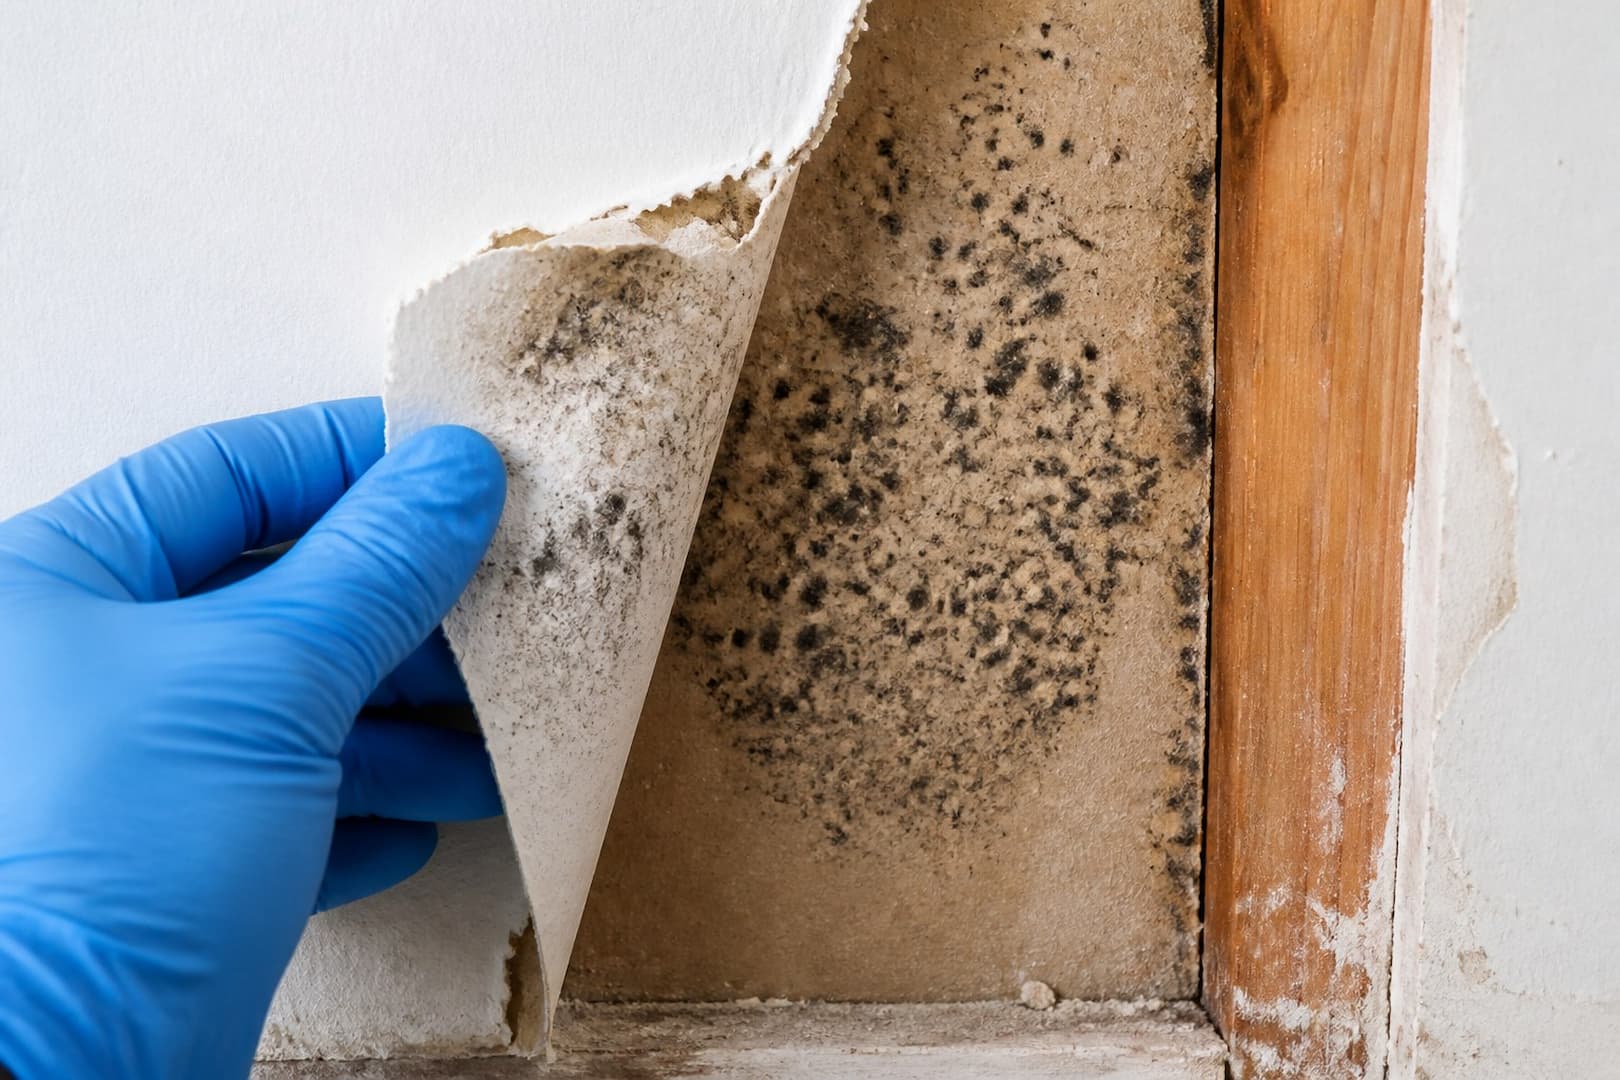
| Soft, delaminated, crumbling, or mold-colonized paper | Controlled removal | Physical damage and porous contamination limit reliable cleaning |
| Sewage or floodwater reached the panel | Remove affected drywall and insulation | CDC guidance treats contaminated porous building material conservatively |
| Odor or readings indicate a hidden cavity problem | Create planned access and inspect | The visible face cannot define the back side or insulation |
| Older wall will be sanded or demolished | Evaluate lead and asbestos risks first | Restoration controls do not replace regulated-material requirements |
There is no universal rule to cut six inches, twelve inches, or two feet beyond every visible mark. Removal boundaries should follow moisture, contamination, material condition, framing access, and containment. A neat preset line is not a substitute for field evidence.
A cautious process for a truly limited area
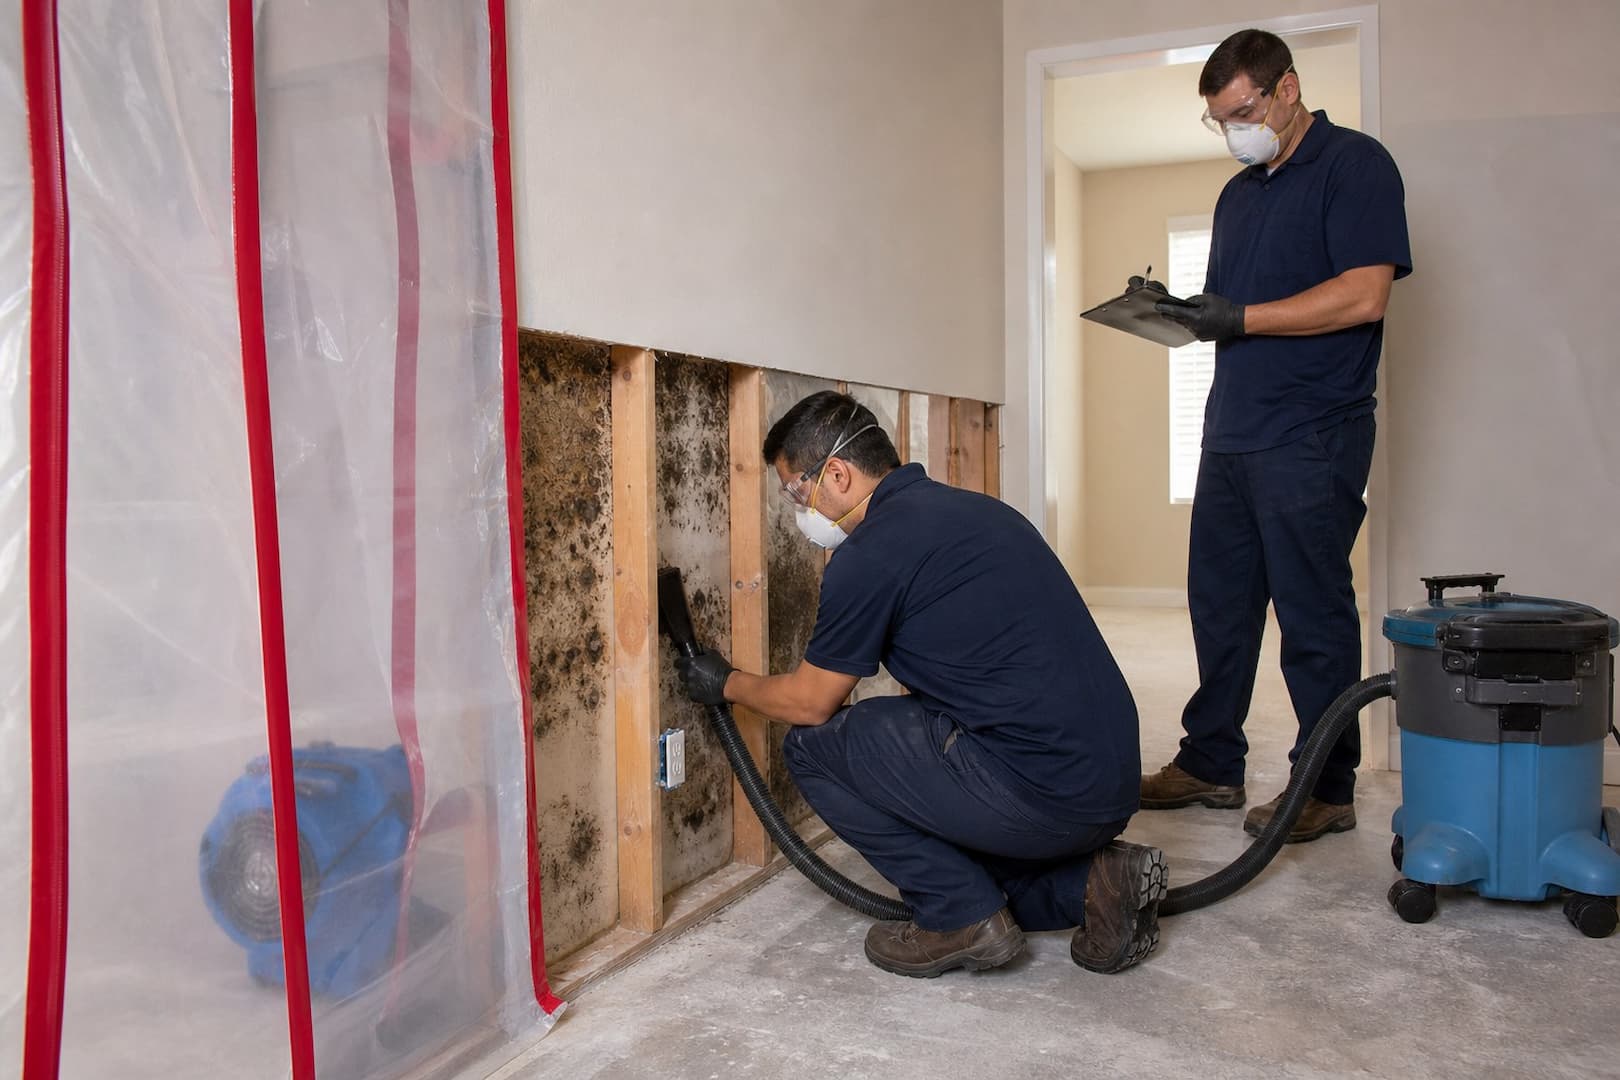
EPA’s homeowner benchmark is about 10 square feet, but a smaller patch can still require a professional if it is concealed, near an HVAC intake, tied to contaminated water, or likely to release dust into occupied rooms. Keep vulnerable occupants away. Wear gloves, sealed goggles, and at least an N95 respirator for suitable limited cleanup.
- Stop the source. Repair plumbing, roof, window, condensation, or exterior drainage first.
- Protect the room. Do not aim a fan at visible growth or cut the wall before planning debris control.
- Clean only suitable sound surfaces. Use detergent and water, remove residue, and dry completely.
- Remove unsalvageable material carefully. Bag it before moving through clean areas.
- Inspect what was concealed. Check insulation, framing, adjoining bays, and the source path.
- Dry to a defensible endpoint. Compare affected framing and remaining materials with dry references.
- Close the wall only after source correction. A new panel should not hide an unresolved leak.
Bleach is not a universal treatment for porous drywall, and it must never be mixed with ammonia or another cleaner. Antimicrobial products do not restore broken paper or wet insulation. Paint and primer belong after cleaning, removal where necessary, and drying.
What professional drywall remediation should include
A larger project may need containment, negative air or HEPA filtration, selective removal, careful bagging, HEPA detail cleaning, and controlled drying. Equipment should support the work zone, not blow particles through the house. The scope should also state who repairs the leak, who addresses lead or asbestos if suspected, and whether an independent post-remediation review is appropriate. See BRG’s mold remediation service for the building-focused sequence.
Preventing mold behind new drywall
- Confirm framing and subfloor moisture before reconstruction.
- Replace wet insulation rather than trapping it behind new panels.
- Vent bathrooms, kitchens, and dryers outdoors.
- Insulate and air-seal cold surfaces using an assembly-appropriate design.
- Repair window, roof, flashing, and plumbing leaks promptly.
- Keep indoor humidity below 60 percent when practical.
- Use water-resistant assemblies where code and exposure require them; “mold-resistant” products do not make a wet wall safe from growth.
Drywall mold questions
Can mold grow inside gypsum?
Growth commonly uses the paper facing, joint compound, dust, adhesive, and other organic residue. Water can also move through the gypsum core, leaving the back paper wet even when the painted face looks better.
Should moldy drywall always be replaced?
No. A small superficial area on sound material may be cleanable. Soft, contaminated, extensively colonized, or wet-backed panels are much stronger removal candidates.
Do I need a mold test before opening the wall?
Not automatically. An inspection may already show a clear wet material problem. Sampling is useful only when a defined result will change the decision or documentation.
Can new paint stop recurrence?
Only after the moisture source is fixed and the remaining assembly is clean and dry. Paint cannot dry a cavity or repair damaged paper.
Drywall has two paper faces and a hidden edge
The painted room side may show only a few spots while the back paper carries broader growth. Water can enter through a cavity, wick up the cut bottom edge, or run behind baseboard. Moisture mapping should cover both sides when accessible, the wall base, adjacent rooms, and the level below. A surface-cleaning decision made without the moisture path can leave the more affected face untouched.
| Drywall condition | Likely decision | Reason |
|---|---|---|
| Intact paint, tiny surface patch, dry wall, known corrected humidity | Limited cleaning may fit | Surface is accessible and substrate remains sound |
| Swollen edge or soft gypsum | Remove affected section | Material structure has changed |
| Wet insulation behind board | Selective access or removal | Closed reservoir cannot be verified from room side |
| Sewage or outdoor flood contact | Remove contaminated porous material | Cleanability and hidden layers are poor |
| Repeated growth after repainting | Investigate source and cavity | Coating did not correct moisture |
| Historic plaster rather than drywall | Use plaster-specific assessment | Different material and repair options |
Plan the cut line around evidence and reconstruction
Removal boundaries should reach clean, dry, accessible material and allow the remaining edge to be inspected and fastened. Cutting exactly around visible spots can leave concealed growth at studs or insulation. Cutting every wall to an arbitrary height may waste material and destroy evidence. Use readings, exposure history, cavity conditions, and work controls to choose the boundary, then adjust it if opening reveals a different pattern.
Before cutting, locate electricity, plumbing, and other utilities. Older homes may contain lead paint or asbestos in joint compound, texture, insulation, or adjacent materials; disturbance can trigger separate testing and work rules. A mold contractor should not treat those hazards as incidental. Coordinate sampling and regulated work before demolition continues.
Cleaning studs is not the same as sanding everything bright
Retained wood should be structurally sound, accessible, and dryable. Physical cleaning can remove surface growth and settled dust without erasing the wood grain. Aggressive abrasion may be justified for certain conditions, but it adds dust, labor, and surface damage. The scope should describe HEPA capture, method, detail cleaning at fasteners and intersections, and how debris is removed from the containment.
Staining can remain after successful cleaning. A cosmetic shadow is not automatically active growth, and a pale surface is not automatically clean. Visual condition, dust, odor, moisture, and the agreed specification matter together. Coatings, when used, come after cleaning and drying and should not hide an unresolved source.
Rebuild the cavity so it can stay dry
Confirm the plumbing, roof, window, foundation, or condensation repair first. Replace wet insulation with a system appropriate to the wall and climate. Maintain drainage planes and flashing at exterior walls. Avoid trapping moisture between vapor-resistant layers. In bathrooms, address the exhaust and shower assembly; in basements, address below-grade water and cold surfaces. “Mold-resistant drywall” still grows surface contamination if dust and moisture remain.
Professional mold remediation should hand reconstruction a defined clean and dry boundary. The guide to hidden water behind walls adds diagnostic detail for cavities without visible growth.
Keep a record before the wall closes
- Source-repair photographs and invoices
- Pre-removal moisture map and affected-area photos
- Images of the opened cavity and insulation condition
- Notes on unexpected utilities or regulated-material concerns
- Cleaning and final moisture documentation
- A reconstruction photo showing insulation and wall details before closure
That record protects more than an insurance claim. It tells a future owner or contractor what failed, what was removed, and how the assembly was repaired. If odor or staining returns, the original map gives the next investigator a starting point instead of another round of guesswork.
Sources and further reading
- U.S. EPA: A Brief Guide to Mold, Moisture and Your Home
- U.S. EPA: Mold Cleanup in Your Home
- CDC: Mold — overview, health effects, prevention and cleanup
- Massachusetts DPH: Mold Cleanup, Repairs, and Excess Moisture Control
When the property needs a closer look
Boston Restoration Group can inspect the affected area, document moisture and material conditions, and explain which restoration step fits the loss. Use the BRG contact page to request service in Greater Boston.