
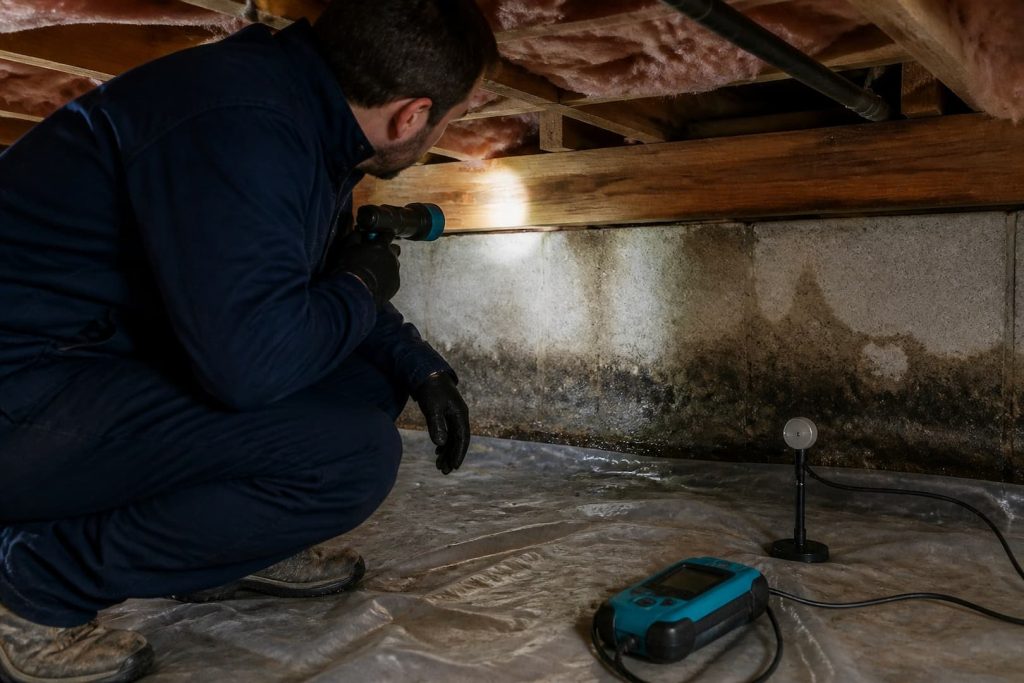
A crawl space can look dry at the hatch while soil vapor, a low plumbing leak, humid outdoor air, or wet insulation keeps the framing damp farther inside. Mold cleanup that ignores those inputs often leaves a cleaner surface in the same wet environment. No responsible contractor can promise a “permanent” result without maintaining the moisture controls.
Access is part of the risk. Tight clearances, exposed wiring, pests, sharp fasteners, unstable insulation, sewage, and limited exit routes make a crawl space different from a small patch on a bathroom tile. Do not enter standing water or a space where electrical, structural, or air-quality conditions are uncertain.
Where crawl-space moisture comes from
| Source | Field clues | Correction path |
|---|---|---|
| Exposed soil or failed ground cover | Damp earth, condensation, broad seasonal humidity | Continuous ground vapor retarder detailed to the design |
| Poor exterior drainage | Water after rain, wet foundation edge, sediment tracks | Gutters, downspouts, grading, drains, or sump as appropriate |
| Humid outside air entering a cool space | Summer condensation on ducts, pipes, and joists | Assembly-specific venting, sealing, conditioning, or dehumidification |
| Plumbing or drain leak | Localized wet wood, staining, active drip, odor | Qualified plumbing repair and drying |
| Duct leakage or cold uninsulated ducts | Condensation below ducts, loose insulation, air leakage | HVAC repair, sealing, insulation, and humidity control |
| Flood or sewage event | Residue, widespread wetting, contaminated insulation | Safety isolation, extraction, removal, cleaning, and disinfection |
A vented crawl space may perform acceptably in one building and poorly in another. Closing vents without controlling soil moisture, drainage, combustion appliances, radon, or indoor-air connections can create a new problem. Opening more vents can also introduce humid summer air. The fix must match local conditions and the building design.
Signs that justify a closer inspection
- Musty odor at the hatch, floor penetrations, or first-floor closets.
- Condensation on ducts, pipes, fasteners, or subfloor.
- White, dark, or green surface growth on joists or sheathing.
- Sagging, wet, or fallen insulation.
- Soft wood, fungal fruiting bodies, insect damage, or deformation.
- High indoor humidity or floor cupping above the space.
- Repeated water after rain or a sump-pump cycle.
- Deteriorated ground plastic with exposed soil or pooled water.
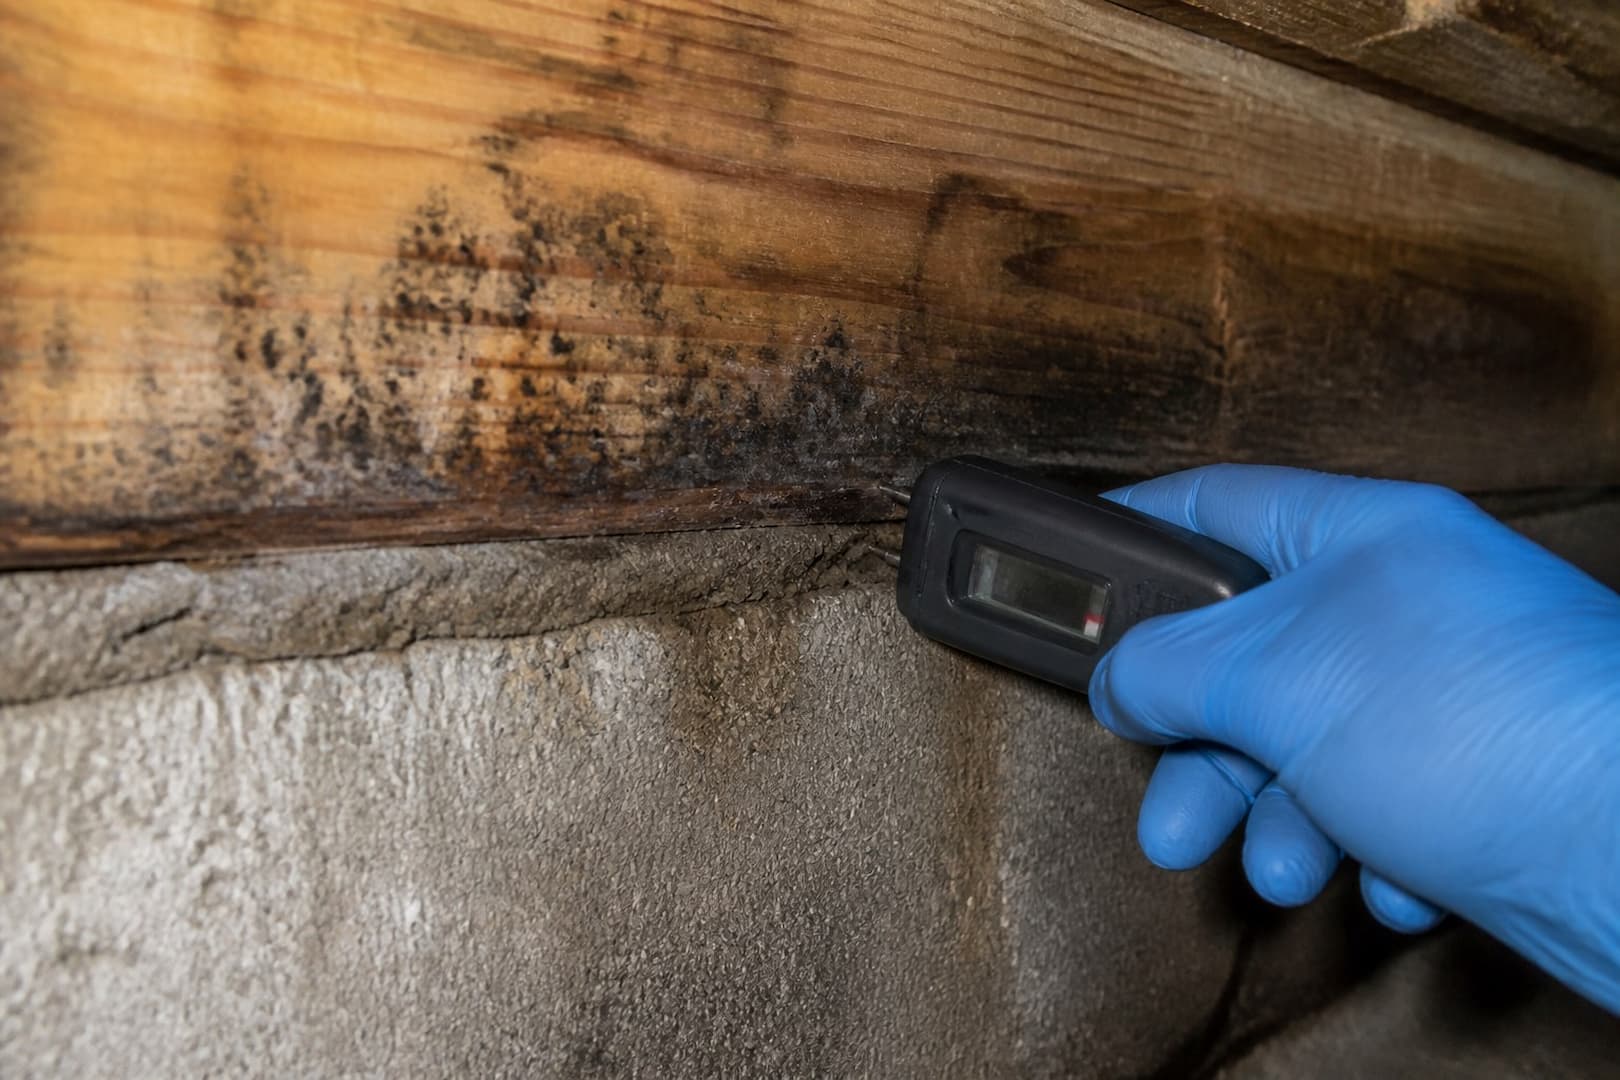
Surface mold does not automatically mean joists have lost structural capacity. Wood decay and insect damage are separate conditions that need their own assessment. A screwdriver “poke test” by an unqualified person is not a structural evaluation, and invasive probing can damage concealed utilities or finishes.
What remediation should address
- Make entry and utilities safe. Resolve standing water, electrical hazards, sewage, and unstable access.
- Stop bulk water. Repair plumbing and correct drainage or sump failures.
- Define affected materials. Inspect subfloor, joists, rim area, insulation, ducts, and stored contents.
- Remove unsalvageable porous material. Wet contaminated insulation and debris commonly obstruct effective cleaning.
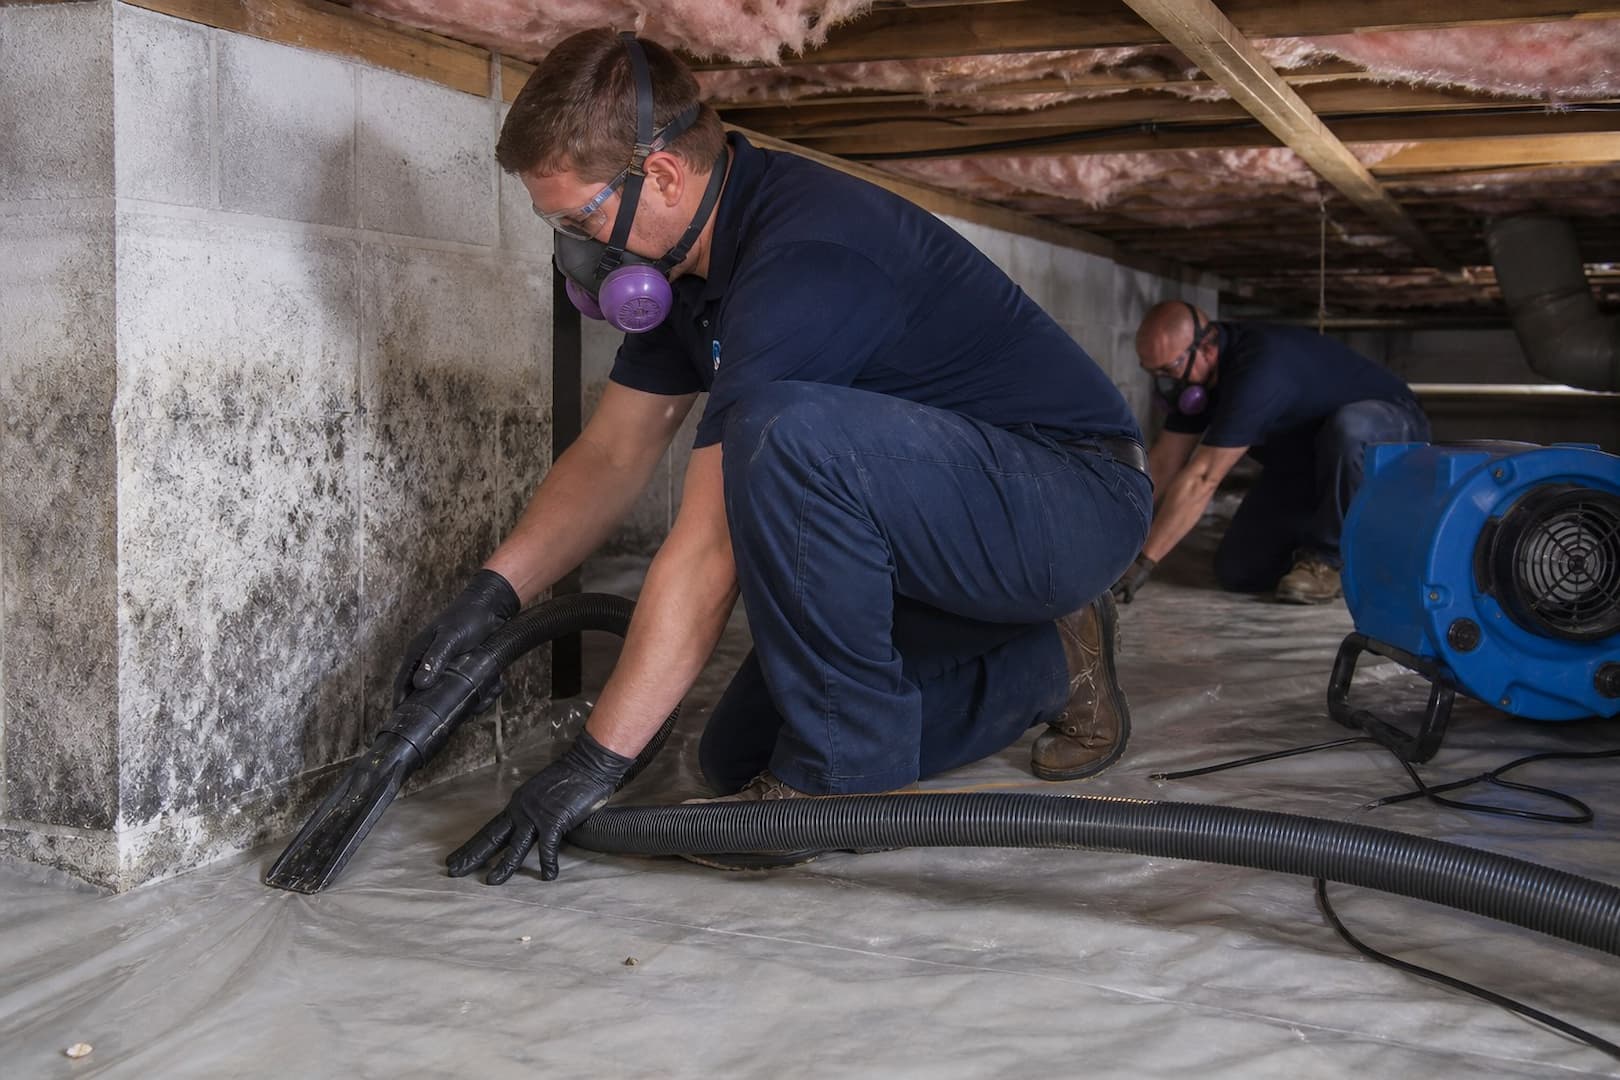
- Contain and clean. Select controls that prevent dust from moving into occupied rooms.
- Dry the wood. Compare affected materials with dry references before closing the space.
- Install and maintain moisture controls. Ground cover, sealing, drainage, dehumidification, and conditioning work as a system.
Professional mold remediation may be appropriate even for a modest visible area when access is tight or growth continues beyond the first bay. Cleaning methods should remove residue without aggressive blasting that unnecessarily erodes wood or sends debris through the home.
Ground cover and encapsulation
A durable ground vapor retarder can reduce soil moisture when seams, edges, piers, penetrations, and drainage are detailed correctly. “Encapsulation” usually describes a more continuous sealed approach, often paired with conditioned air or dehumidification. It is not merely rolling out plastic. Water must still have a route out, and equipment needs power, drainage, service access, and monitoring.
Before changing the crawl-space air strategy, consider combustion appliances, radon, termites, flood exposure, local code, and how the space connects to the house. Those issues may require an HVAC contractor, pest professional, radon specialist, electrician, plumber, or building official in addition to a restoration company.
Preventing recurrence
- Inspect gutters, downspouts, grading, window wells, and foundation openings after heavy rain.
- Keep the ground cover intact and repair seams or punctures.
- Service dehumidifiers, condensate drains, sump pumps, alarms, and battery backup.
- Insulate cold pipes and ducts with materials suited to the application.
- Repair plumbing drips promptly and confirm the subfloor dries.
- Keep stored cellulose and fabric out of the space.
- Recheck wood moisture and odor during humid summer weather, not only in winter.
Crawl-space mold questions
Should every crawl space be sealed?
No. Many spaces benefit from improved ground vapor control, but the venting, sealing, drainage, radon, and mechanical strategy should be designed for that building.
Can I spray the joists and close the hatch?
A spray cannot remove debris, dry wood, repair drainage, or correct ground vapor. It may hide the condition while moisture continues.
Does mold in the crawl space affect the first floor?
Air and odor can move through plumbing penetrations, chases, duct leaks, and floor openings. The amount varies with pressure, weather, and the building. Source correction is more reliable than trying to seal each odor path in isolation.
When is structural evaluation needed?
Request appropriate evaluation when wood is soft, deformed, deeply cracked, losing section, or affected by suspected decay or insects. Remediation cleaning does not certify load capacity.
Vented and sealed crawl spaces fail in different ways
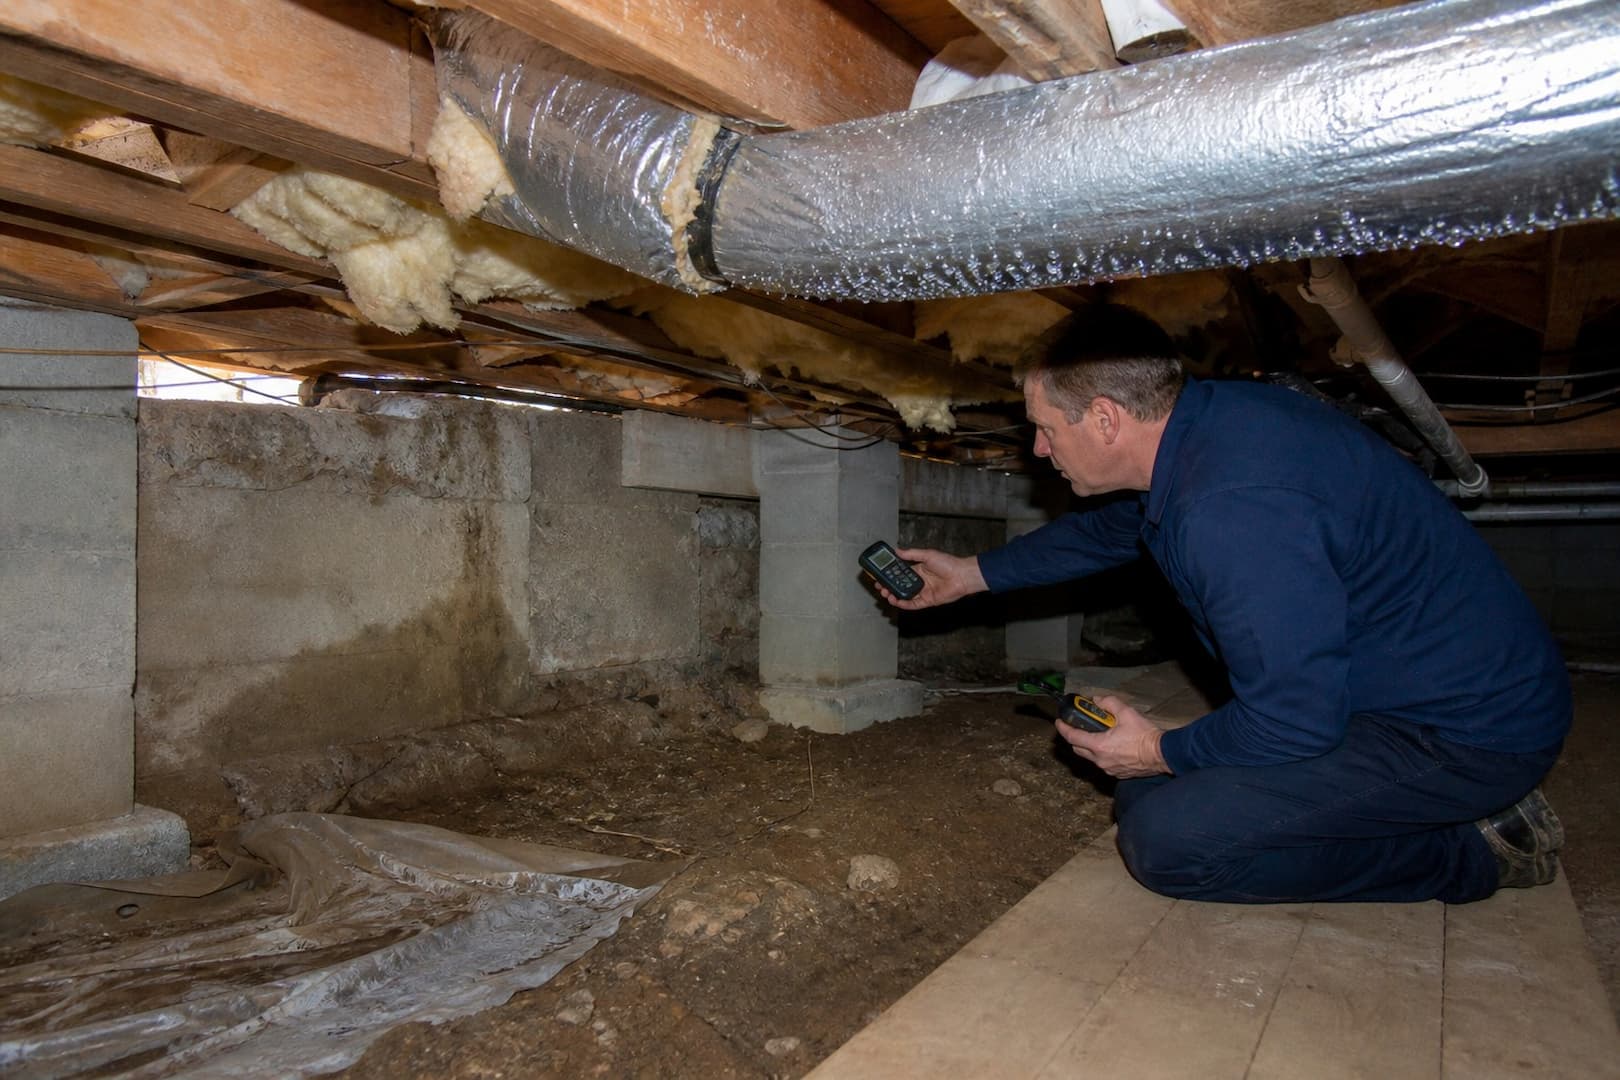
A traditional vented crawl space can become wetter in summer when warm outdoor air meets cool framing or ductwork. A sealed or encapsulated crawl space can fail if ground vapor is not controlled, the drainage path is incomplete, the liner is torn, or conditioning equipment stops. Neither label guarantees performance. Inspect the actual moisture loads: soil, foundation entry, plumbing, duct condensation, air leakage from outdoors, and communication with the house.
| Crawl-space clue | What it can indicate | Evidence to collect |
|---|---|---|
| Wet soil after rain | Drainage or groundwater load | Photos during rain, grading, downspouts, perimeter |
| Condensation on ducts | Surface below air dew point | Air temperature/RH and duct insulation condition |
| Growth concentrated at rim joist | Outdoor air leakage or cold-surface condensation | Thermal pattern, gaps, insulation continuity |
| Dry liner with water beneath | Drainage or liner termination problem | Water path, seams, wall attachment, sump route |
| Musty odor in living area | Air movement through floor penetrations | Pressure/pathway assessment, not odor alone |
Wood readings need context
A moisture meter helps map relative conditions, but species, temperature, depth, and meter mode influence the number. Compare suspect joists with accessible dry references. Look for a coherent pattern rather than hunting for one magic threshold. Surface growth can remain visible after the wood dries, and wet wood can be clean. The decision to clean, retain, or replace also depends on decay, loss of section, fastener condition, and structural role.
If joists or beams feel soft, show fungal decay, or carry altered loads, a structural professional should evaluate them. A remediation crew should not convert a mold scope into an improvised structural repair. Sistering, replacement, and reinforcement need a design that accounts for bearing, connections, utilities, and local requirements.
What an encapsulation quote should specify
“Encapsulate crawl space” can describe anything from loose plastic on soil to a sealed, reinforced liner integrated with walls, piers, sump, drainage, and controlled drying. Ask for liner thickness and reinforcement, seam and penetration treatment, wall termination, access-door detail, drainage below the liner, and how equipment condensate will discharge. Termite inspection requirements and exposed inspection strips may affect the wall detail.
- Removal or protection of debris and stored contents before liner work
- Correction of plumbing and exterior drainage sources
- Preparation of sharp soil, rubble, piers, and wall surfaces
- A sealed route at columns, utilities, and access doors
- A plan for humidity control, monitoring, maintenance, and power loss
- Documentation of framing condition before it becomes harder to see
Encapsulation should follow, not bury, remediation and repair. If growth is widespread, professional mold remediation can define cleaning and containment while the crawl-space contractor handles long-term ground and air control.
The crawl space and basement affect each other
In many Massachusetts homes the crawl space opens to a basement, mechanical room, or addition. Air and moisture cross that boundary. A dehumidifier in one zone may not control the far corners of another; an open foundation vent can overwhelm a sealed section. Map doors, grilles, floor penetrations, rim joists, and HVAC returns as one building system. The basement mold guide helps connect those adjoining conditions.
After work, inspect the crawl space at least seasonally and after severe rain. Check the liner seams, sump, condensate drain, plumbing, pests, and sensor trends. A “permanent” fix still needs maintenance. The best result is not a white liner in an after-photo; it is a dry, serviceable space whose water and air paths remain controlled over time.
Do not overlook combustion and radon considerations
Changing crawl-space ventilation or sealing its connection to the basement can affect pressure, soil-gas entry, and fuel-burning equipment. Radon testing and mitigation details may need review when a ground liner or exhaust system changes. Atmospheric-combustion appliances require adequate combustion air and safe draft. Coordinate these issues with qualified radon, HVAC, or combustion-safety professionals rather than letting a liner installer improvise around them.
Sources and further reading
- U.S. EPA: A Brief Guide to Mold, Moisture and Your Home
- U.S. EPA: Mold Cleanup in Your Home
- CDC: Mold — overview, health effects, prevention and cleanup
- Massachusetts DPH: Mold Cleanup, Repairs, and Excess Moisture Control
When the property needs a closer look
Boston Restoration Group can inspect the affected area, document moisture and material conditions, and explain which restoration step fits the loss. Use the BRG contact page to request service in Greater Boston.