
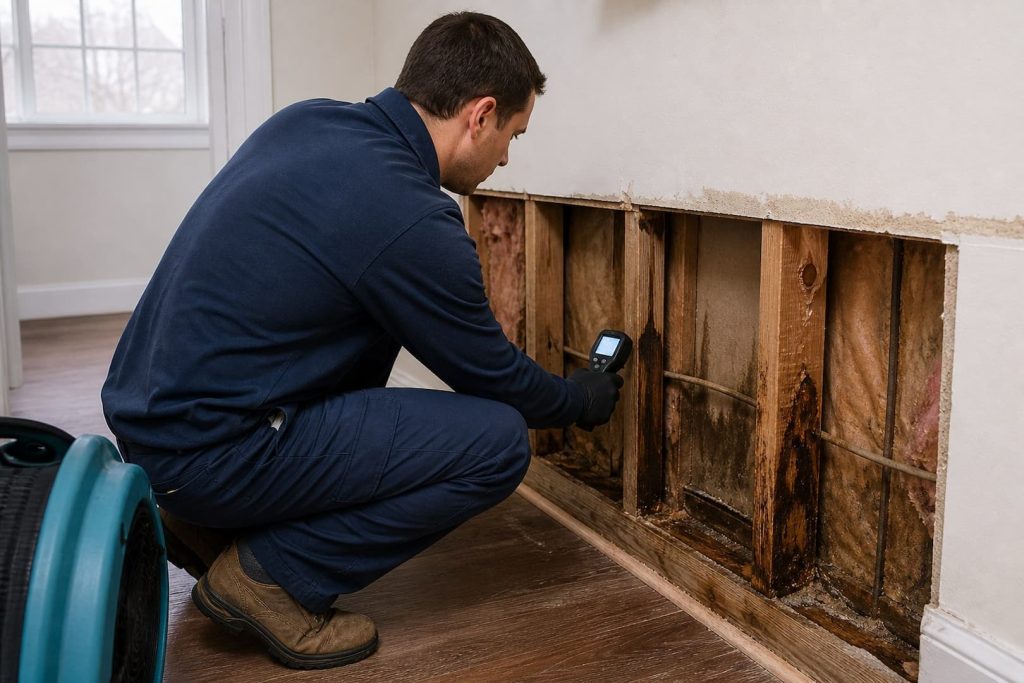
Hidden wall damage rarely announces itself with a perfect wet rectangle. The first clues may be a musty odor, lifting paint, a soft baseboard, repeated discoloration, rusted fasteners, insects near damp wood, or a meter reading that differs from a dry comparison area. None of those clues alone proves water or mold.
Investigation works best as a chain: identify a plausible source, map the pattern with non-invasive tools, compare materials and locations, then confirm only where the result will change repair or drying. Opening every wall is unnecessary; trusting one infrared image is also inadequate.
Signs worth investigating
- Paint bubbles, peeling wallpaper, swollen trim or a soft drywall surface.
- A stain that changes after rain, fixture use, cooling or heating.
- Musty odor concentrated at a wall, cabinet, chase or outlet area.
- Cool or warm thermal pattern that does not match expected framing or airflow.
- Higher moisture-meter readings compared with the same material in a dry area.
- Cupped flooring or a wet ceiling at the base of the same wall.
- Repeated mold-like spotting after surface cleaning.
- Unexpected water-meter movement when fixtures are off.
Where hidden wall water comes from
| Source | Common path | Timing clue |
|---|---|---|
| Pressurized plumbing | Spray or seep down stud bay and through plates | May continue when fixtures are off |
| Drain or shower system | Intermittent water behind finish or at penetrations | Changes with fixture use |
| Roof or flashing | Sheathing to framing, insulation and interior finish | Rain, wind direction or snowmelt pattern |
| Window or door | Sill, rough opening and lower wall | Wind-driven rain or condensation season |
| Condensation | Cold pipe, duct, masonry or poorly insulated surface | Humidity and temperature dependent |
| Exterior drainage or foundation | Masonry and finished basement wall | Heavy rain, snowmelt or seasonal groundwater |
| Fire suppression or prior flood | Broad concealed wetting across cavities | Known incident with incomplete opening/drying |
What inspection tools can show
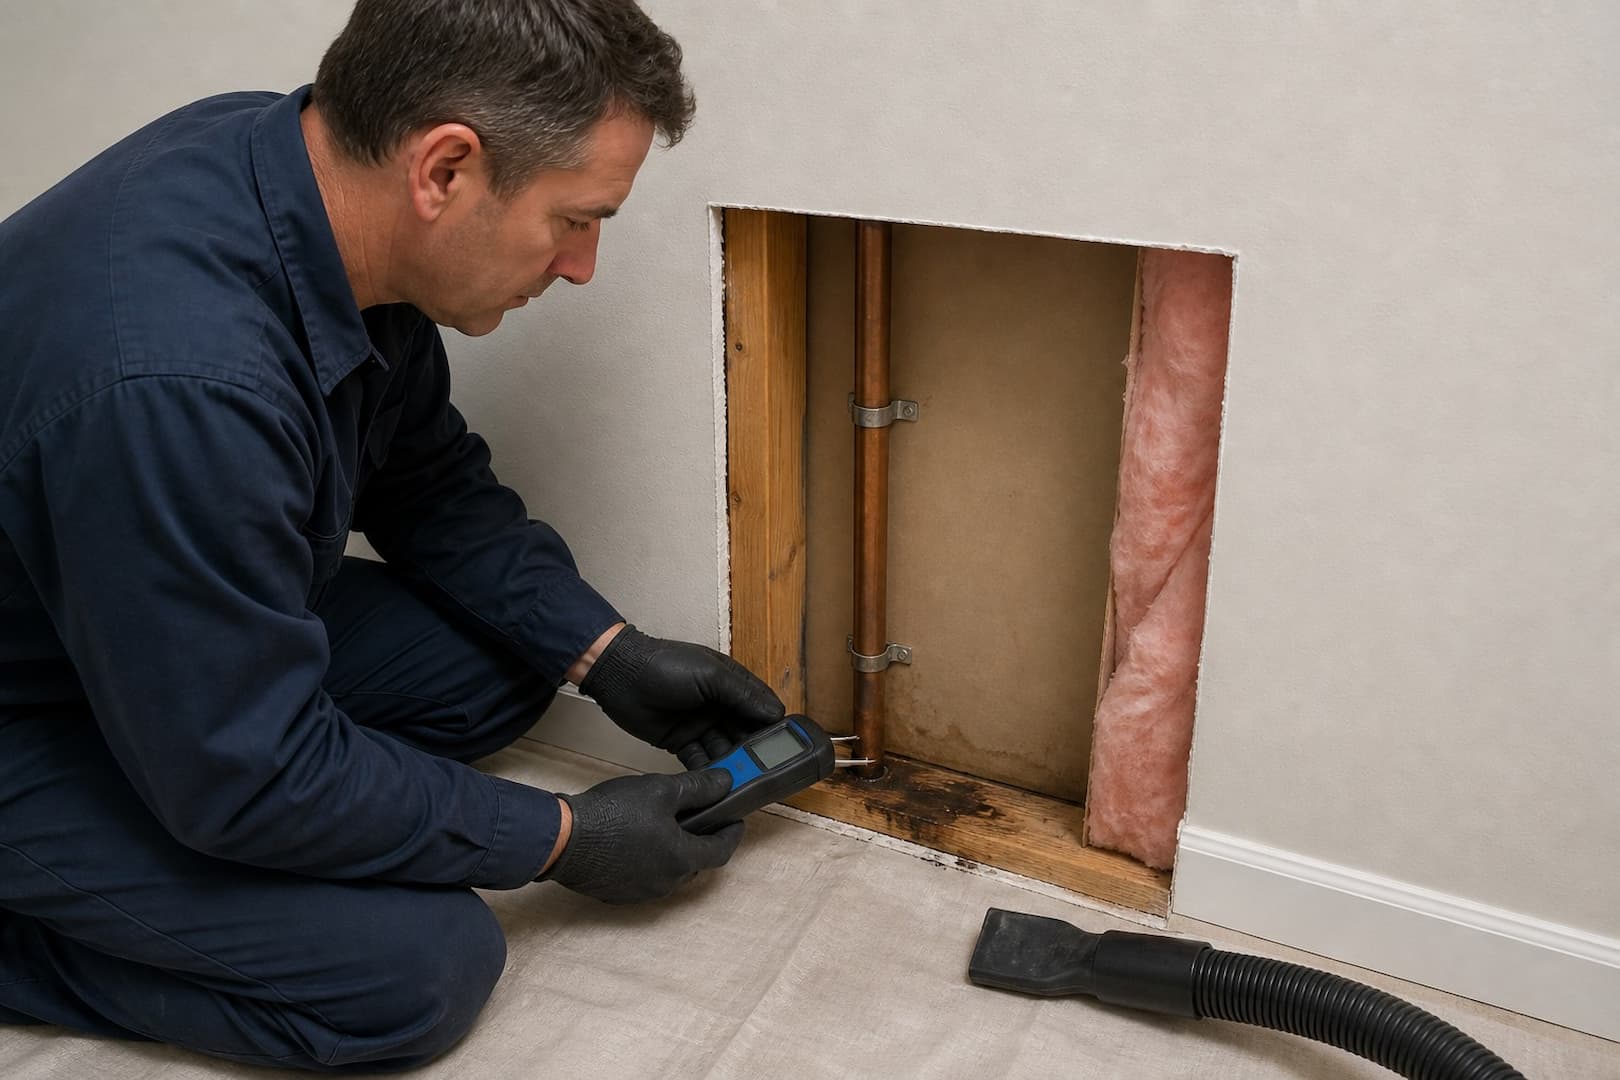
A pinless moisture meter screens a field quickly, but salts, metal, density and material changes can affect readings. Pin meters measure between probe points and may help profile depth, though they create small penetrations and still sample only those locations. Readings should be interpreted for the material and compared with an unaffected reference.
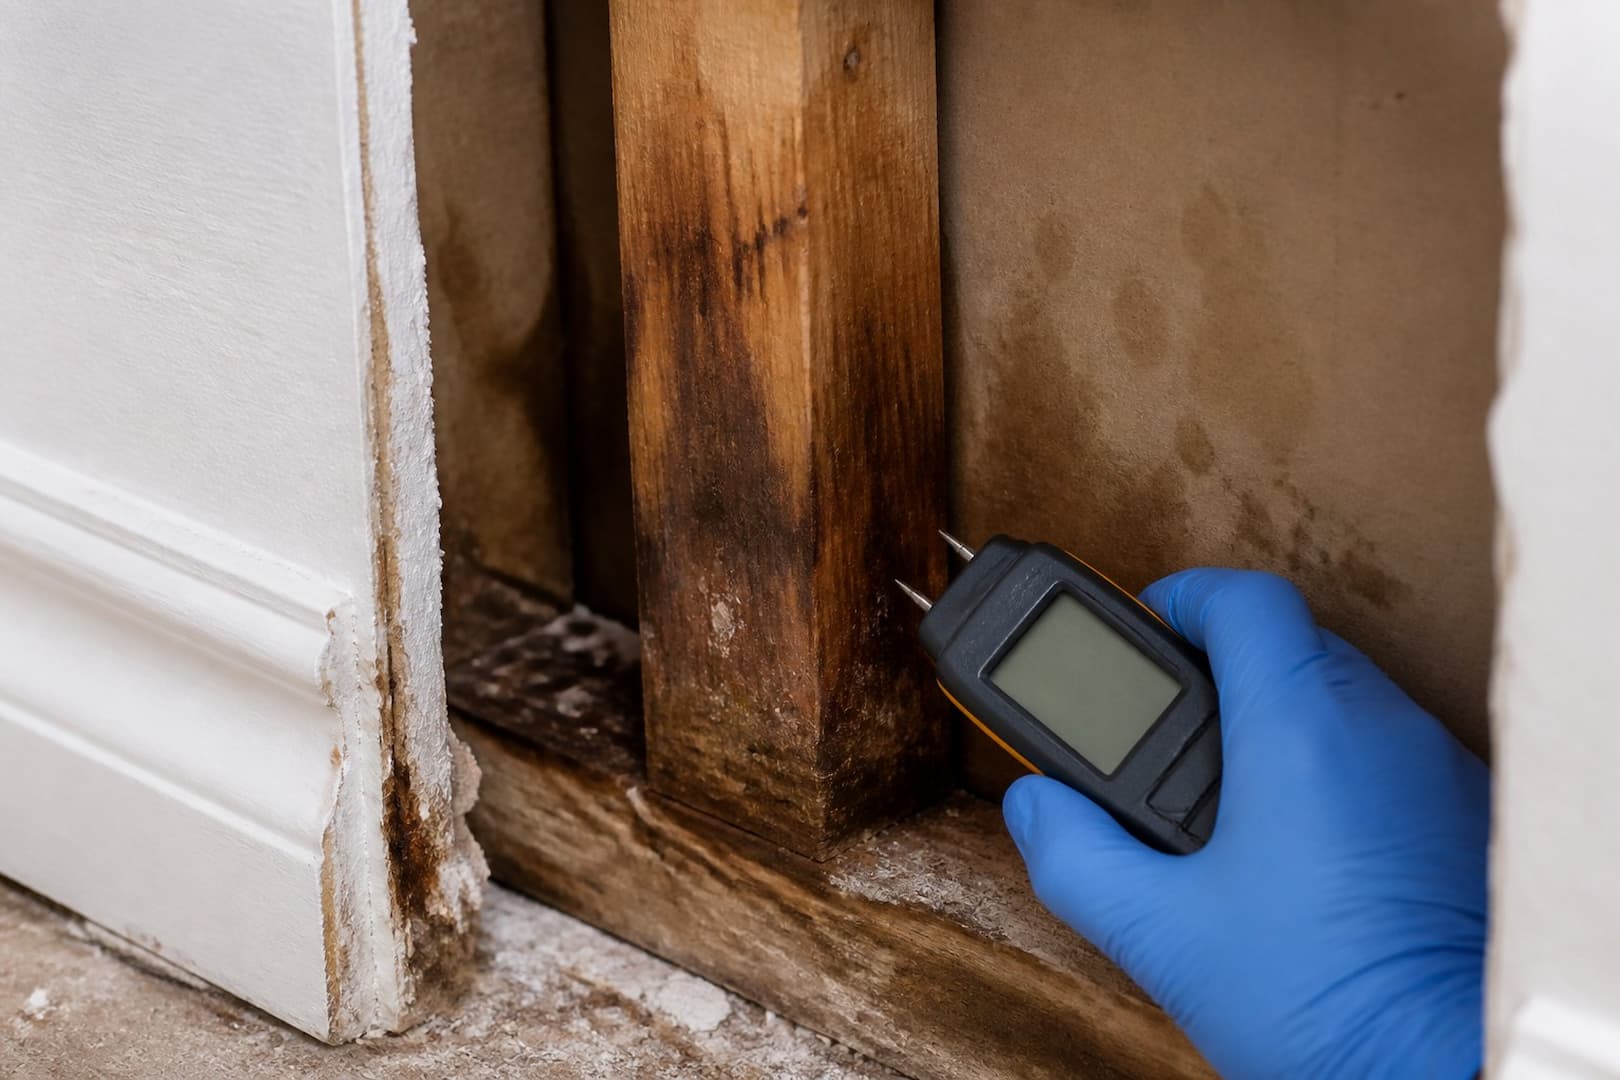
A thermal camera displays surface temperature differences—not water, mold or damage. Evaporation can cool a wet area, but insulation gaps, pipes, sunlight and airflow create similar patterns. Use thermal imaging to direct confirmation, not to declare a wall wet from color alone.
A borescope can look into a cavity through a small planned opening. It sees only its line of sight and may miss the back of insulation or an adjacent bay. Plumber cameras locate some pipe conditions; leak-detection tools and pressure testing may be needed when no surface clue identifies the source.
When selective access is justified
Access is reasonable when non-invasive evidence remains consistent, the source route passes through the wall, material condition cannot be evaluated, wet insulation blocks drying, contamination requires cleaning, or repair itself needs entry. Choose a location that avoids known wiring, plumbing and structural components and that can be repaired cleanly.
Before disturbing an older finish, account for lead paint, asbestos-containing material and other regulated hazards. Containment that is adequate for clean drywall dust may not be adequate for mold or hazardous material. The work plan should reflect the actual disturbance.
Can the wall dry in place?
A limited clean-water loss in an uninsulated cavity may sometimes dry with baseboard access, dehumidification and targeted airflow. Wet insulation, multiple drywall layers, vinyl wallcovering, tile, cabinets, fire stops and exterior vapor-resistant layers slow or block evaporation. Drying into a cavity without an exit path may simply redistribute moisture.
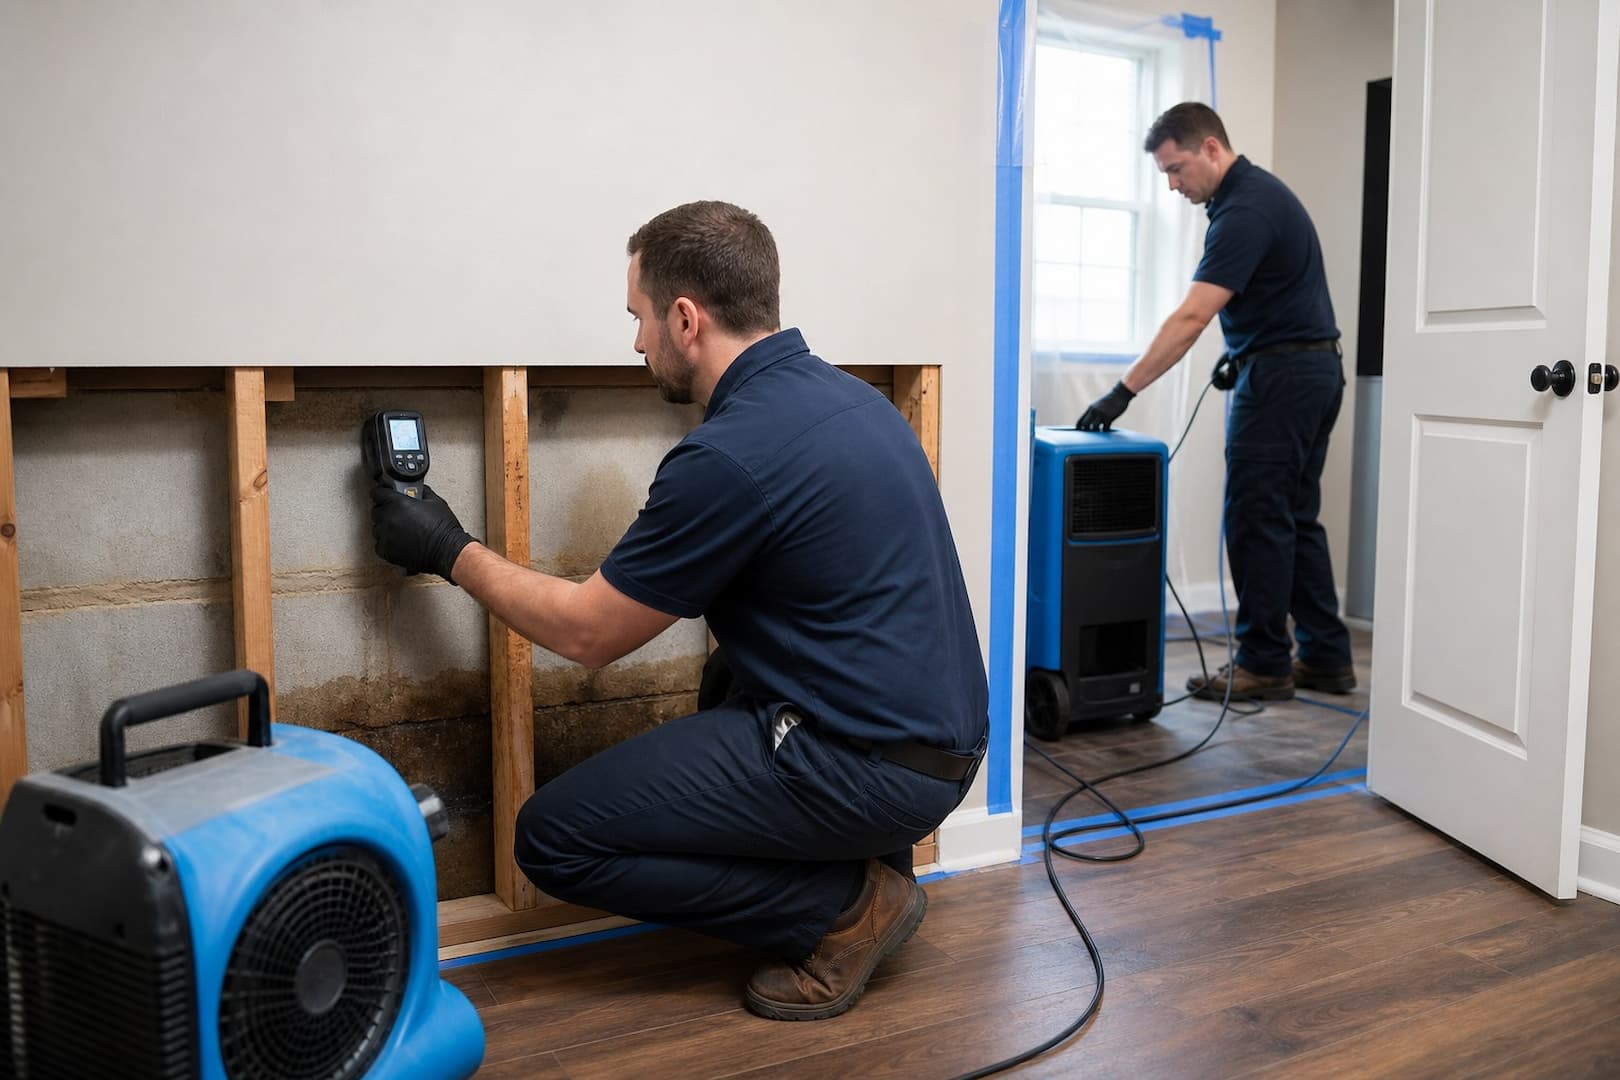
Water extraction and structural drying should track the wet boundary over time. A stable room humidity does not prove the wall core is dry. Compare readings by material and location until the affected assembly reaches the project criterion.
When mold changes the plan
If the leak was slow or the wall stayed damp, drywall paper, dust and wood surfaces may support growth. Avoid blowing unfiltered air into a suspect cavity. Containment, removal of colonized porous material and detailed cleaning may need to occur before or alongside drying.
Air testing is not a substitute for opening a cavity that has strong moisture and damage evidence. Conversely, opening a wall only because a home test plate grew mold is not a defensible scope. Sampling should answer a defined question.
Evidence and insurance
Record discovery date, source history, meter locations, photographs, plumber or roofer findings, access decisions and drying logs. Do not guess how long a hidden leak ran; state the observable facts. Insurers may treat sudden discharge, repeated seepage, source repair, tear-out and mold differently.
Hidden-water questions
Can a wall be wet with no visible stain?
Yes. Paint, vinyl coating, insulation and airflow can hide or redirect evaporation. The wettest layer may be the back paper or bottom plate, not the visible face.
Does a high meter reading prove a leak?
No. It is evidence to compare and confirm. Metal corner bead, wiring, dense framing, salts and material transitions can produce false or misleading readings.
Will mold always smell musty?
No. Odor can come from damp materials or microbes, and visible mold can have little odor. Use odor as a location clue, not identification or a clearance test.
Start with a moisture hypothesis
Hidden water investigations should test a cause, not roam with gadgets. State the likely source, event time, wall construction, and expected path. A roof leak may travel down framing. A supply pinhole creates a concentrated plume. Shower leakage follows penetrations or a failed assembly. Foundation water affects lower edges. Condensation favors cold surfaces and air leaks. The hypothesis tells the inspector where to compare readings and what would disprove it.
| Tool or method | Useful for | Limitation |
|---|---|---|
| Visual/tactile inspection | Swelling, staining, cracks, soft finish, odor | Can miss cavity-side wetness |
| Pinless meter | Rapid relative mapping | Affected by density, metal, settings, depth |
| Pin meter/probes | Localized depth comparison in suitable materials | Leaves holes; material corrections matter |
| Infrared camera | Temperature-pattern prioritization | Cold is not necessarily wet |
| Borescope | Viewing a cavity through small access | Narrow field; cannot see behind insulation |
| Selective opening | Direct material/insulation access | Destructive; needs hazard and containment plan |
Interpret instruments together
A thermal anomaly becomes more meaningful when it aligns with a known source and elevated moisture reading. A high pinless reading beside metal corner bead may be false. A dry surface reading after a leak may miss wet insulation. Compare suspect areas with similar unaffected construction. Record meter, mode, location, height, material, and conditions so another person can repeat the check.
Infrared surveys work best when temperature differences exist. Sun, HVAC, plumbing temperature, framing, missing insulation, and air leakage all create patterns. Do not market a colorful image as proof of mold or water. Confirm it.
Open the wall at the least destructive useful location
Choose access that reveals the reservoir and supports drying or removal. A baseboard gap, cabinet panel, closet side, plumbing escutcheon, or ceiling below may preserve the more important finish. Before cutting, locate utilities and consider lead paint, asbestos-containing joint compound, plaster, fire-rated assemblies, and structural bracing. Use containment if suspect growth or contaminated dust may be disturbed.
Mold on drywall often begins at the back paper or bottom edge, which is why room-side inspection can understate the condition. Inspection and testing should support the opening decision rather than replace it.
A cavity can dry in place only under specific conditions
- The source is stopped and water category supports retention
- Materials remain sound and reasonably cleanable
- Wet insulation or vapor-resistant layers do not block drying
- Air or dehumidified conditions can reach the wet surfaces
- Utilities and fire assemblies are protected
- Readings can be taken at the reservoir and dry references
- The trend improves and the endpoint is documented
Drilling holes and blowing air into a wall is not automatically controlled drying. It can spread dust, push moisture elsewhere, or bypass the wet layer. Design access and pressure around the actual cavity.
Close the wall only after transferring evidence
Photograph the opened cavity, source repair, retained materials, insulation, and final condition. Mark utilities and dimensions. Provide the rebuild contractor with moisture records and any fire-stopping or vapor-control requirements. A patch should restore the wall’s function, not merely its appearance.
Older walls may require a different investigation plan
Plaster on wood or metal lath, masonry backup, knob-and-tube wiring, lead paint, and asbestos-containing materials complicate access and drying. Dense plaster can remain attached while the cavity or lath is wet. Use the building age and renovation record to plan regulated-material testing and the least destructive opening. A drywall-only protocol should not be copied onto historic plaster.
Brick party walls and rubble foundations can hold moisture longer than adjacent wood framing. Their salts can create new surface staining during drying. Track the masonry separately and choose compatible repair materials; sealing a still-wet wall with an impermeable finish can redirect the visible problem rather than end it.
Recheck after the source is used normally
A repaired shower, appliance, roof, or condensate line should be observed under the conditions that produced the leak when the responsible trade says testing is safe. One dry reading immediately after closure does not validate an intermittent source. Schedule a follow-up after rain, a complete appliance cycle, or normal HVAC operation and compare the original map.
Use an evidence chain, not a single instrument reading
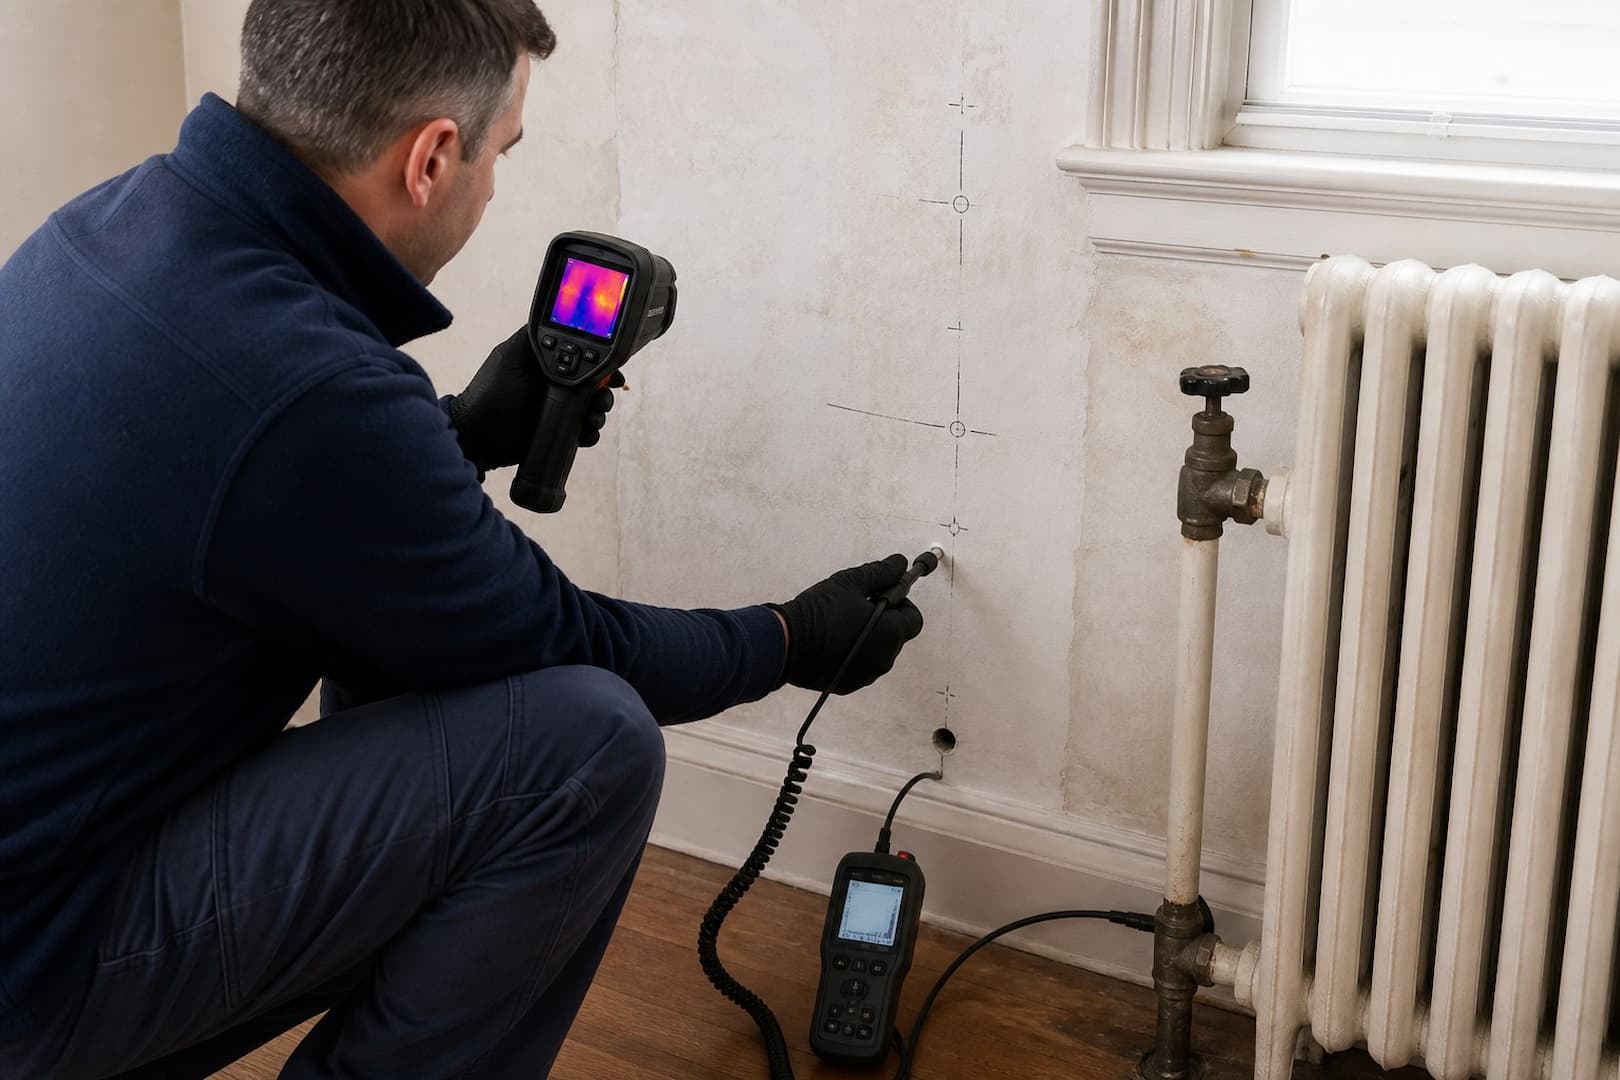
Hidden wall moisture is diagnosed by combining source history, visible symptoms, material behavior, instruments, and selective verification. A thermal image shows surface-temperature differences, not water. A pinless meter compares an electromagnetic response that can be influenced by metal, salts, density, and depth. A pin meter samples only where its probes reach. A borescope sees a narrow field and can miss insulation on the other side of a stud. None of these tools, alone, proves the entire cavity is dry.
| Evidence | Useful for | Important limitation |
|---|---|---|
| Leak chronology and plumbing test | Connecting symptoms to a source | Occupants may not know when a slow leak began |
| Infrared pattern | Fast screening of broad surfaces | Temperature, air leakage, sun, and insulation can mimic moisture |
| Noninvasive meter | Comparing suspect and dry areas | Metal corner bead, pipes, wiring, and density affect readings |
| Pin reading | Measuring accessible material at a point | Small sample; creates penetrations |
| Borescope | Viewing a cavity through a small opening | Limited angle and no quantitative moisture result |
| Selective opening | Direct access to layers, odor, staining, insulation | Destructive and must respect utilities and hazardous materials |
Predict the water path from the wall construction
A modern gypsum wall with fiberglass batts behaves differently from plaster on wood lath, plaster on masonry, insulated exterior sheathing, a tiled wet wall, a shaft wall, or a rated corridor assembly. Water may run down the face of a stud, bridge through insulation, pool at a bottom track, wick into gypsum, follow a pipe penetration, or remain between vapor-resistant layers. Old Boston-area buildings can contain multiple generations of finish in the same wall.
| Wall type | Common diagnostic problem | Planning issue |
|---|---|---|
| Gypsum on studs | Paper facing can wick beyond the visible stain | Inspect insulation, plate, and opposite face |
| Plaster and lath | Surface may remain hard while keys and wood stay damp | Avoid assuming a firm finish equals a dry cavity |
| Masonry or foundation wall | Efflorescence and seasonal dampness complicate readings | Trace bulk water, capillary moisture, and condensation |
| Tiled shower wall | Waterproofing is concealed behind a durable finish | Do not puncture membranes casually |
| Exterior insulated wall | Cold sheathing can condense and dry slowly | Consider season and vapor direction |
| Rated or smoke partition | Openings can compromise a listed assembly | Coordinate compliant access and restoration |
Match the moisture pattern to the suspected source
- A supply leak can remain active independent of weather and may track from a valve, fitting, or pipe.||A drain leak often correlates with fixture use and may carry residue or odor.||A roof or flashing leak correlates with wind and rain but can travel before entering the wall.||Condensation often follows cold surfaces, thermal bridges, missing insulation, or indoor humidity.||Exterior bulk water may appear low on a wall after storms, snowmelt, or saturated soil.||A previous leak can leave staining even after materials have returned to normal moisture.
Do not cut a wall before deciding what question the opening must answer. The source may be above, below, or on the opposite side of the stain. If the source remains active, drying equipment can disguise symptoms without solving the problem.
Know when selective opening is justified
Opening is more defensible when wet insulation cannot be verified or dried, gypsum has lost integrity, the cavity contains contamination, readings do not decline, odor persists, the source or affected boundary is uncertain, or the wall traps water between low-permeance layers. It may also be required for plumbing, electrical, fire-protection, or structural access.
Before cutting, screen for wiring, pipes, ducts, post-tension hazards where relevant, fire/smoke rating, lead paint, asbestos-containing materials, and occupant exposure. Choose a location that reveals the critical layer with the smallest practical repair. A neat inspection opening in the wrong bay adds damage without adding evidence.
Evaluate in-place cavity drying honestly
| Question | Favorable condition | Warning condition |
|---|---|---|
| Is the source corrected? | Repair verified under use or pressure | Source only assumed |
| Can air reach the wet surface? | Defined inlet and outlet across material | Air short-circuits through one hole |
| Can moisture leave the assembly? | Vapor path and indoor conditions support drying | Impermeable finishes on both sides |
| Can progress be measured? | Repeatable points and dry control available | Only room humidity is recorded |
| Is material serviceable? | Strength, adhesion, cleanliness retained | Swelling, delamination, contamination, corrosion |
| Are occupants protected? | Controlled work zone and safe equipment | Uncontrolled dust, heat, noise, or access |
Cavity-drying equipment is not a magic substitute for access. The plan should state airflow route, measurement points, target material, comparison baseline, inspection interval, and stop condition. If readings stall or the assumed route proves false, revise the plan.
Include utilities, insulation, and structure in the release
Electrical boxes, splices, receptacles, low-voltage systems, metal framing, fasteners, and embedded controls may need trade inspection. Wet insulation can slump or lose performance even when the faces dry. Wood plates and sheathing may need longer than gypsum. Corrosion, rust staining, fungal growth, and material deformation should be assessed separately from moisture content.
Do not energize affected circuits, close a wall, or reinstall a vapor-resistant finish merely because the room air feels dry. The slowest relevant layer governs the release.
Verify the repaired wall under realistic conditions
- Confirm the source repair with the appropriate trade.||Repeat measurements at mapped points and compare them with a valid dry baseline.||Inspect or sample the most enclosed layer, not only the painted face.||Document removed and retained materials, insulation, utilities, and final readings.||Restore fire, smoke, acoustic, thermal, and water-control functions of the assembly.||Run the fixture, appliance, drain, roof-water test, or HVAC condition that originally produced the problem when safe.||Recheck after the use test before closing the file.
A cosmetically smooth patch is not proof of a successful hidden-water repair. The finished wall should be dry, source-corrected, functionally restored, and supported by a record that another professional can understand.
Sources and further reading
- CDC: Guidelines for Cleaning Safely After a Disaster
- Boston.gov: Recovering from a Flood
- Massachusetts DPH and MassDEP: Flooding and Sewage Back-ups Home Care Guide
- Massachusetts DPH: Quick Reference — Water Damage Response in Buildings
When the wall looks dry but the evidence does not
Boston Restoration Group can combine source history, moisture mapping, thermal patterns and selective access to define the wet assembly and set a measured drying endpoint.