
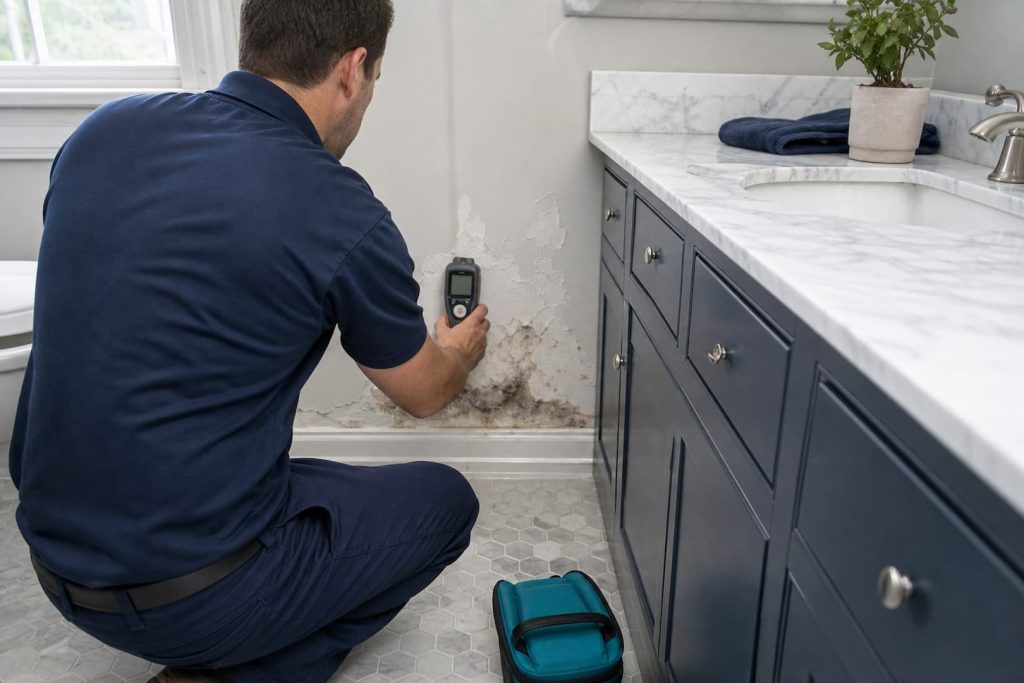
Bathroom mold comes back when the room keeps supplying water. A few spots on sound shower tile are a different project from growth on soft drywall, a ceiling below a plumbing line, or a vanity wall that smells musty after every cleaning. Before choosing a cleaner, find out what stays wet, how long it stays wet, and whether the moisture is arriving from the room or from inside the building assembly.
Many isolated areas under about 10 square feet can be handled by a homeowner under EPA guidance. That benchmark is only a planning aid. Sewage, HVAC involvement, a medically vulnerable occupant, hidden growth, deteriorated material, or work that would disturb suspect lead or asbestos can make a smaller area unsuitable for DIY cleanup.
Why mold grows in bathrooms
Showers add warm water vapor, but steam is not the only source. A slow supply-line leak under a vanity, failed tub caulk, a loose toilet seal, a leaking fan duct, cold exterior walls, or a roof problem above an upper-floor bath may wet materials from behind. Surface condensation usually produces scattered spotting on the coldest surfaces. A concentrated stain, swollen trim, soft drywall, or damage that spreads away from the shower points toward a leak.
| Pattern you see | Likely moisture path | Next check |
|---|---|---|
| Speckling across the ceiling above the shower | Repeated condensation | Confirm fan airflow, outdoor termination, run time, and indoor humidity |
| Damage at one plumbing fixture | Supply, drain, seal, or splash leak | Inspect shutoffs, traps, caulk joints, flooring edges, and the room below |
| Soft wall beside a tub or shower | Water behind the finish | Stop using the fixture and assess the cavity before cleaning |
| Growth around a window or exterior corner | Cold-surface condensation or exterior intrusion | Check air leakage, insulation, flashing, and drainage |
| Recurring spots behind a vanity | Low airflow, cold wall, or hidden plumbing leak | Move contents, inspect the wall base, and take moisture readings |
Mold, mildew, staining, or residue?
Color cannot identify a mold species or predict risk. Black, pink, orange, white, and green bathroom marks may include fungi, bacteria, soap residue, mineral scale, deteriorated sealant, or ordinary staining. Texture and moisture history help, but a photo still cannot settle the question. If the area is visible and the cleanup decision is already clear, routine mold sampling often adds little. Mold inspection and testing is more useful when there is a defined question, such as locating a concealed source or documenting a disputed condition.
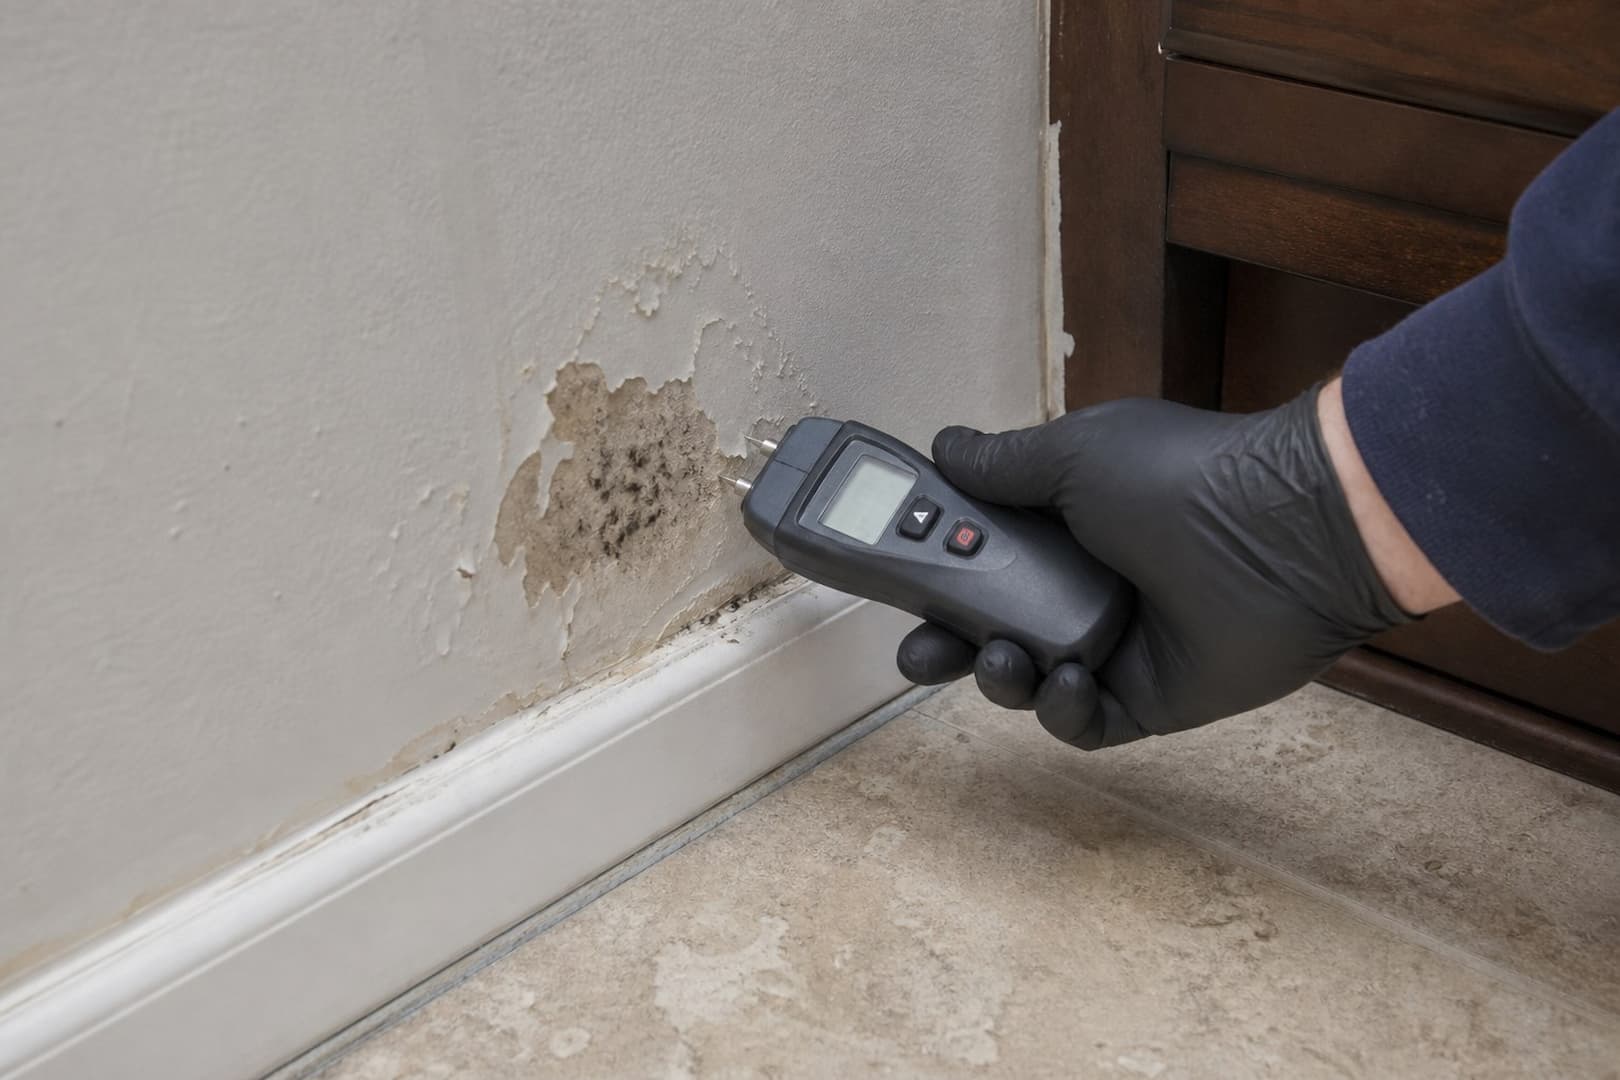
A cautious cleanup for a small surface area
- Fix the water source. Repair the leak or change the ventilation problem before treating the finish.
- Keep other people away. Do not aim a fan across visible growth into the home.
- Wear basic protection. EPA and CDC guidance calls for gloves, eye protection, and at least a NIOSH-approved N95 respirator for mold cleanup.
- Clean hard surfaces. Use detergent and water, remove residue without dry brushing, then dry the surface completely. Follow the label if you use a registered product.
- Recheck the material. The area should remain dry, without visible growth or a moldy odor. A quick return means the source or extent was missed.
Never mix bleach with ammonia or another cleaner. Bleach is not a universal answer for porous materials, and killing organisms does not remove contaminated paper, dust, or residue. Painting or caulking over growth traps the evidence and often fails again.
Grout, tile, glass, and other hard finishes
Sound tile and glass can usually be cleaned. Grout and caulk are more complicated because they are joint materials, not sealed slabs. Deeply stained, cracked, loose, or chronically wet caulk may need replacement after the joint is cleaned and dried. Regrouting will not fix water moving through a failed shower assembly.
Drywall, ceiling tile, insulation, and cabinets
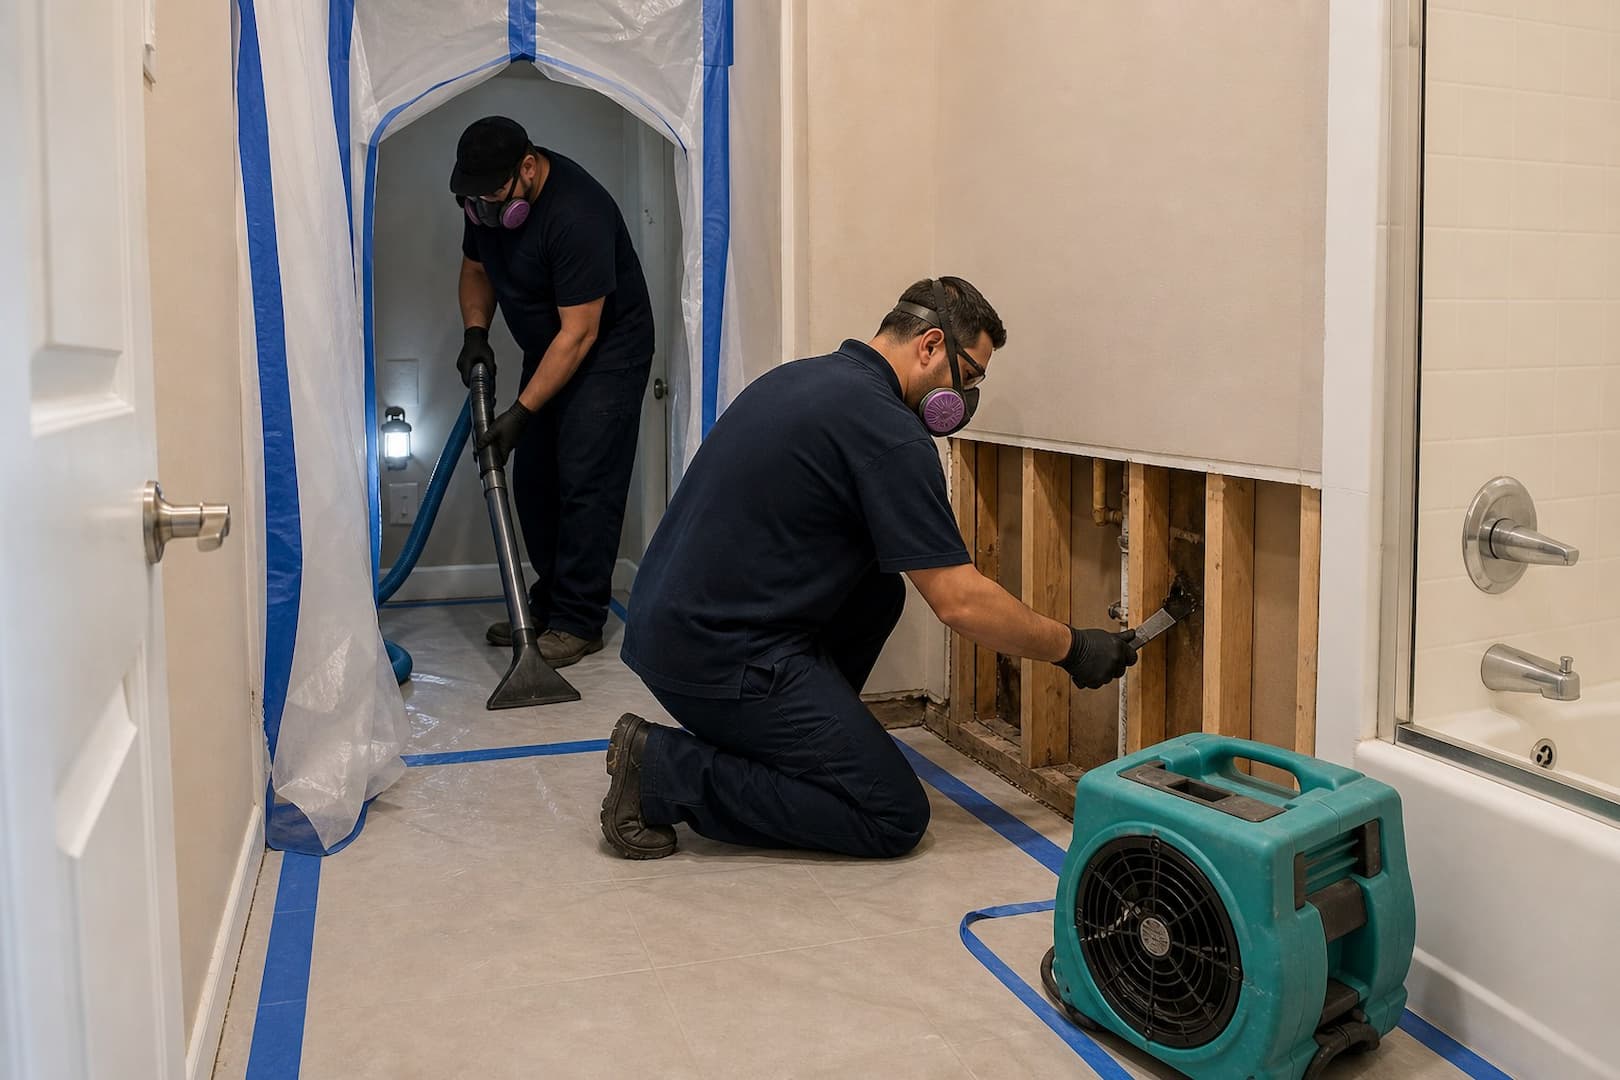
Porous materials deserve a material decision, not harder scrubbing. Drywall that is soft, swollen, delaminated, or wet through the back paper often needs controlled removal. Saturated insulation and fiber ceiling tile are poor cleaning candidates. Cabinet boxes made from particleboard may swell even when the finished face looks acceptable. For larger or concealed areas, review BRG’s mold removal and remediation process before opening the wall.
Check whether the exhaust fan is doing its job
A bathroom fan should discharge outdoors, not into an attic or soffit cavity where moisture can return to the building. Check the exterior hood while the fan runs, listen for a blocked damper, and clean an accessible grille. Fan size, duct length, bends, door undercut, and occupant habits all affect performance. As a practical test, the mirror and shower surfaces should begin drying rather than staying wet for hours. Run the fan during bathing and afterward until the room has cleared; the needed time varies by room and weather.
- Keep indoor relative humidity below 60 percent when practical; the EPA identifies 30–50 percent as an ideal range.
- Squeegee or towel shower walls where water lingers.
- Repair failed caulk, grout, plumbing, roof, and window details rather than covering stains.
- Leave a small air gap between furniture or stored items and cold exterior walls.
- Dry bath mats and towels instead of leaving them wet in a closed room.
- Inspect the room below and adjacent closets when a leak may have traveled.
When to stop cleaning and request an assessment
Pause if the ceiling sags, water is still active, drywall feels soft, the odor seems to come from a cavity, growth spans several surfaces, the HVAC system may be involved, or the work would require demolition. A recent leak may need water extraction and structural drying before anyone can judge the mold scope.
Bathroom mold questions
Does every black spot mean toxic black mold?
No. Many indoor fungi can appear dark, and bathroom residue can look black too. Color cannot identify the organism or diagnose a health risk. Address the moisture and affected material rather than ranking the patch by color.
Can a dehumidifier replace an exhaust fan?
A dehumidifier may help the house manage humidity, but it does not capture shower vapor at the source. A working outdoor-vented fan is usually the more direct control for bathing moisture.
Why does mold return along fresh caulk?
The joint may still stay wet, the fan may be weak, or water may be entering behind the sealant. New caulk over residue or damp backing also fails. Remove failed material only after the source is corrected and the joint can dry.
Should I test before cleaning a small patch?
Usually not when the growth is visible, limited, and the moisture source is obvious. Testing makes more sense when the result can answer a specific inspection, dispute, or remediation question.
Use the location of growth to diagnose the bathroom
Growth at the ceiling above the shower often points toward high room humidity, a cold surface, or weak exhaust. A narrow line at a tub edge may come from failed sealant or water reaching the wallboard behind it. Repeated staining below a window suggests condensation or exterior entry. A soft baseboard beside the toilet may trace to the wax ring, supply valve, condensation, or routine splashing. Treat these as different failures even if every patch looks black.
| Where it returns | What to inspect | Repair that may matter |
|---|---|---|
| Ceiling and upper exterior wall | Fan airflow, duct route, insulation, surface temperature | Exhaust or insulation correction |
| Caulk line and lower tile edge | Sealant, grout, backer, tub or pan movement | Remove failed seal; inspect substrate if soft |
| Vanity back and plumbing wall | Supply, drain, escutcheons, countertop seam | Plumbing repair and cavity drying |
| Floor around toilet | Supply, tank condensation, wax seal, flooring edge | Plumber plus floor/subfloor assessment |
| Window trim | Glass condensation, flashing, sash and paint condition | Humidity control or window-envelope repair |

Test the exhaust fan as a system
A noisy fan is not necessarily moving useful air. Hold a tissue near the grille as a rough screening check, then inspect the grille and housing for dust. Follow the duct if accessible: crushed flex duct, loose joints, long sagging runs, and a termination inside the attic can defeat the fan. The exterior hood should open when the fan runs and resist pests and weather when it stops. Air also needs a path into the bathroom, usually below the door; a powerful fan in a tightly sealed room may move less than expected.
Runtime matters. Leave the fan operating long enough after a shower for mirrors and wet surfaces to clear, or use a timer/humidity control that fits the household. The exact time changes with room size, shower use, season, and fan performance. Watch the result rather than relying on a universal 20-minute rule. If towels remain damp and the mirror stays wet for an hour, the moisture load still exceeds removal.
Tile assemblies can conceal a larger problem
Tile and grout are not the waterproofing layer in a modern shower. Water management depends on the membrane, pan, transitions, penetrations, and drain connection behind the finish. Regrouting a wall with a failed membrane may improve appearance without stopping the path. Clues that justify opening or specialist testing include loose tile, persistent odor, swollen trim outside the enclosure, staining on the ceiling below, and a wet pattern that does not track shower steam.
Do not flood-test a shower without understanding the drain and building below. A qualified plumber or tile professional can isolate supply, drain, pan, and enclosure leakage. Once the source is known, a focused moisture inspection can establish whether adjacent drywall, insulation, subfloor, or framing needs access.
Clean small surface growth without creating chemical damage
For a genuinely limited patch on intact hard material, use the product label, ventilation, gloves, eye protection, and appropriate respiratory protection. Never mix bleach with ammonia, acids, or other cleaners. More chemical is not more effective. Scrubbing a painted ceiling until the coating fails can expose porous gypsum, while soaking grout and caulk can drive moisture into joints. Remove residue, dry the area, and then watch whether the pattern returns.
Failed silicone may need replacement rather than repeated bleaching. Remove it carefully, clean and dry the joint, confirm the surrounding material is sound, and install the correct sealant on a properly prepared surface. If the wallboard is soft, the substrate is visibly affected, or the same patch returns quickly, stop treating the surface. The related mold-on-drywall guide explains when removal becomes the more defensible option.
Sources and further reading
- U.S. EPA: A Brief Guide to Mold, Moisture and Your Home
- U.S. EPA: Mold Cleanup in Your Home
- CDC: Mold — overview, health effects, prevention and cleanup
- Massachusetts DPH: Mold Cleanup, Repairs, and Excess Moisture Control
When the property needs a closer look
Boston Restoration Group can inspect the affected area, document moisture and material conditions, and explain which restoration step fits the loss. Use the BRG contact page to request service in Greater Boston.